Projects
The Projects feature allows you to manage the approval process of all of your important project documents.
To access Projects:
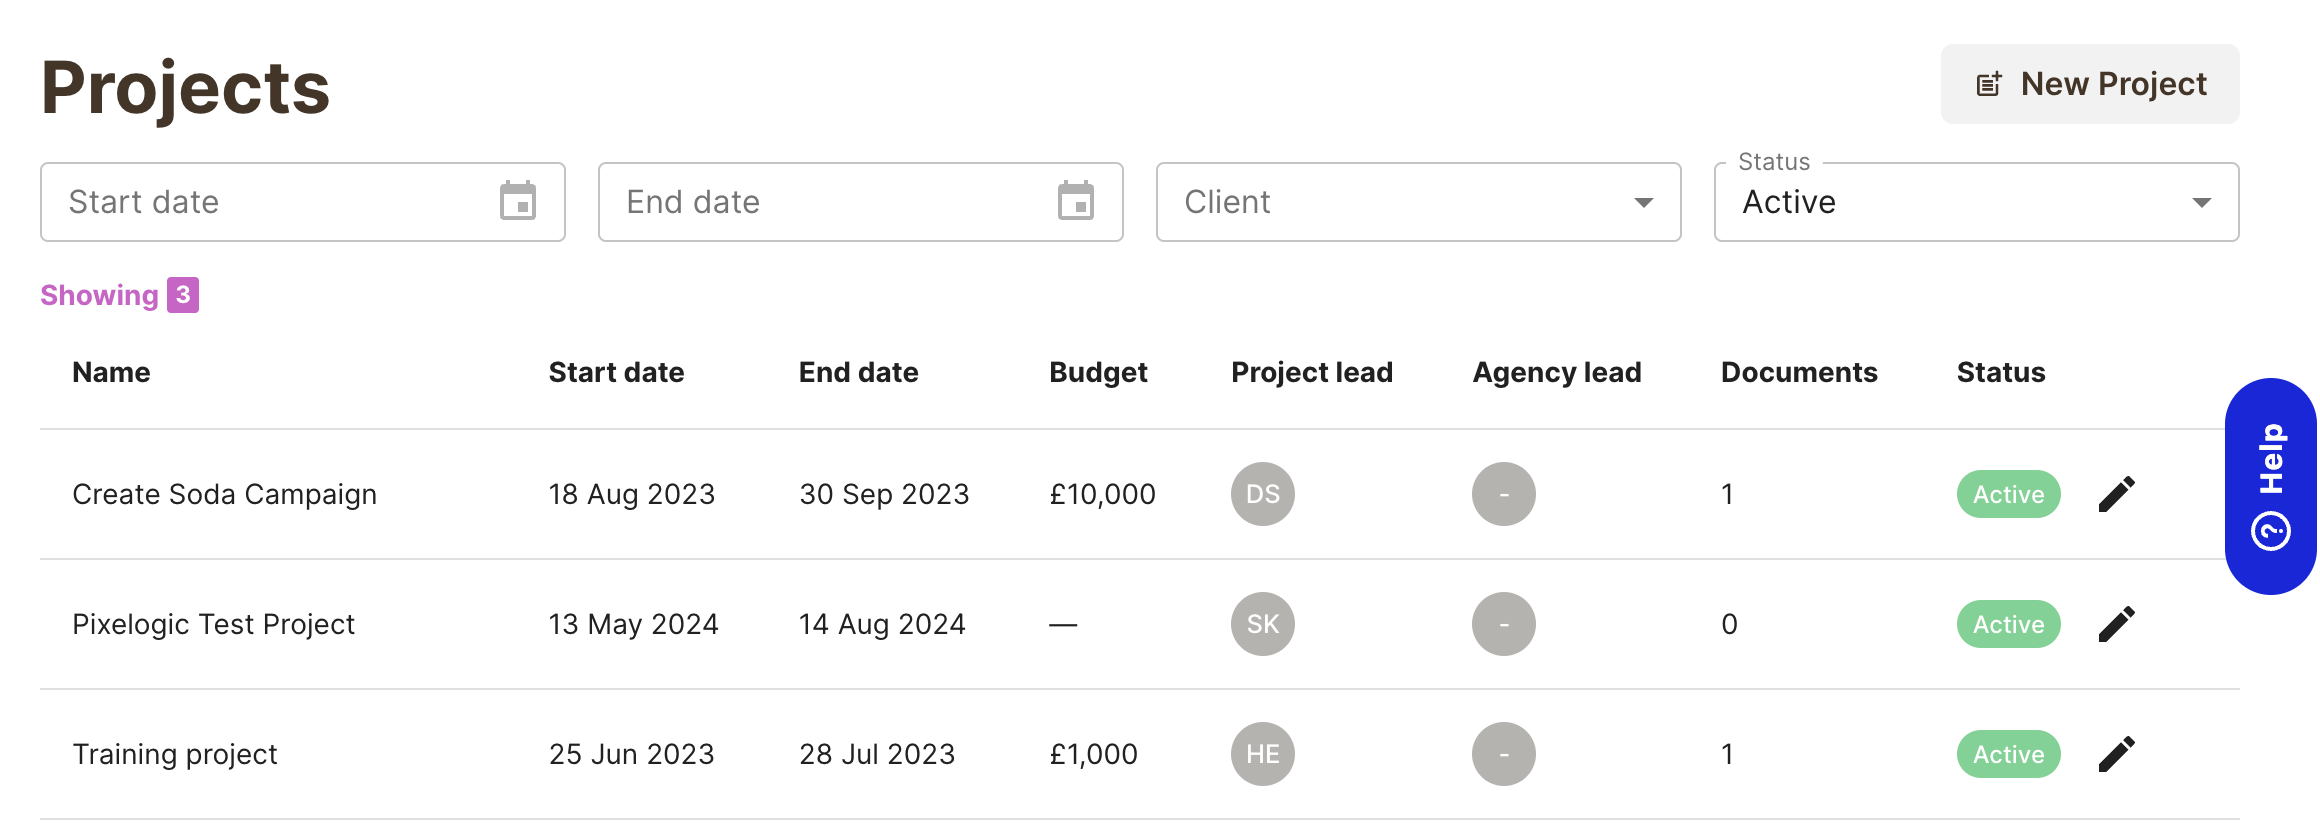
Click Projects in the left hand navigation menu. You will see a list of existing projects.
The projects page lists all of the projects that have been created. You can filter by start and end dates and client to quickly locate the project you need.
Create New Project
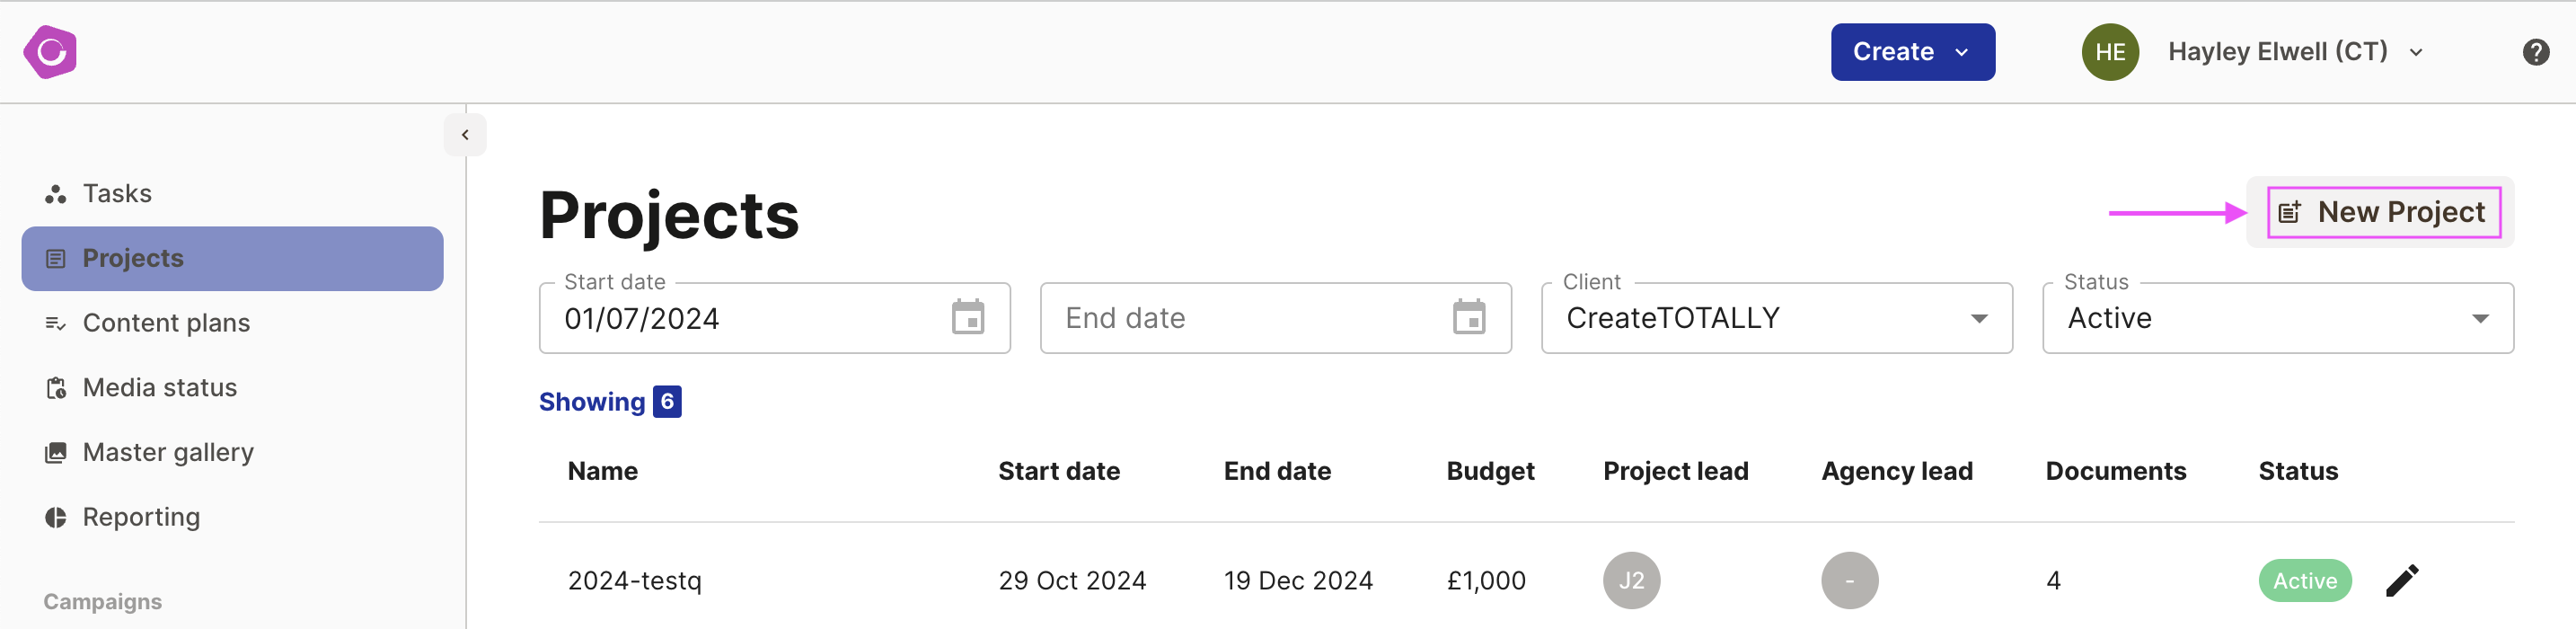
To create a new project, click New Project and fill in the details. You can upload documents straight away, or create the project first and upload them later.
Fill in the Project details and then click Create project or Create and add documents
![Screenshot of: Click the "Project client" field.Click "CreateTOTALLY"Click this text field.Type " [[CapsLock]] Create [[CapsLock]] Soda [[CapsLock]] Campaign"Click here.Click "18"](https://cdn.prod.website-files.com/648c13eb6bf8dd3844341221/64df64f5765d5f0e5d0eb08e_stack_animation.webp)
Edit Project details
Each project page displays the name, job number, owner and planner. This can be edited by clicking edit project.

Uploading Documents
Once the project has been created, you can add documents such as Scope of work, Client brief or Asset Matrix.
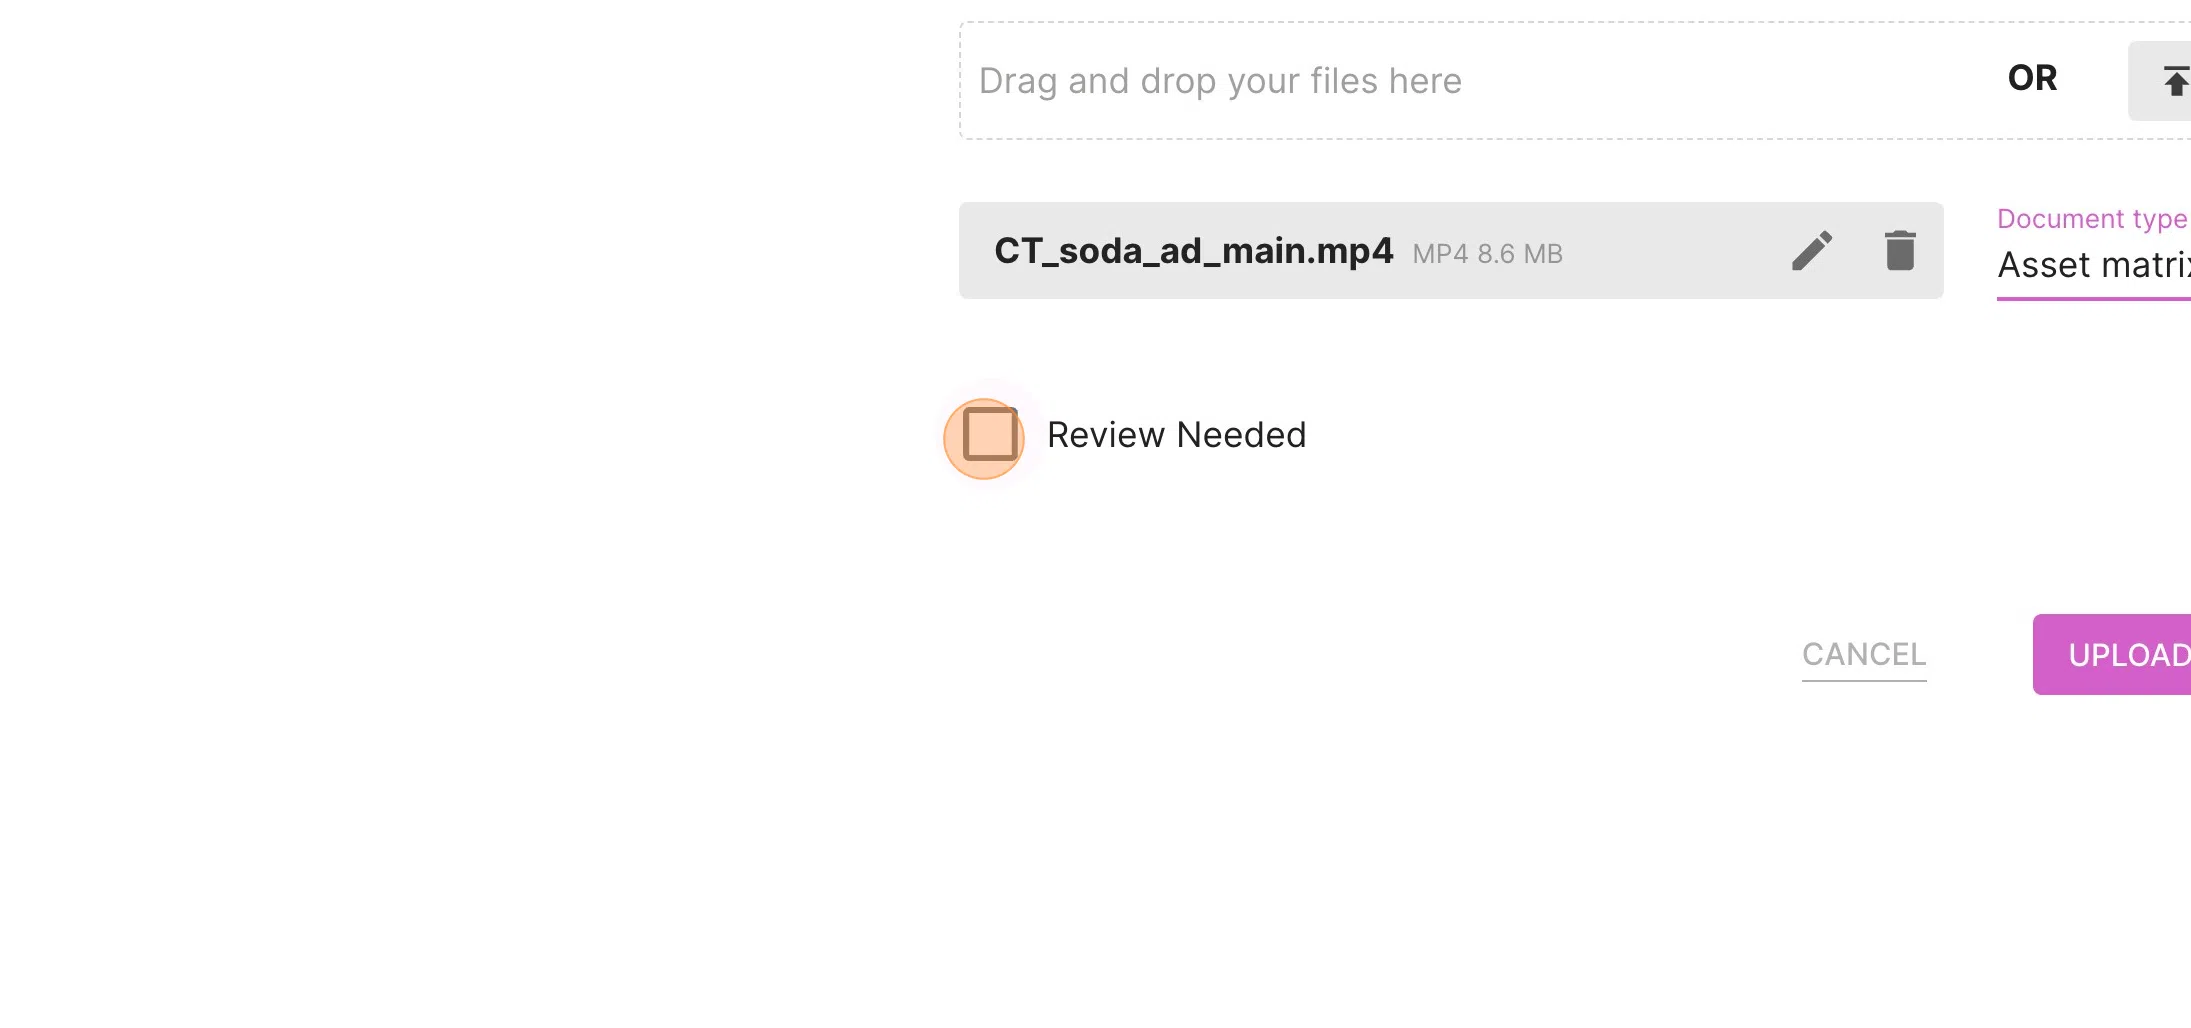
Click UPLOAD DOCUMENT. You can upload 1 or more documents at a time either by dragging and dropping or by browsing your computer.
Click Document type dropdown. Once the documents are uploaded, select the document type - this will help you find the document later through filtering.
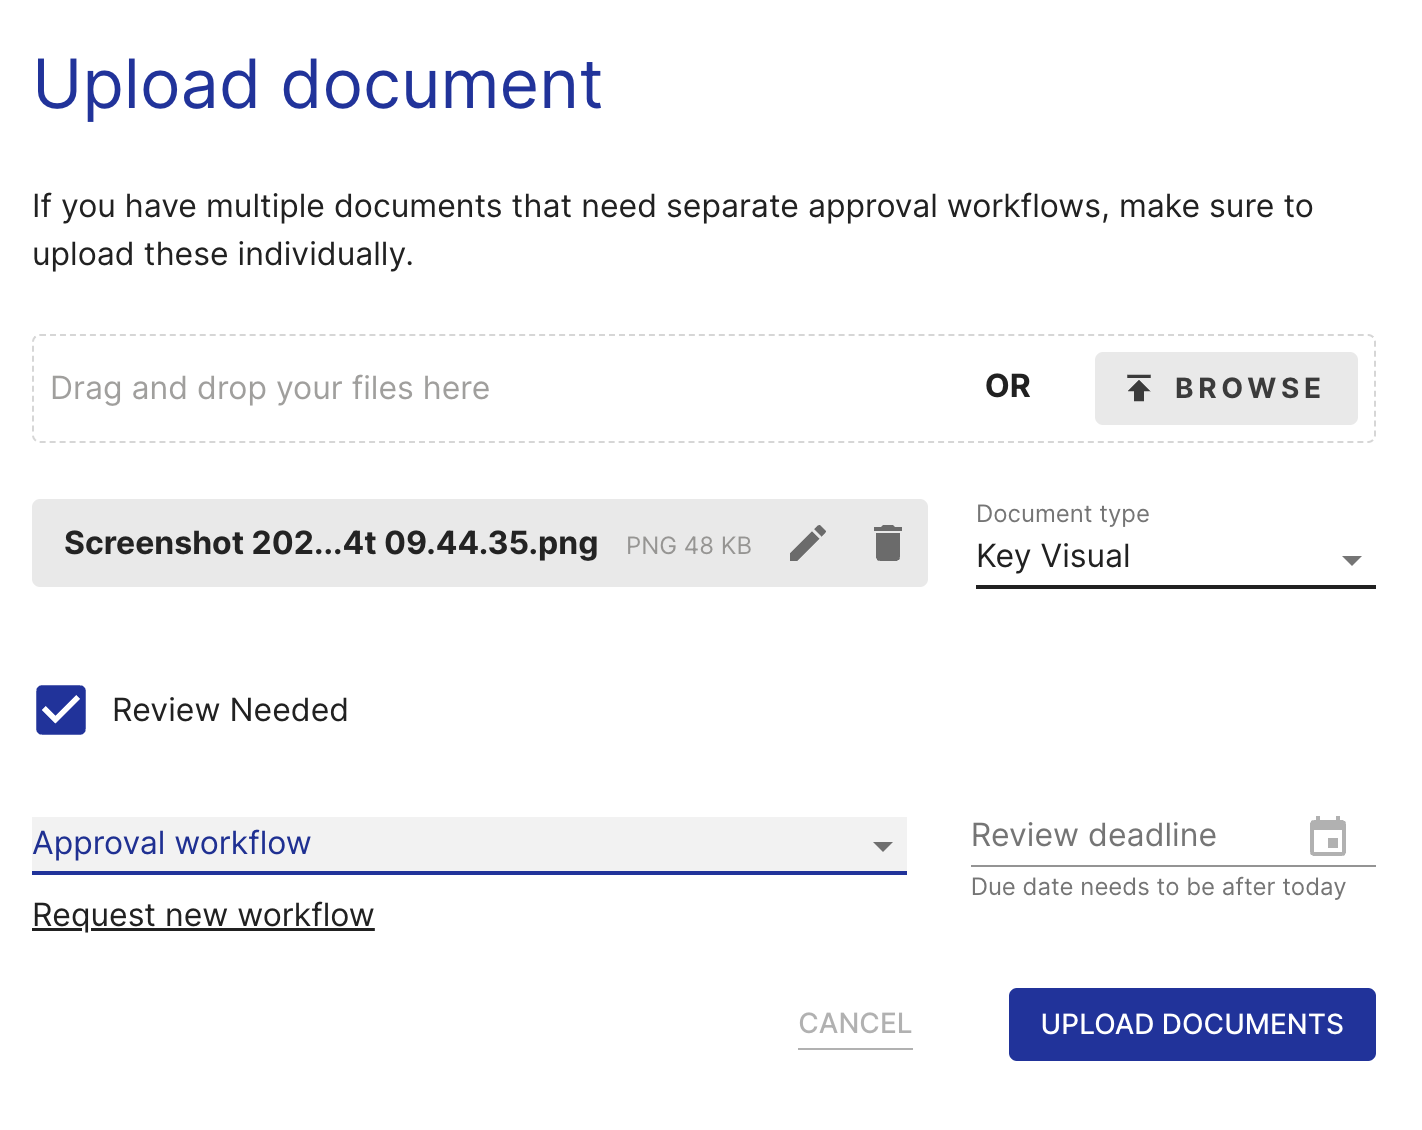
Your documents can either be uploaded requiring review or not. If you just want to store the project documents in a central location for the team to access, they might not require approval.
Its possible to upload multiple documents and include them in the same proof for review. This option will be available if you upload more than 1 file.
If your documents require approval, Click the Review Needed checkbox
Click Approval workflow dropdown. You will then be able to select the workflow your document should be sent on. This will determine the approvers and the number of approval stages. Select the review deadline and click upload.
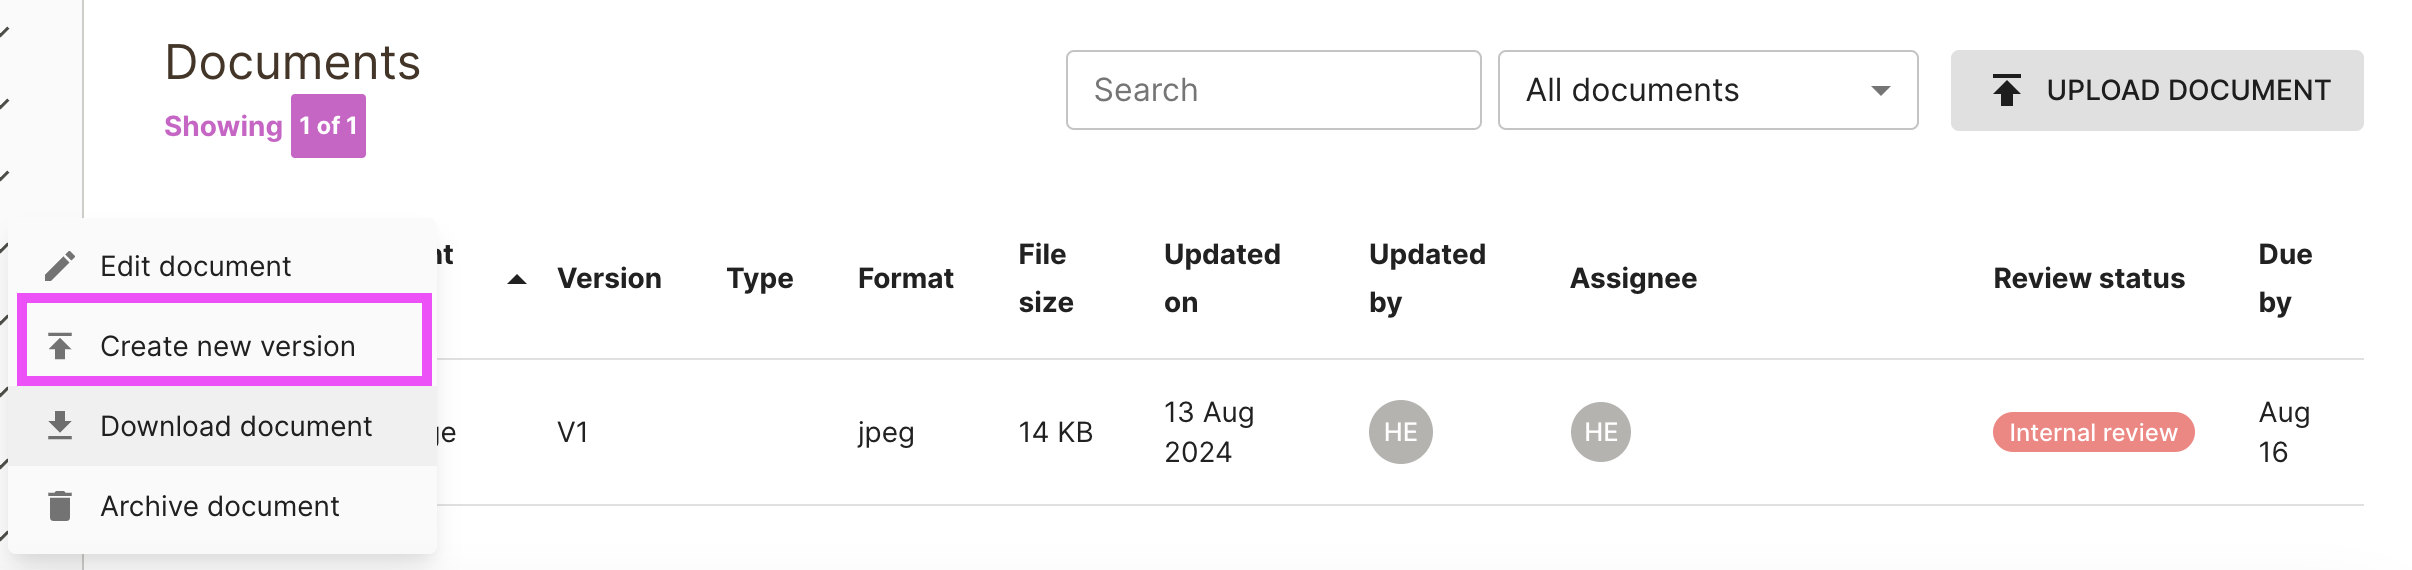
Creating a new version
If there is a new version of the document, this can be uploaded by:
- Click on the menu to the left of the document - select ”Create new version”.
- Upload a the latest version
- Confirm the workflow required - note you can change this if required, however any new reviewers won’t be able to access previous version of the proof
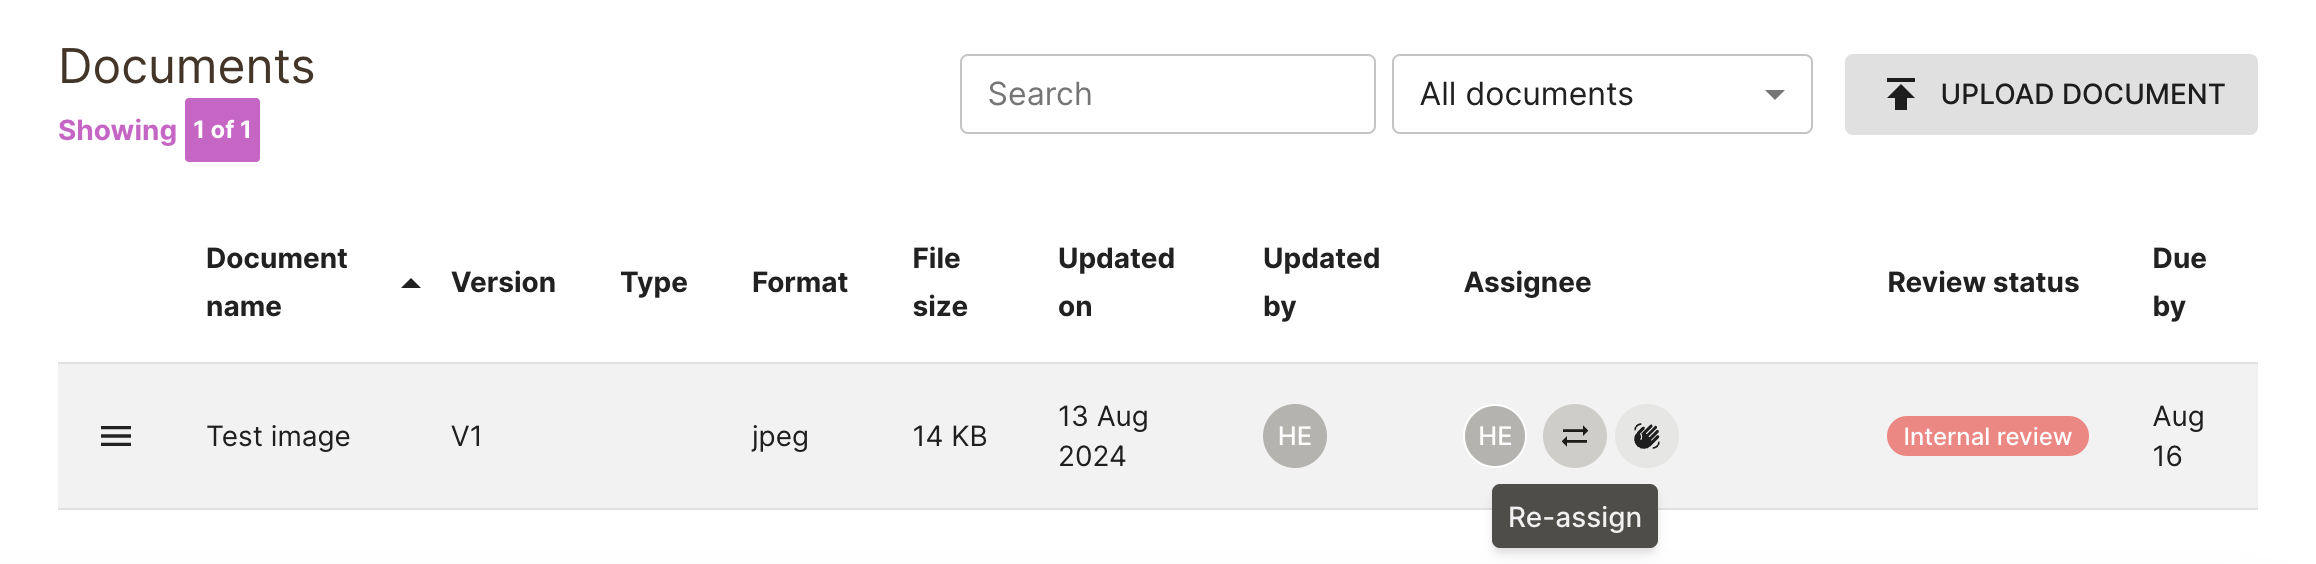
Re-assigning review
If a reviewer assigned to a stage isn’t able to complete the review, the task can be re-assigned to someone else by clicking “re-assign” and searching for the new user in the drop-down.
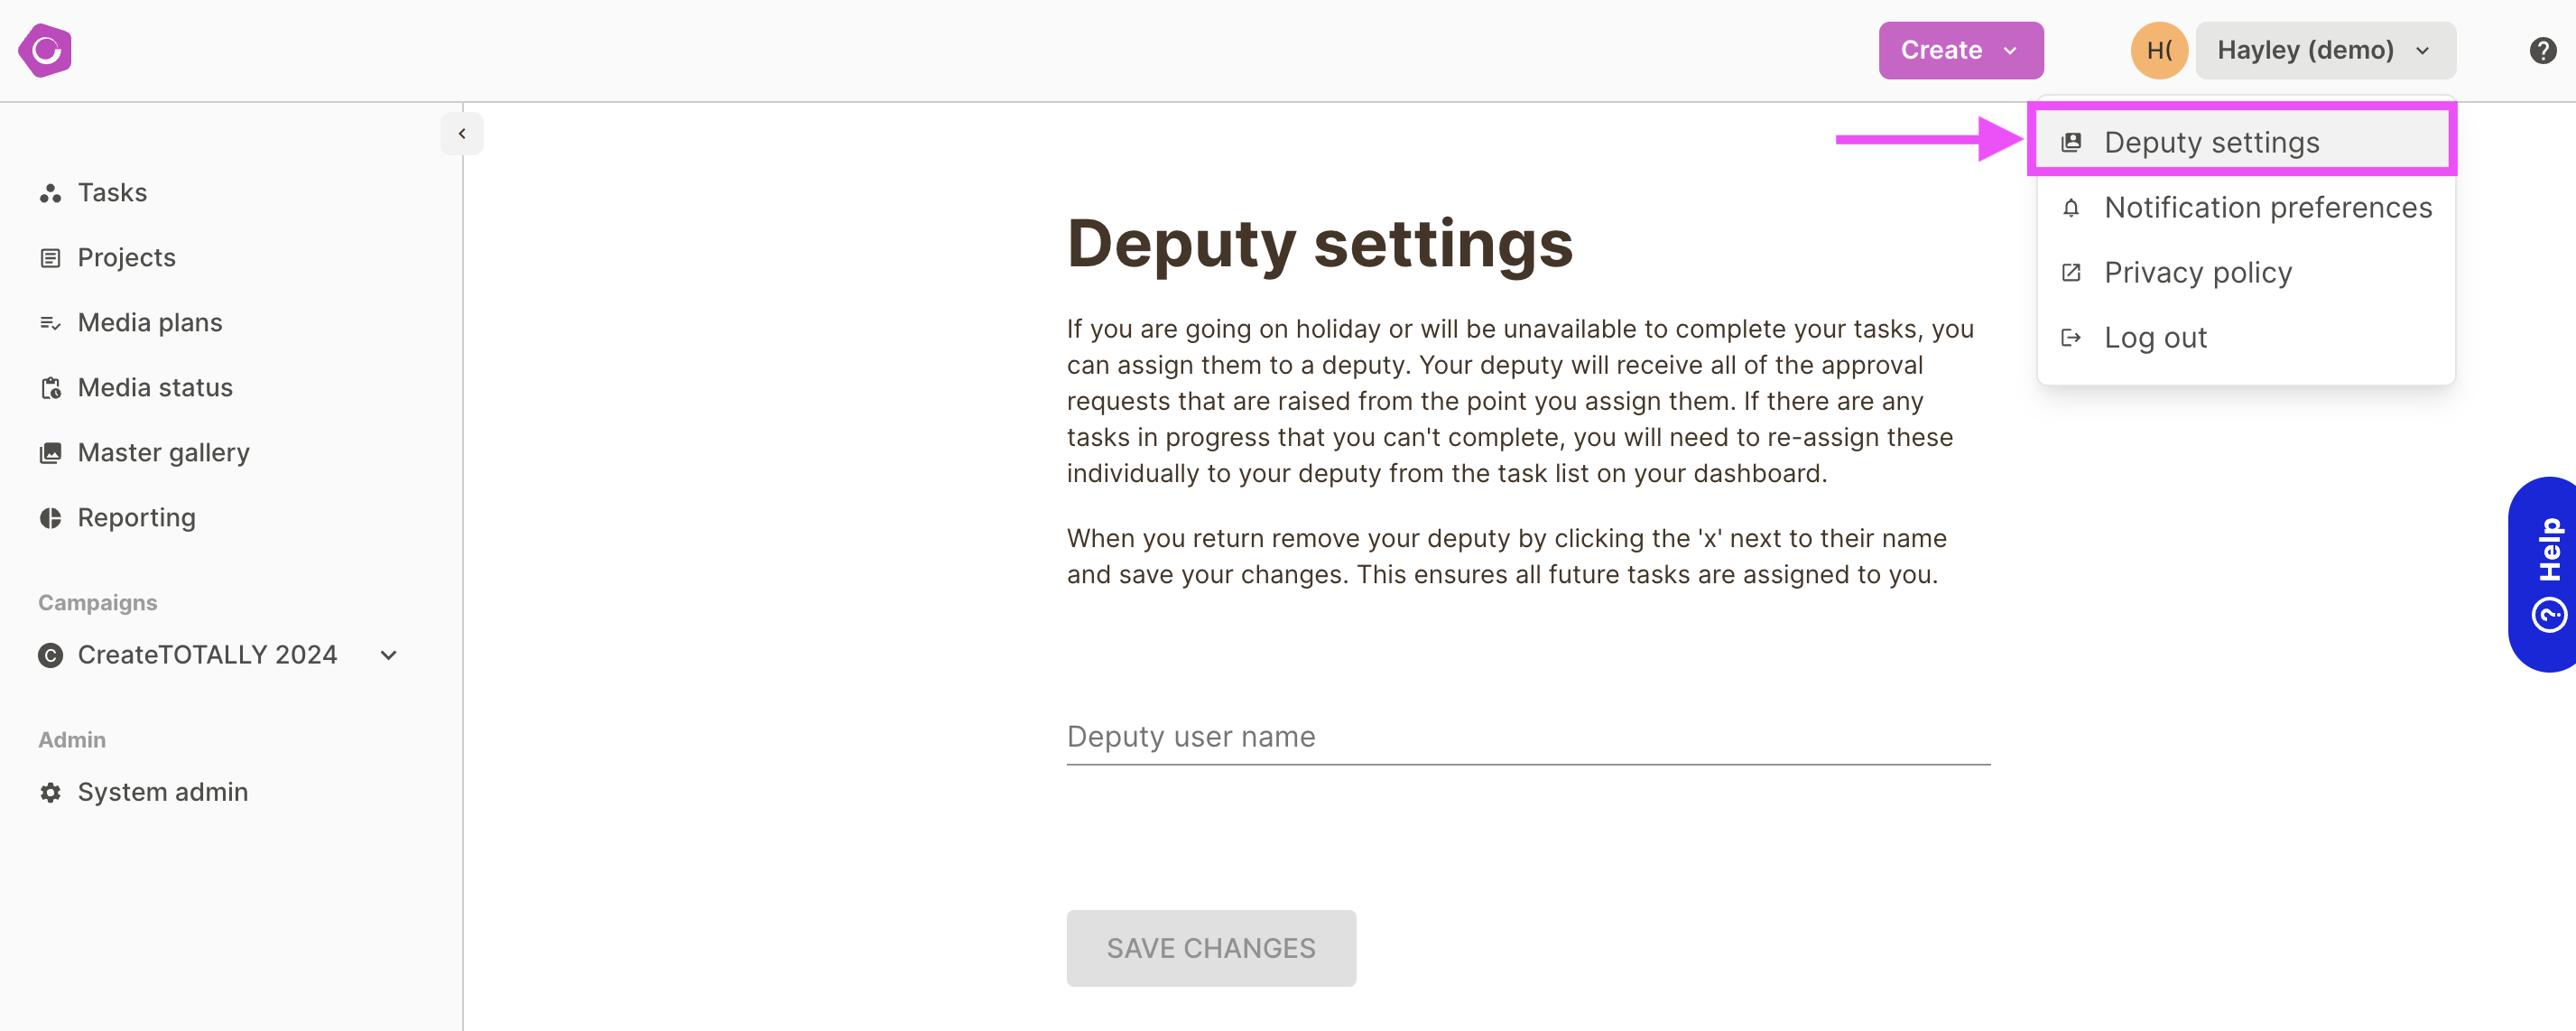
Deputy settings
If a reviewer is going to be unavailable, they can set a deputy. This user will be assigned in their place to all approval tasks created after this date. Note - any documents that are already under review will need to be re-assigned as the deputy reviewer is only applied when the review is started.