
Creating New Master Templates
A Master Template is the base artwork for your automated adaptations. Creating a new Master Template is done in a few steps:
- Upload a preview file of the template. This will be displayed in the masters gallery and during customisation of the template
- Add the required metadata including Campaign and Creative
- Upload Automation assets or add a link to your Figma project
- Analyse your project file
- Configure customisation options (optional)
- Assign a translation form (optional)
- Make the template active
For details how to create a new Campaign and add a new Creative please go here.
For details how to create a new Creative and assign to an existing Campaign please go here
Upload a preview file
The first step in creating a new Master Template, is to upload a preview (JPG/ PNG, MP4, HTML or PDF).
From the Master Templates tab click the Upload files button
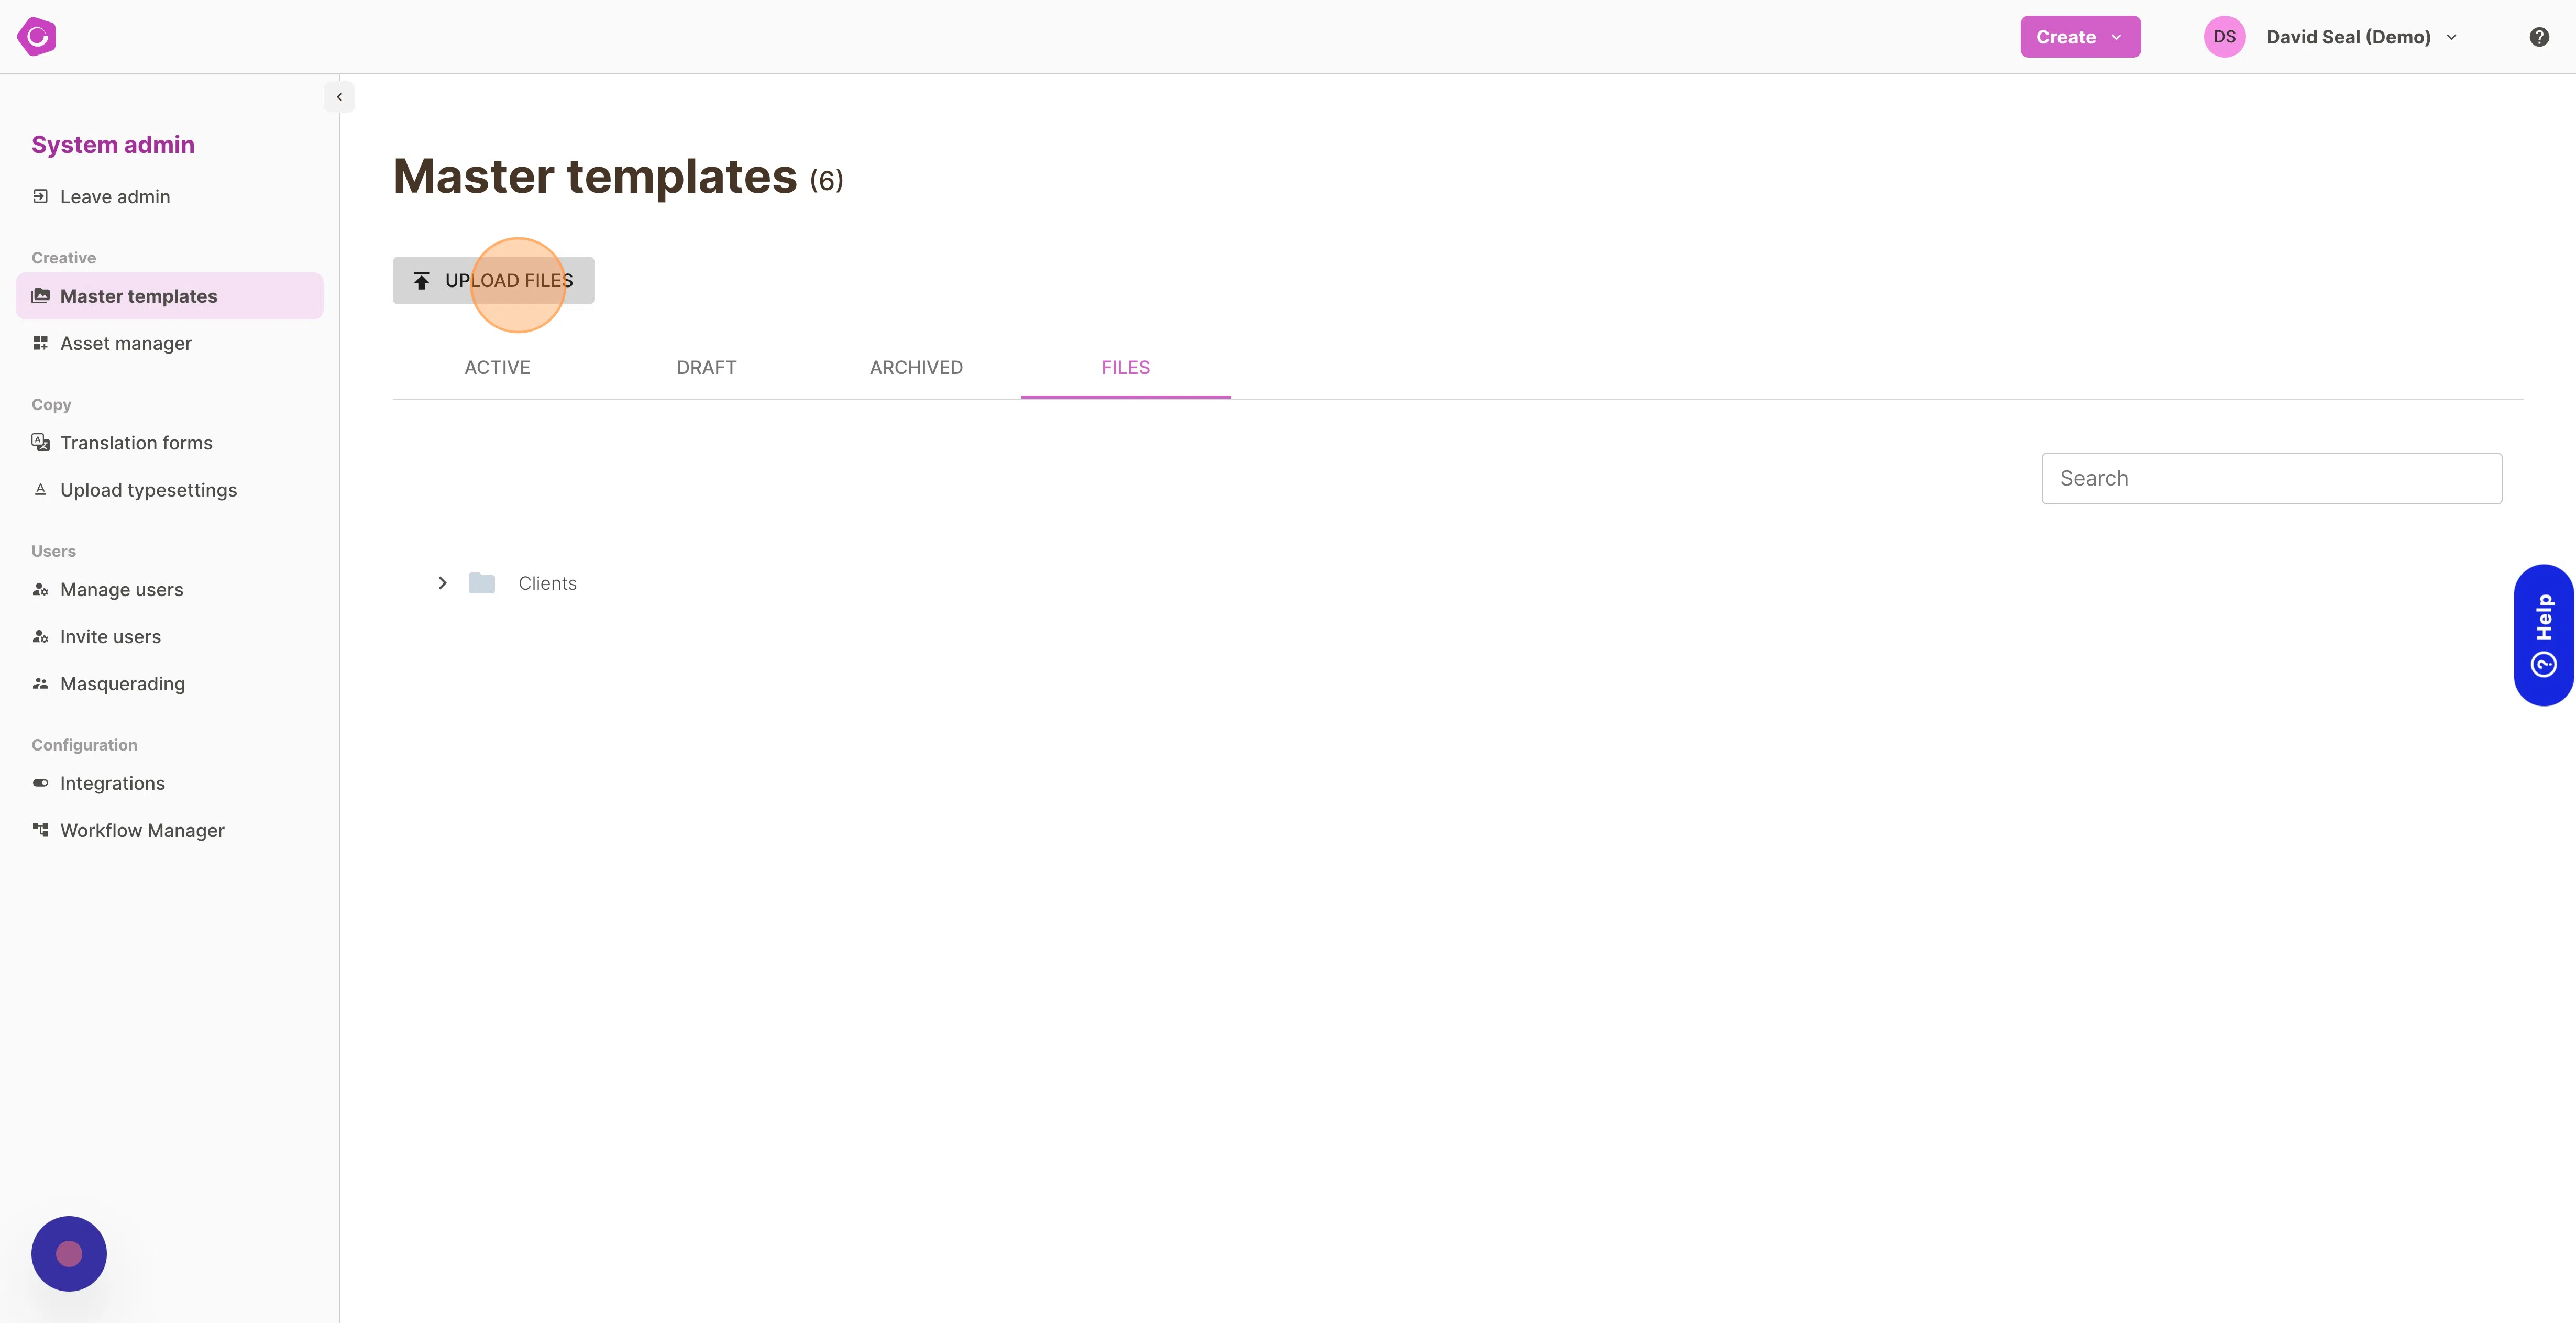
You can then drag and drop, or select the file(s) that you’d like to upload.
Your file will start to upload automatically. When the upload is complete, click the Create Assets button.
Add Metadata and set-up the Master Template
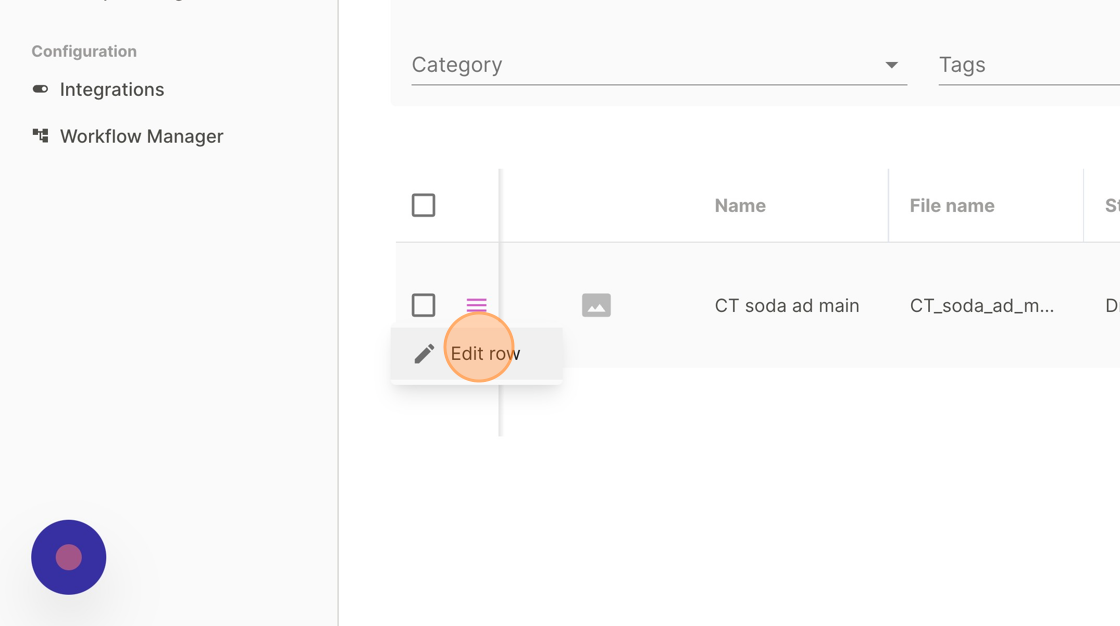
New Master Templates will automatically be assigned a draft status, ready for review and additional metadata to be added.
To add your metadata, select Edit row from the menu.
When you edit the template for the first time, you will need to complete some basic details about it. These include:
- Name - By default the Master Template will take the name of the file that is uploaded. This can be changed
- Creative - The folder that the Master Template should sit in. This will also allocate it to a Campaign
- Media Type
- Content Type - The content type indicates the type of software the project is created in:
- Static - InDesign automation
- Video - After Effects automation
- Animated - HTML automation
- Material - Whether the Template is for digital or print

Additional details can also be set-up. To make this simpler, these have been split out over 3 tabs:
Details:
- Usage restrictions (optional) - Templates can be restricted to markets, countries or languages and made available within a specified date range. Note - if you apply market restrictions, only admin users with that market will be able to manage the master template in the file tree.
Configuration:
- Size information (optional) - The min/ max aspect ratio and height fields allow you to restrict what size media placements the Template can be used for, ensuring the right template is used. Note aspect ratios are calculated as width divided by height e.g. 210 x 297 would be an aspect ratio of 0.71
- Default placement and format (optional) - if the master template will be normally be used to create a specific format, you can assign this directly to the template and it will be pre-populated when users create adaptations
- Default video/ static output modules (optional)
- Translation form - if your Master Template will use translated copy, you can link it to the form here
Customisation:
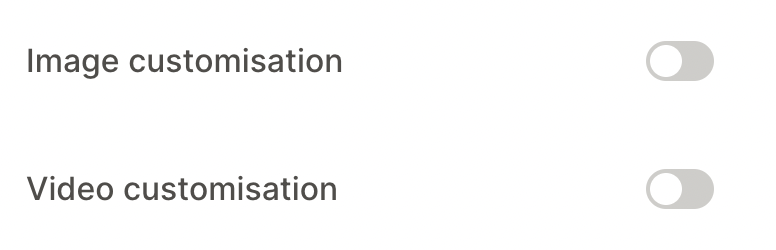
- Customisation toggles - if your Master Template will have customisation, you can enable the type of customisation here
Upload project files
Once the basic details have been added to the template, you can upload the project files or add the link to your Figma project.
Simply click browse to launch a file explorer, or drag and drop the files. Or click “Add Figma link” to create a Figma template.
Once all of the files are uploaded or your link is added, you can analyse the template to extract all of the customisable elements.

After analysis is complete you can continue to mark assets as customisable. To do this:
- Click on the edit action next to the file that should be variable
- Enable the “make variable” toggle
- Give the variable a name
- Apply the tags that identify the available assets (note these tags will need to be assigned to the assets in the asset library)
When you have completed the set-up, you can make the template active.
Figma specific template set-up steps
If your template is based on a Figma file, there are a few differences to how you set the template up. After analysing a Figma file, you will see 2 sections appear.
Output items
Each of the frames that has been tagged as an output item in the Figma file will appear here by name. You can click on the pencil edit icon to set a default output format. We can output JPG or PNG files with different multiplication factors from Figma. Users can change this default if required when creating their adaptations.
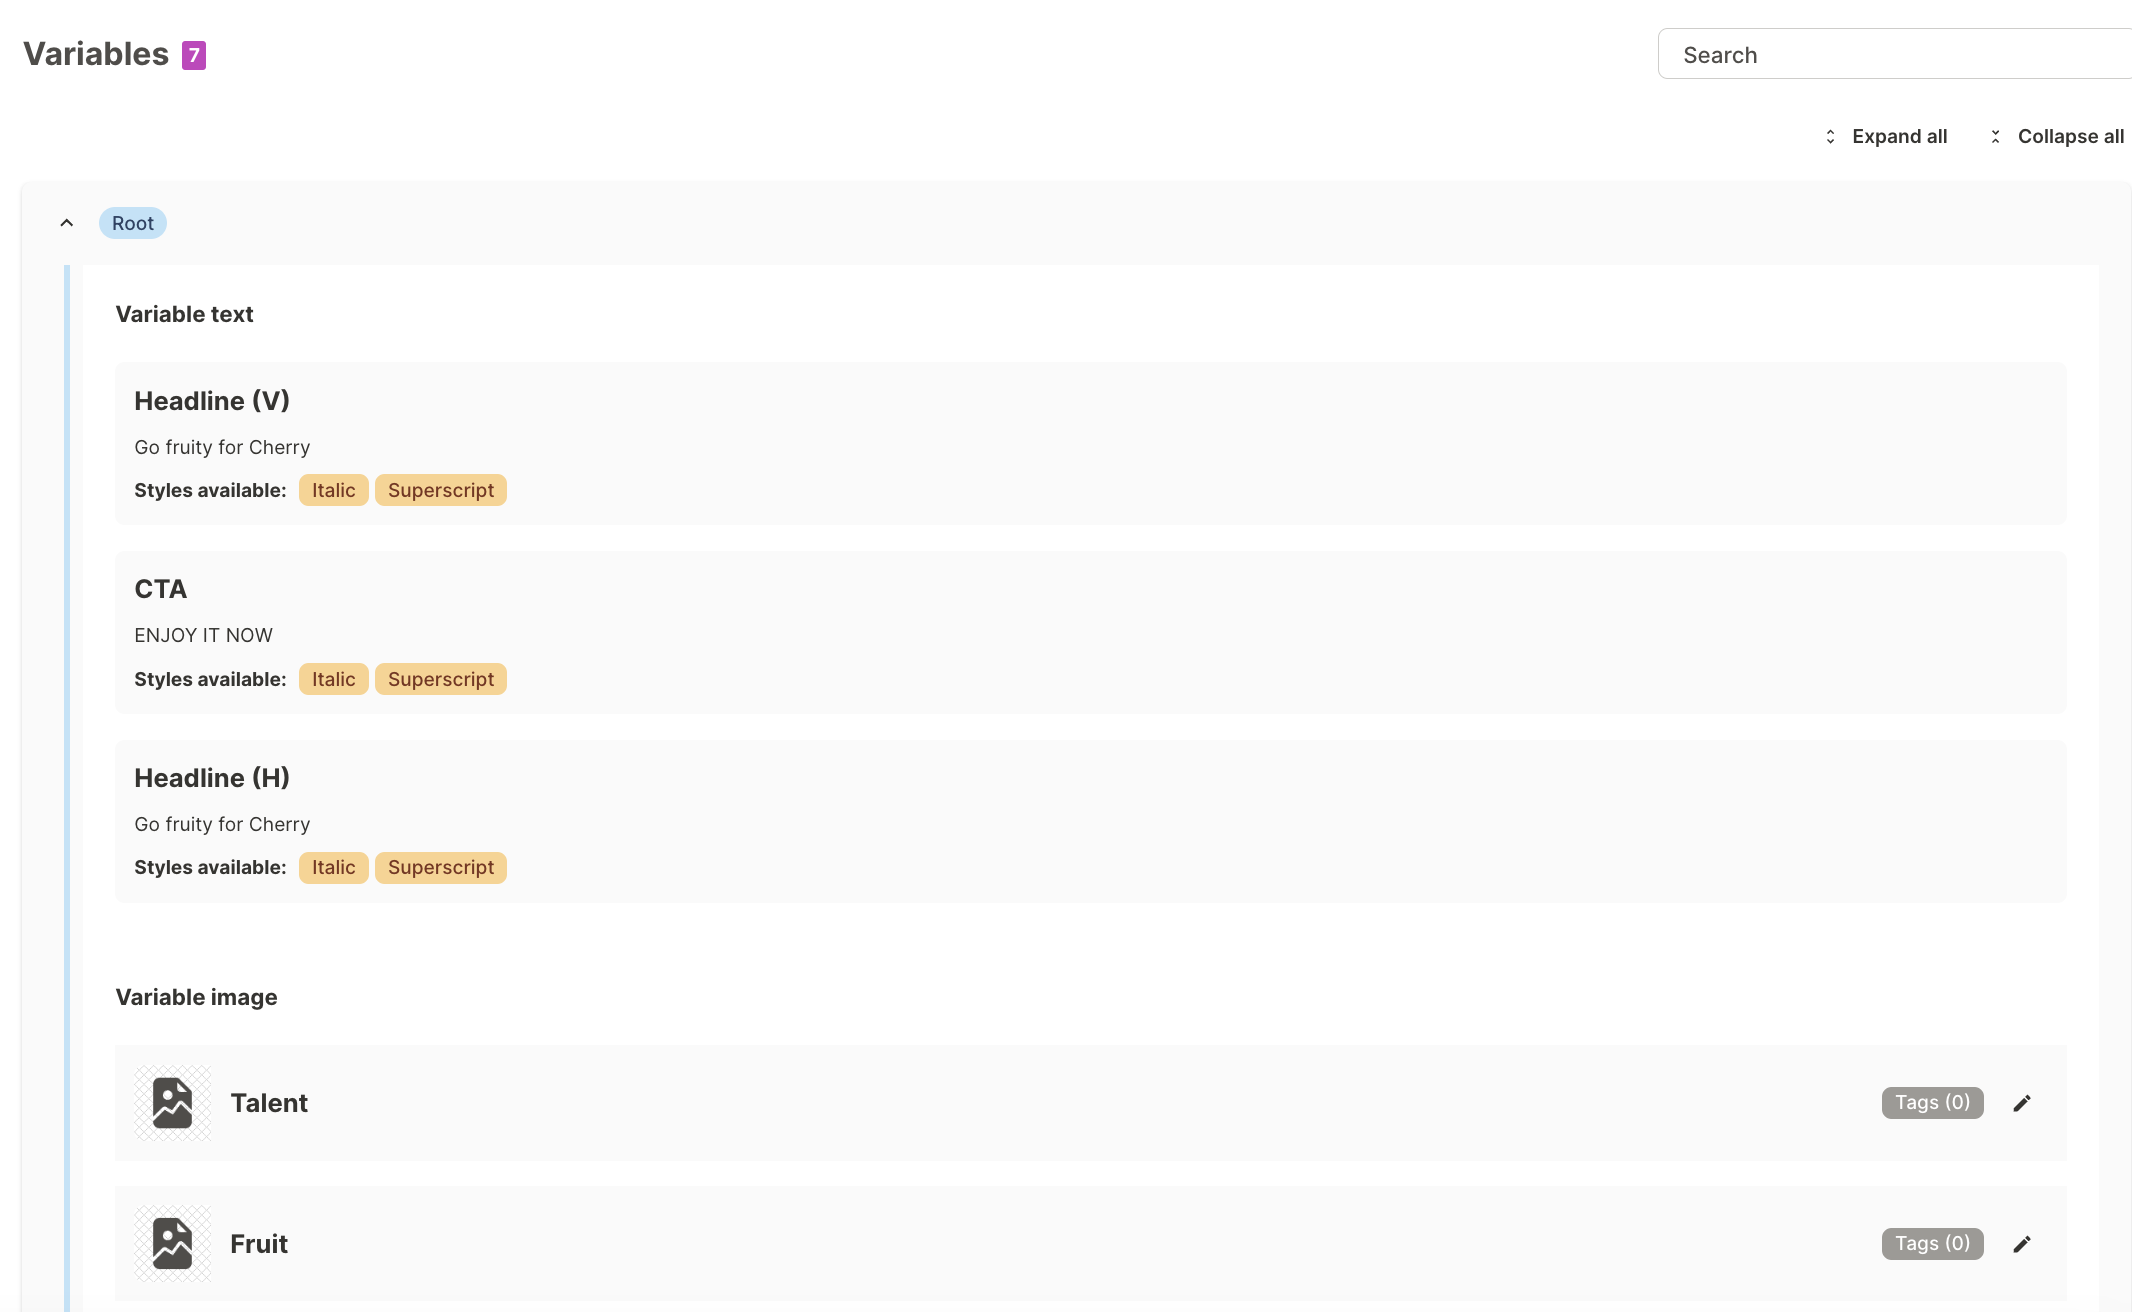
Variables
The elements tagged as dynamic in the Figma project will appear in the Variables section. Any containers that were tagged will also be displayed, showing the hierarchy of the variable elements. You will also see if there are character styles available to the text variables and whether the text is set to scale/ sync scaling to another layer.
Image variables will need to have tags applied to identify which images should be available.
Upload project files (file tree)
The Files tab is an alternative way to upload project files. It displays a file tree to visually represent the Master Templates and the files associated with the project.
You navigate through the file tree by opening folders. The folder structure shows:
- Clients
- Campaigns
- Creatives
- Master Templates
- Automation Assets
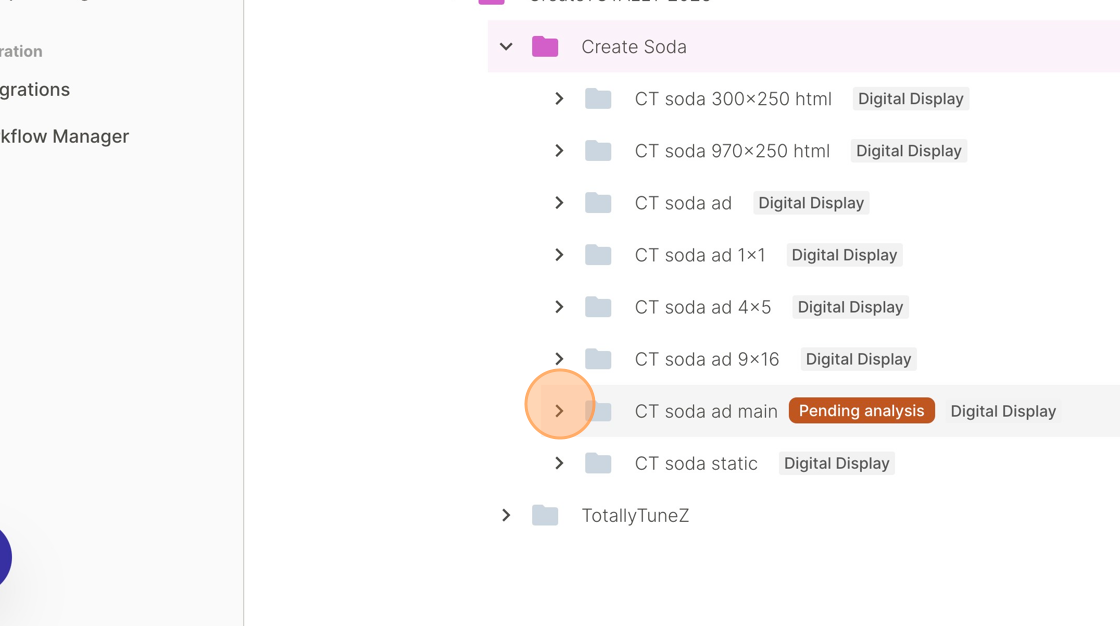
Navigate to the correct Client / Campaign/ Creative to locate the newly created folder, named after the Master Template.
Note: The Creative that you assign to your Master template when uploading it, will determine where its folder appears in the file tree.
Click to open Clients folder and then navigate through the client, campaign and creative folders to find your Master Template.
Upload Automation Assets
Automation Assets are the project files that will be used to automate the Master Template. They include your project file e.g. INDD or AEPX file) and all the files linked to it (images and videos). They can be uploaded within the file tree.
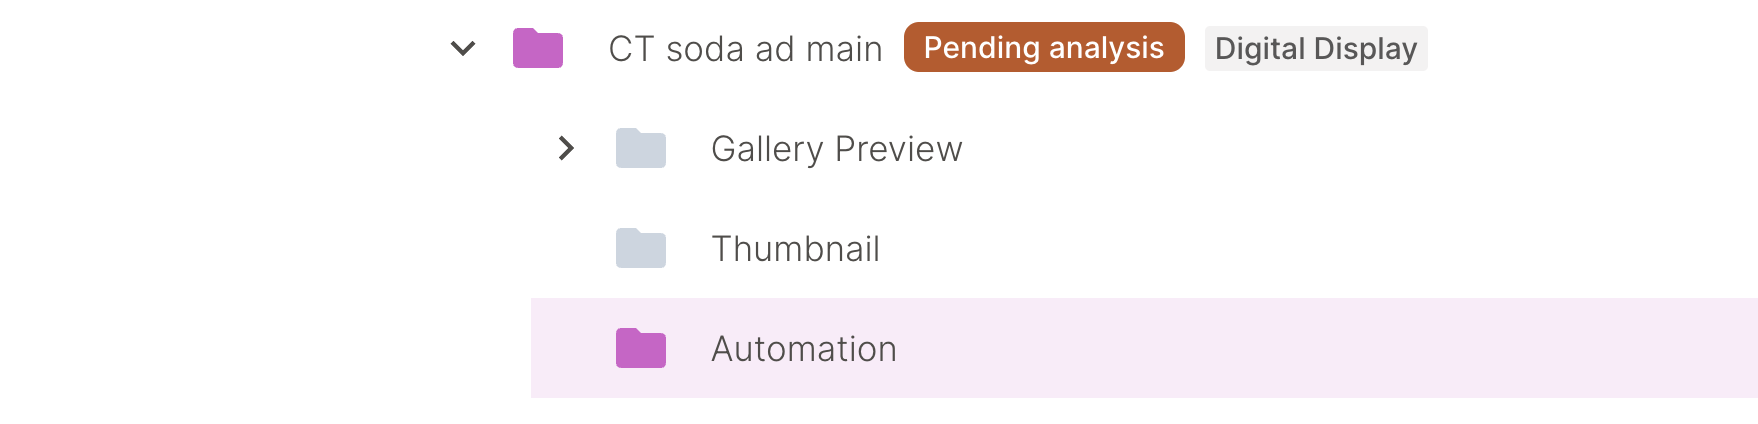
Expanding the Master Template will show a folder for the Gallery Preview, Thumbnail and Automation.
- Gallery Preview - the preview file you uploaded to create the Master Template will appear here
- Thumbnail - if the preview file is large, it can be optimised or a separate thumbnail added specifically here
- Automation - all the files associated to the project that will be used in automation can be added here. Simply drag them over the folder and click upload on the modal that appears.
You will see a sub-folder called Automation. This is where you can then drag and drop your prepared project files.
Once the assets have been added select the Upload button
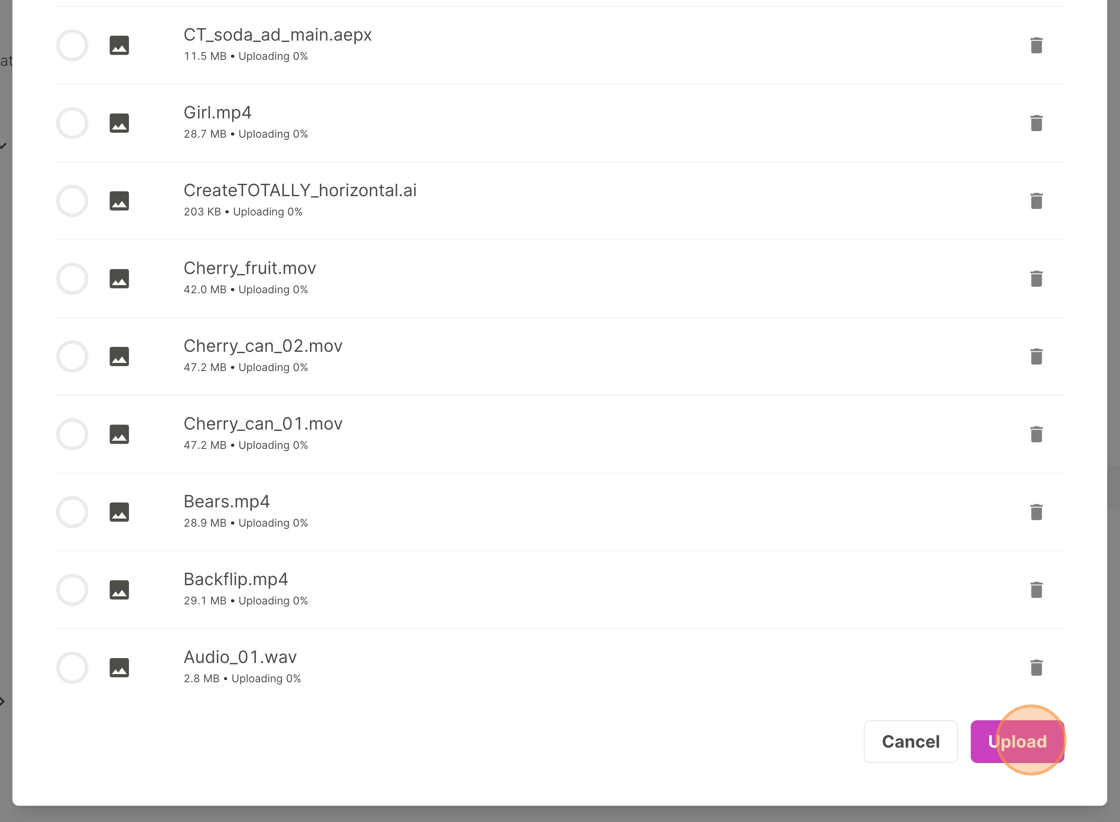
As the files upload you will see the % uploaded of each file. Once they have all uploaded, click finish to return to the file tree.

Note: All automation assets are located within the automation folder. There is no need (or ability) for additional subfolders to be uploaded or created.
Analyse your project file
Analysing the project extracts all the details from the file that can be customised. It is a major step in turning your project file into a customisable template.
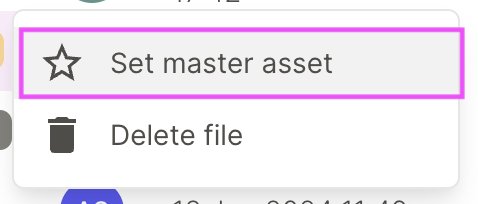
You will see that each file has an icon next to it to indicate what type of file it is. Your project file (INDD, AEPX) will be automatically marked with a star. Each other file will be marked as a document. Note - Photoshop masters will need to be manually marked. This is because Photoshop files can be both a linked automation asset and a master template.
Once all of your project files have been uploaded, click on the Analyse button. You will see the status against the template changes to analysing. This will disappear when analysis is complete.

Once the template has been analysed you will see Generate translations excel icon

If you require translations, you can download a pre-populated translation form (Fig. 2) which will contain the creative tag and text from the master by selecting the Generate translations excel icon
Note: the translation form icon will only appear after the template has been analysed. You can also create a translation form directly in the platform.

If you need to download a copy of the file, you can use the Download file (Fig. 3) button.

To replace any assets with a new version, simply drag and drop the new file. This will allow to you present you with 2 options - replace or upload as variants. Replacing the original files will automatically replace the correct file, based on matching the file name.
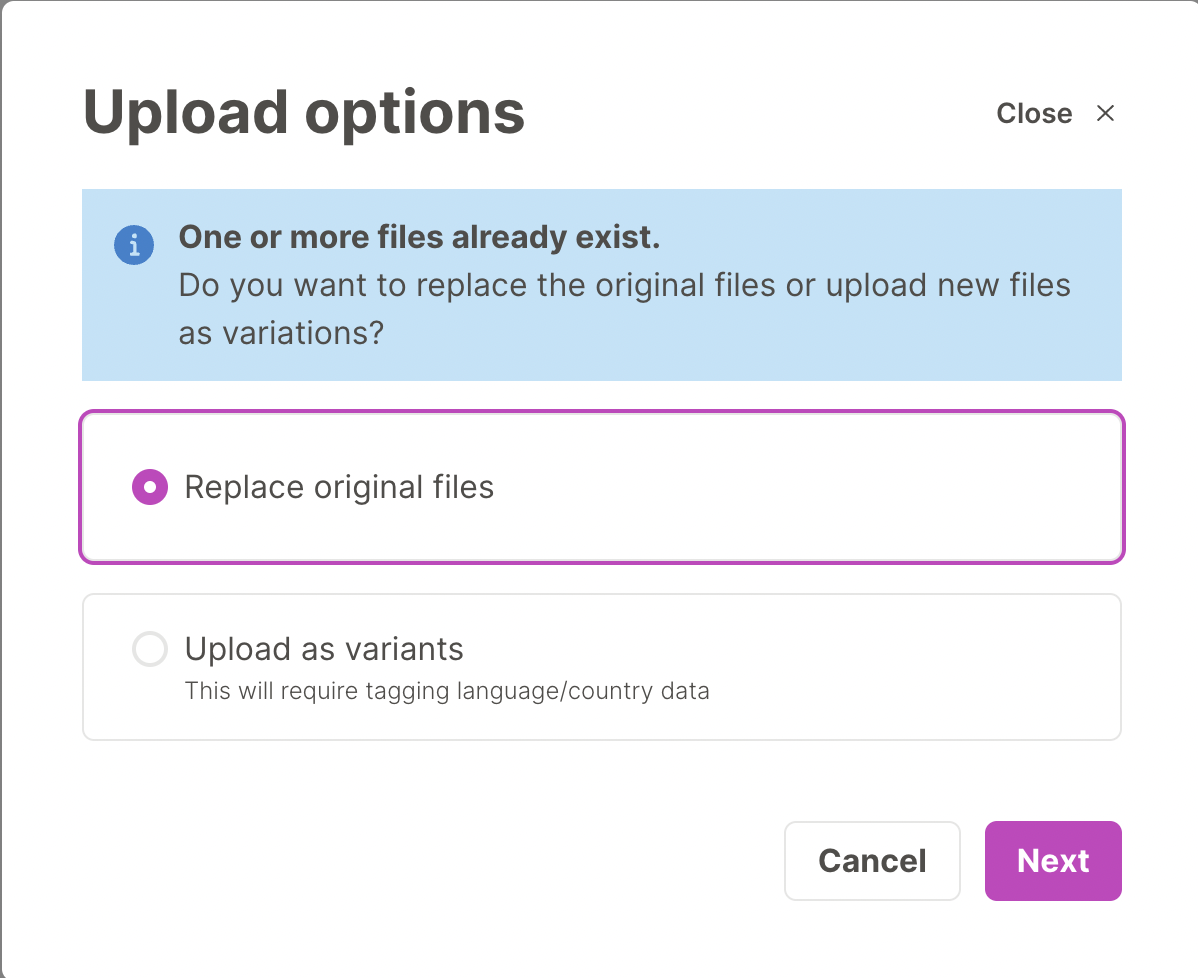
Uploading variants
If your artwork needs to have a different variation for a specific country or language (such as different packshots or logos) you can add these directly to the automation folder. Simply upload the variants with the same file name as the file you want them to replace. Then select Upload as variants and add the country or language the file is for.
Note - you will need to upload variants 1 at a time.
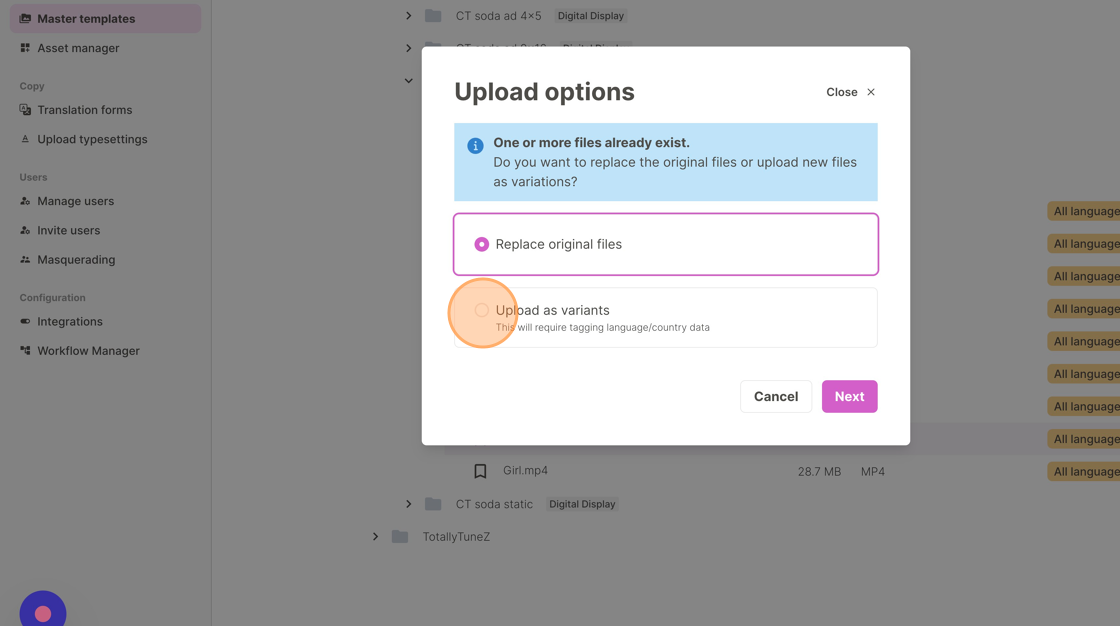
Click Add a country or language that the variant will be used for

Configure customisation options
To increase the flexibility of a master template, you can set certain images or videos as customisable. This allows users to select the image/ video that will appear in the artwork.
Marking your Master Template for customisation
To set-up customisation, first you need to ensure the type of customisation you require is enabled on the Master Template. This can be done by navigating to Sys admin > Master Template > Active and finding the Master Template you want to customise. Click "edit row" and scroll to the bottom of the form to the Customisation section to toggle on image customisation or video customisation.
Select which images/ videos can be customised
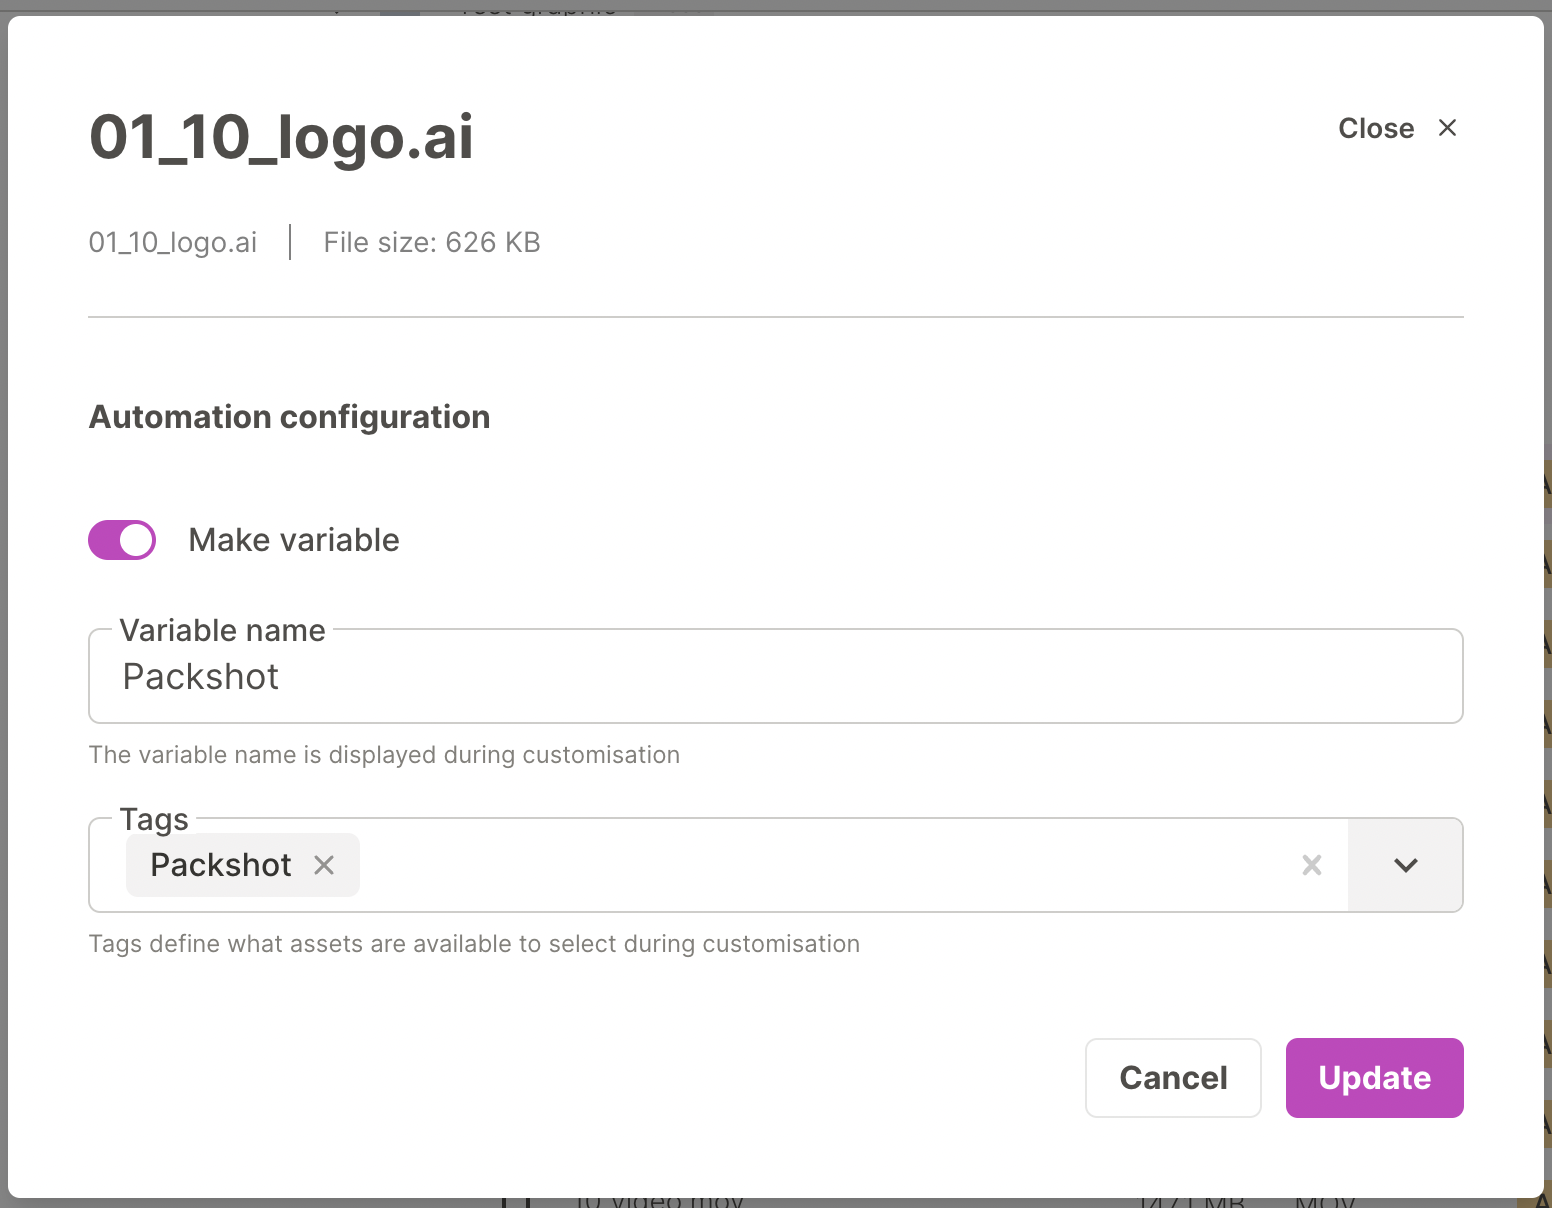
To specify which images/ videos can be customised, as well as what assets should be available for customisation, go to Sys admin > Master Template > File Tree and navigate to the Master Template you require. In the Automation folder, click the pencil icon next to the image/ video you want to customise to edit its details.
You can then mark it as customisable by toggling on "make variable". The variable name is what will appear to users during creative allocation or when completing a bulk content form. Make sure it is clear what this element is.
Tags need to be applied to the image to define what assets from Asset Manager will be available during customisation. You can apply 1 or more tags which will need to also be on the assets for them to be available. If you apply multiple tags, only assets that have ALL of the selected tags on them will be displayed.
Assign a translation form
Translation forms contain all of the text elements used in your master template, across all the languages you need to make content for. They can be set-up in Sys Admin > Type > Translation forms. Once set-up, you can apply them to your master template by editing the record from the active tab.