
Creating a content plan
A content plan is a group of the adaptations you are creating.
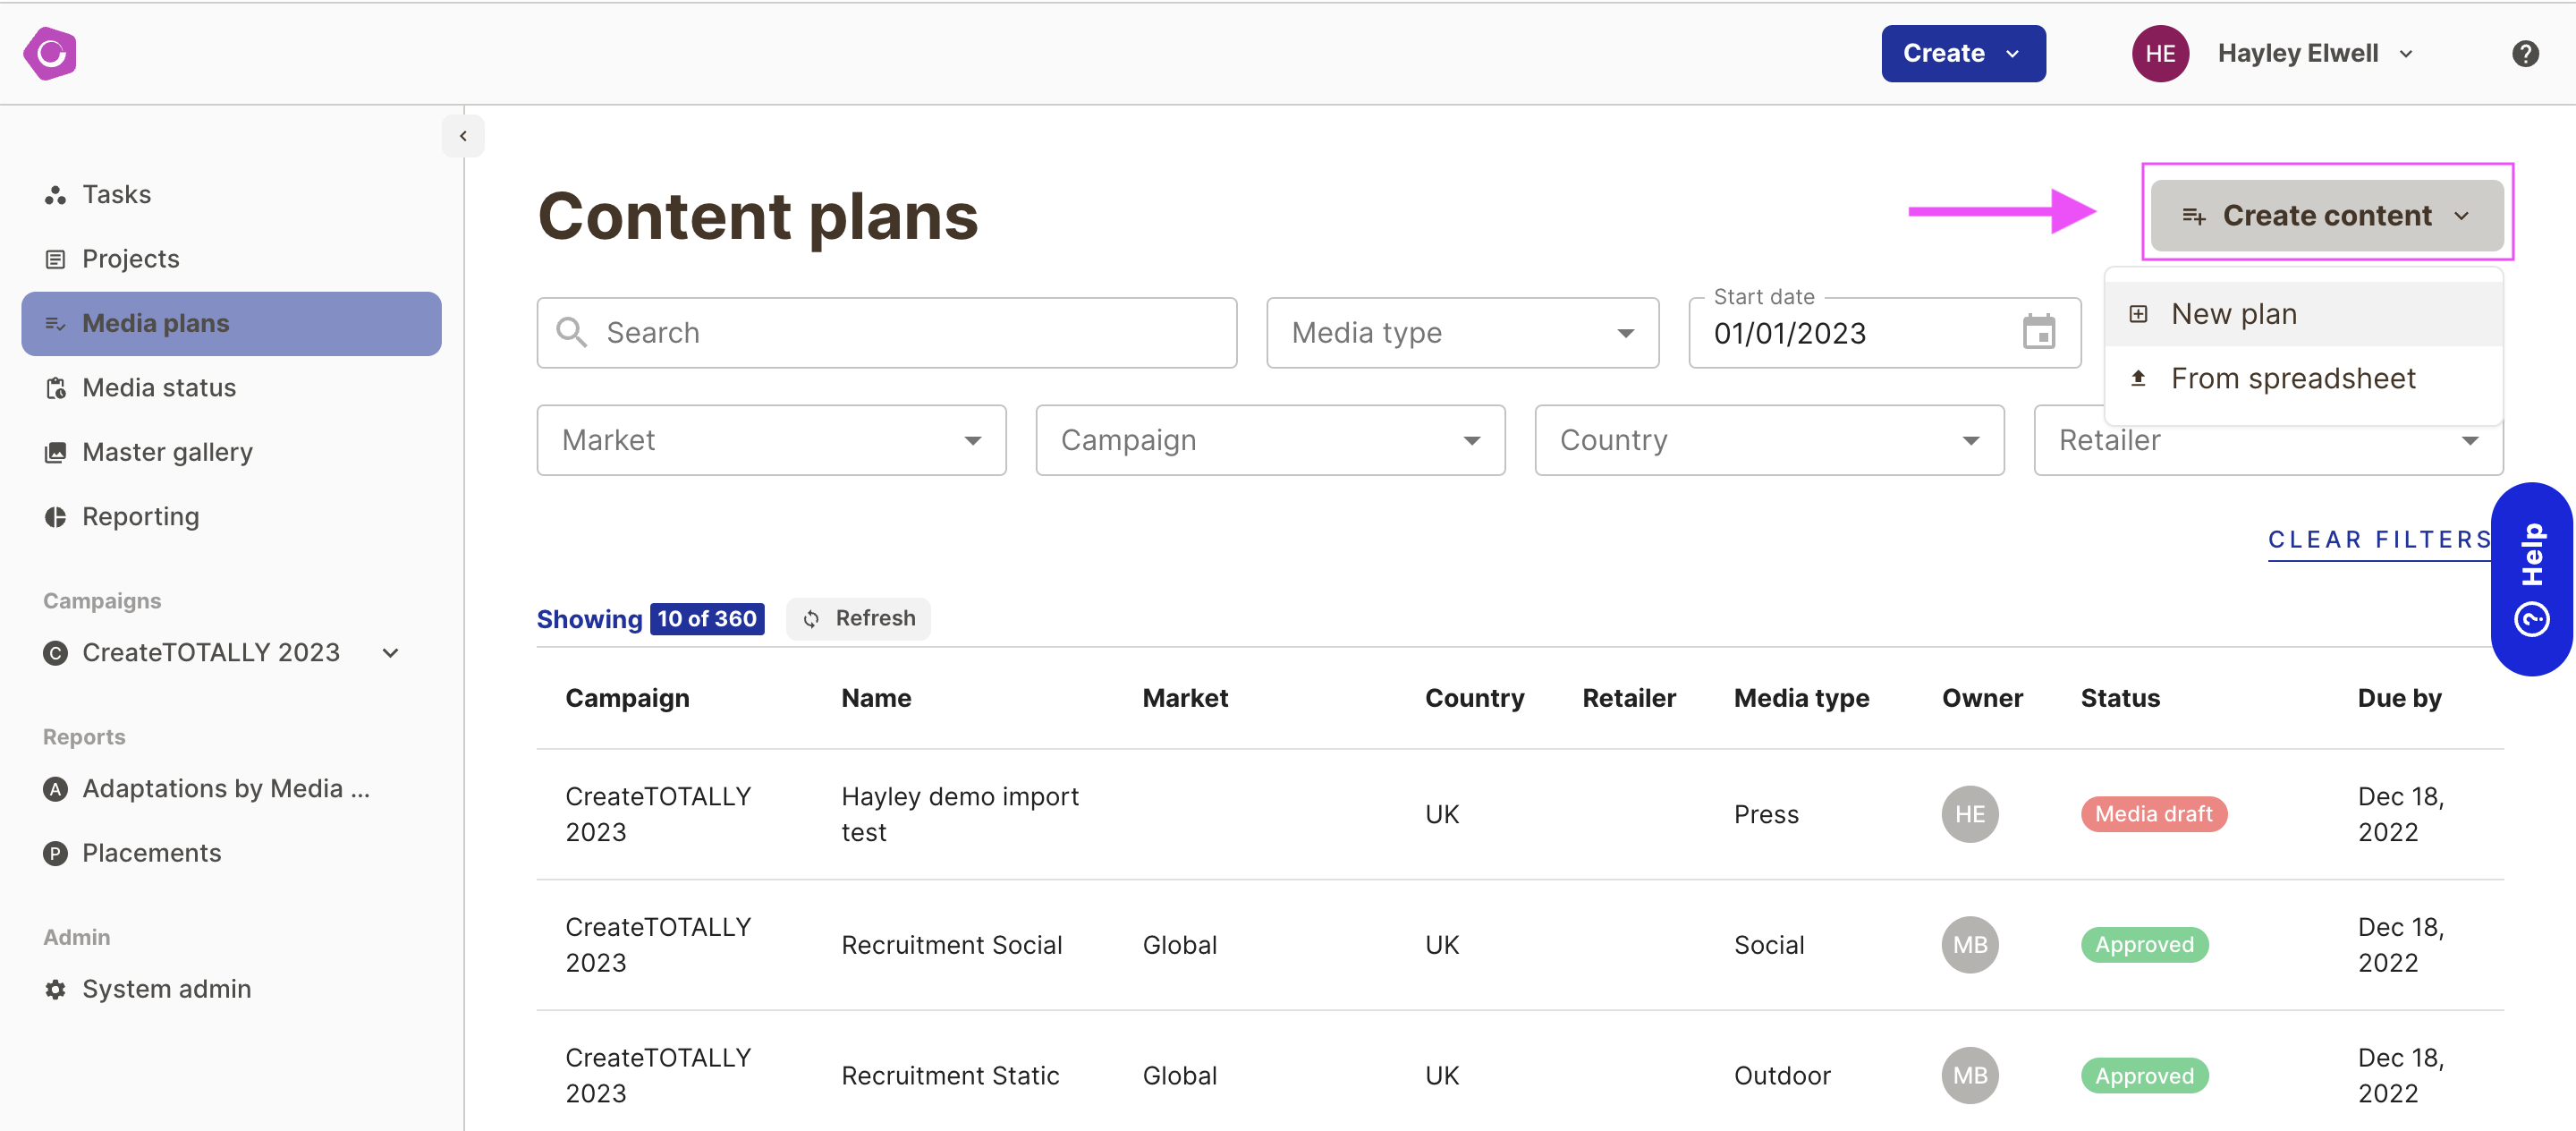
Navigate to Content plans and then click on Create content to get started. There are 2 ways to create a plan:
- New plan - a blank plan that will allow you to add and clone placements in the platform
- From spreadsheet - generate a spreadsheet template to fill out and create placements in bulk
Creating a content plan from blank
You will be guided through a form to complete the basic details of the plan, including the name, the campaign and media type. You can also optionally select the market and country the plan is for. This will give you access to any country specific ad specifications.

After completing these details, you will see the empty content plan.
Click Add new adaptation to get started.
In the form that appears, select the master template you want to create your adaptation from. You can search for the master template by any part of its name, to quickly find the one you require. You will then be able to select the language and the placement (or publication) and format the adaptation will be for. The start date (the date your ad will be live from) and the delivery date (when the artwork is due) will be pre-populated from the content plan, but can be amended here is required.
If your master template is created in Figma, you will see a list of the output items available. You can remove these from the order by clicking the X icon next to the sizes you don’t need.

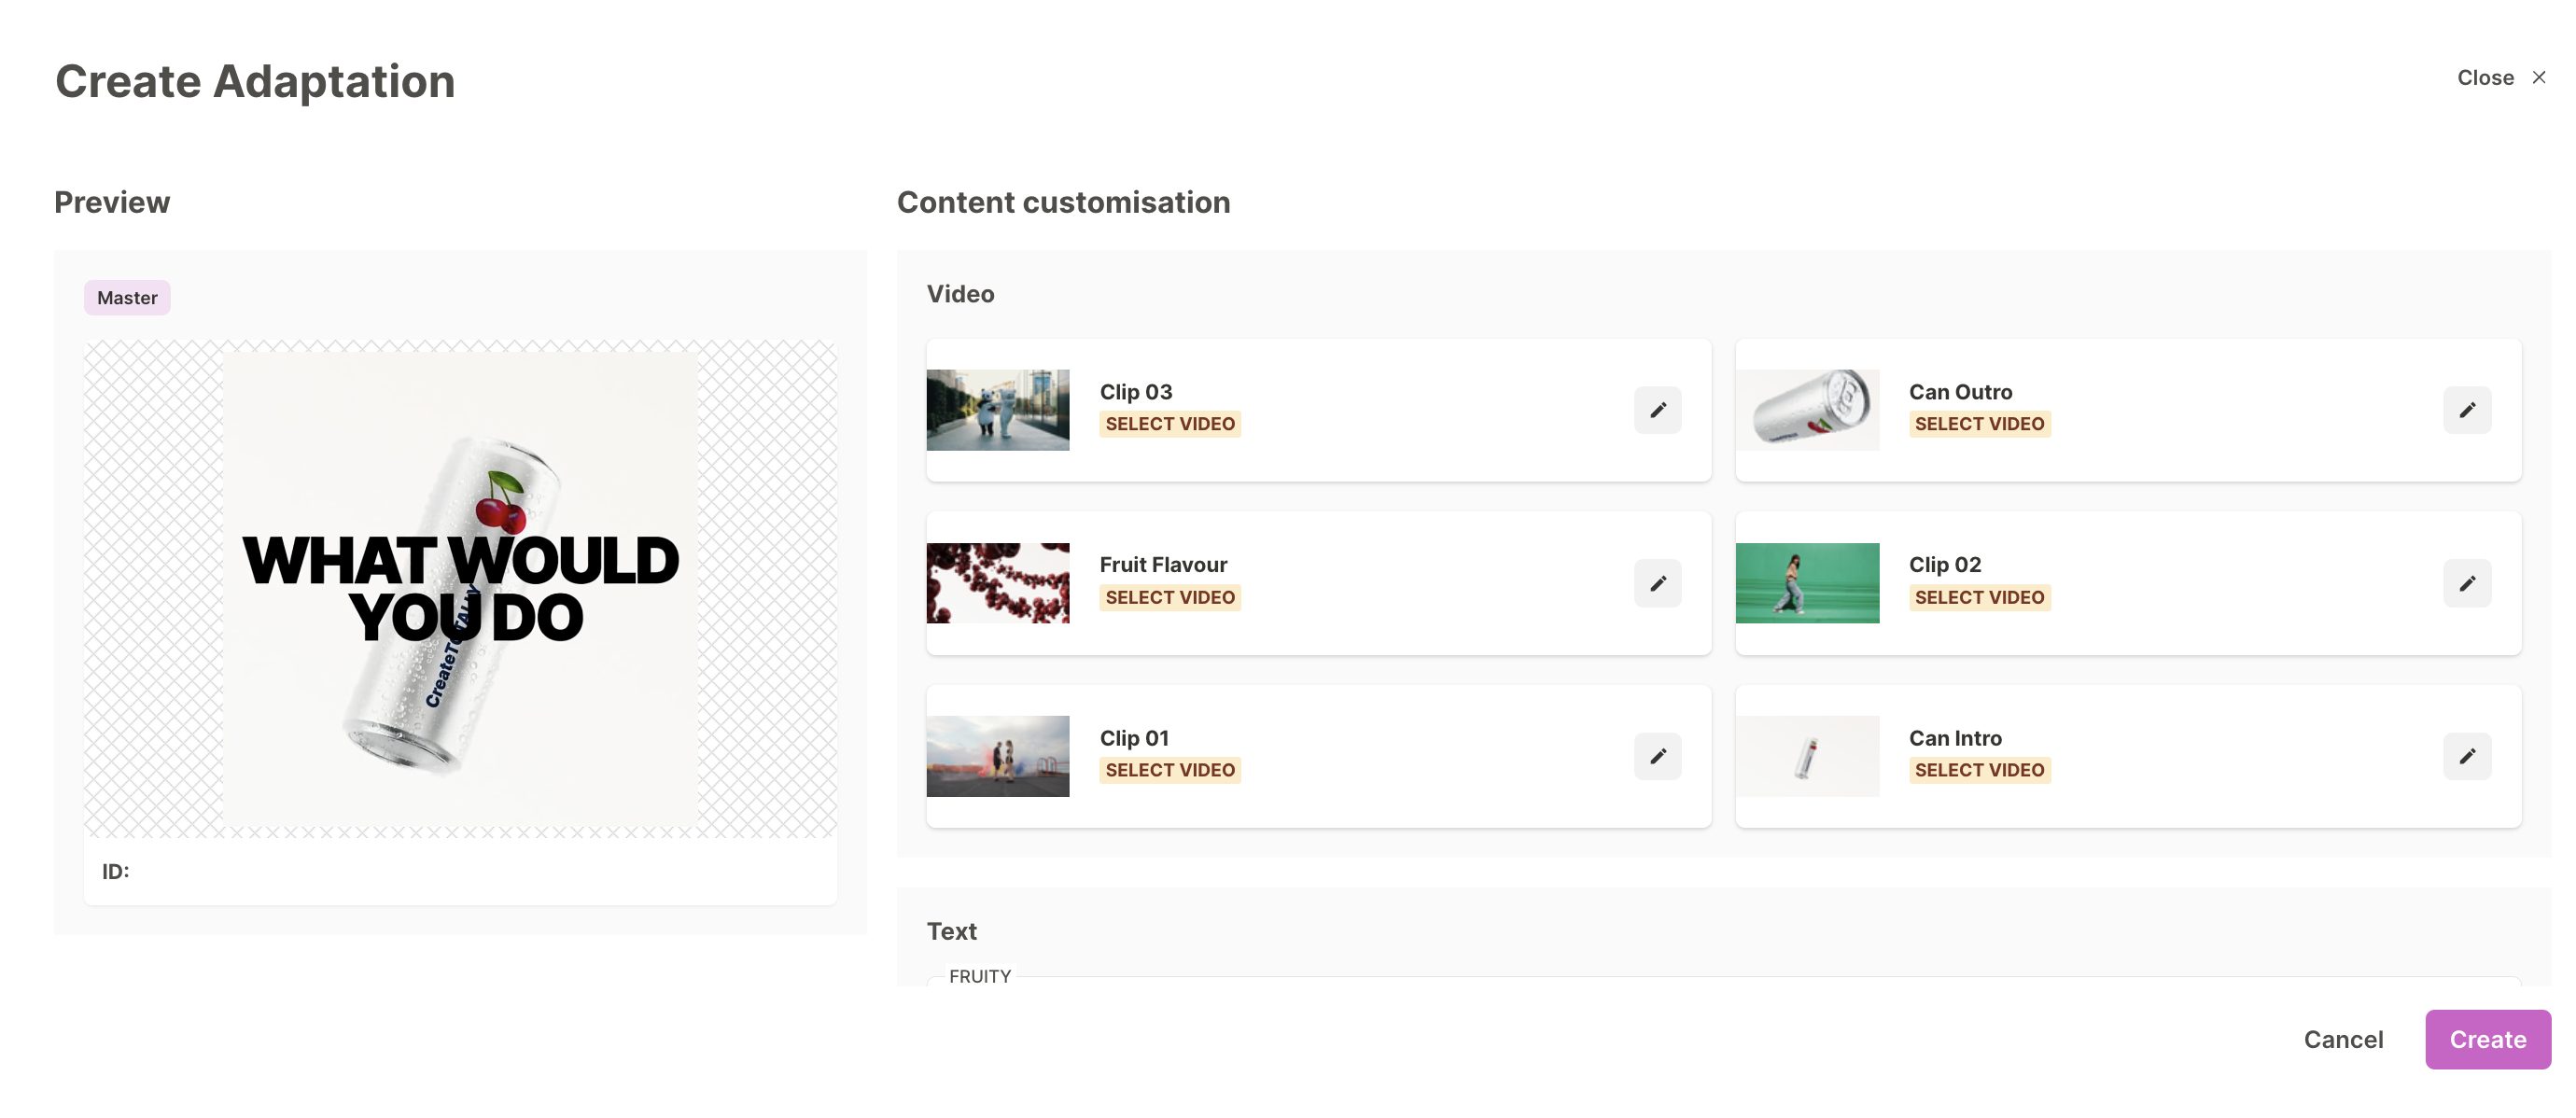
Next complete the content customisation. This section allows you to customise the Images/ videos and text required in your adaptation.
To select the images or videos you require, click the pencil icon next to each image/ video and making your selection. You can then edit the text and tables in the adaptation.
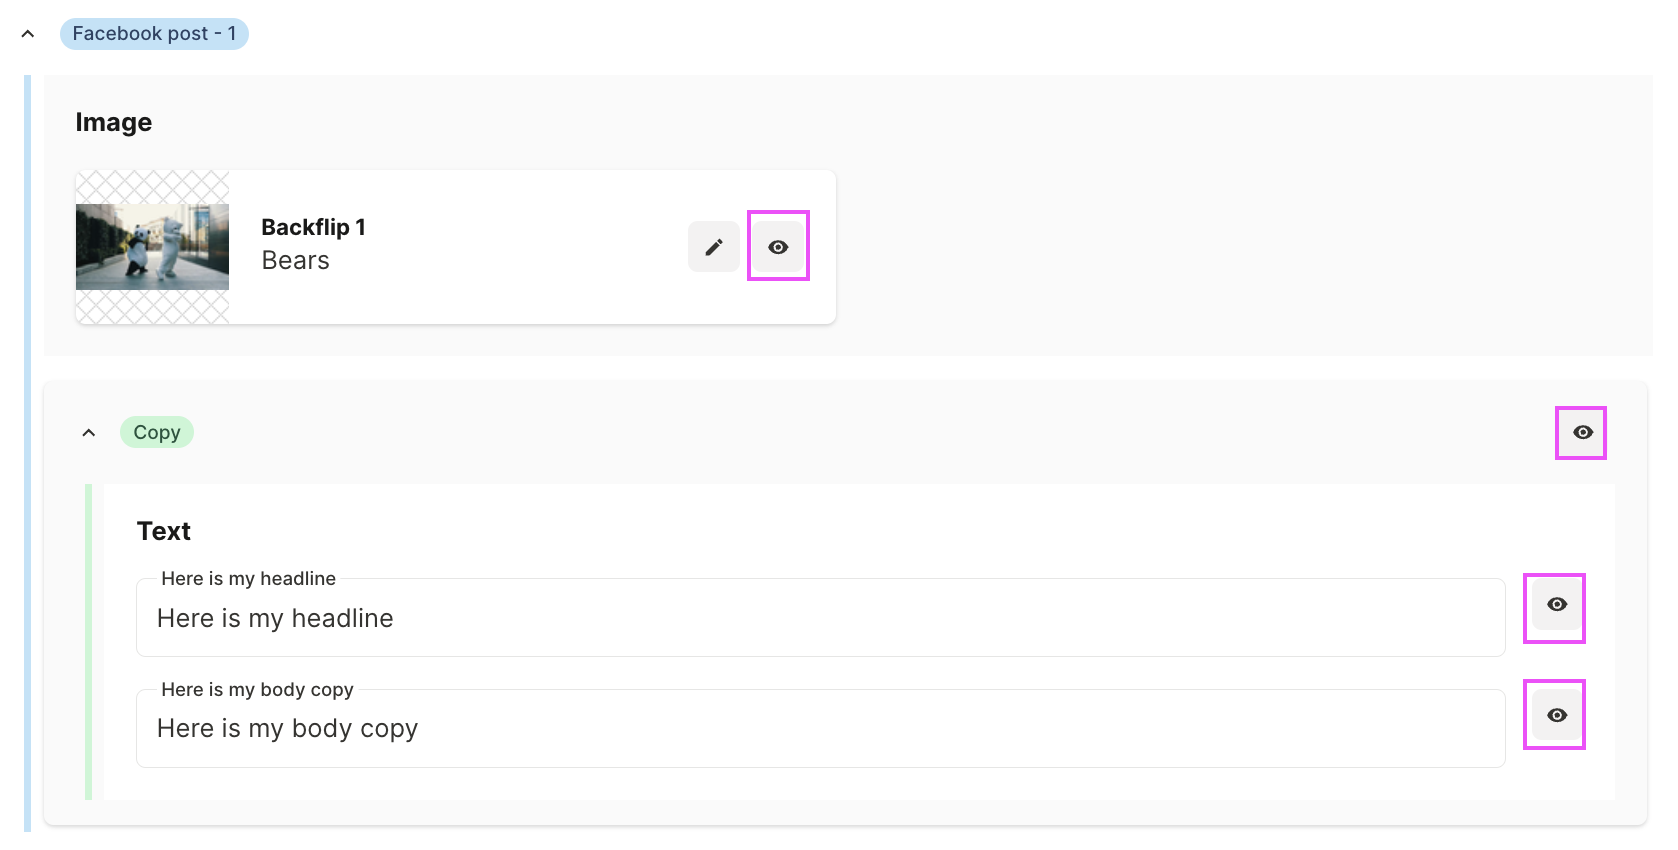
If a Figma template is selected which has containers tagged, the visibility of the container and every variable element that sits within the container will also be able to be hidden by clicking on the visibility icon. This allows you to remove additional options you don’t need.
Text will either be populated from a translation form (if translations exist for your selected language) or from the default copy in the selected master template.
Once you have completed all the details, click Create. If you would like to create more adaptations, make sure to check the Create another adaptation checkbox. This will keep the modal open, cloning the details you had selected so that you can quickly make additional adaptations.

Cloning adaptations
If you want to make an adaptation that is similar to an existing one, click the menu icon and select the clone option. This will open the adaptation modal pre-filled with the same details, which you can adapt to create a new adaptation.
Creating a content plan from a spreadsheet
If you have the details you need to create your adaptations in a spreadsheet, it might be faster to create a content plan from a spreadsheet. Click Create content - From spreadsheet.

You will be guided through a step by step process to import your plan. First complete the basic details by giving the plan a name and selecting which campaign, media type, market and country it is for.
Next you can download an Excel file with the specific details for the Master Templates you need to create content from. Only Master Templates available for your Campaign and Media Type will be shown in the selector. Once you have made your selections, download the file.
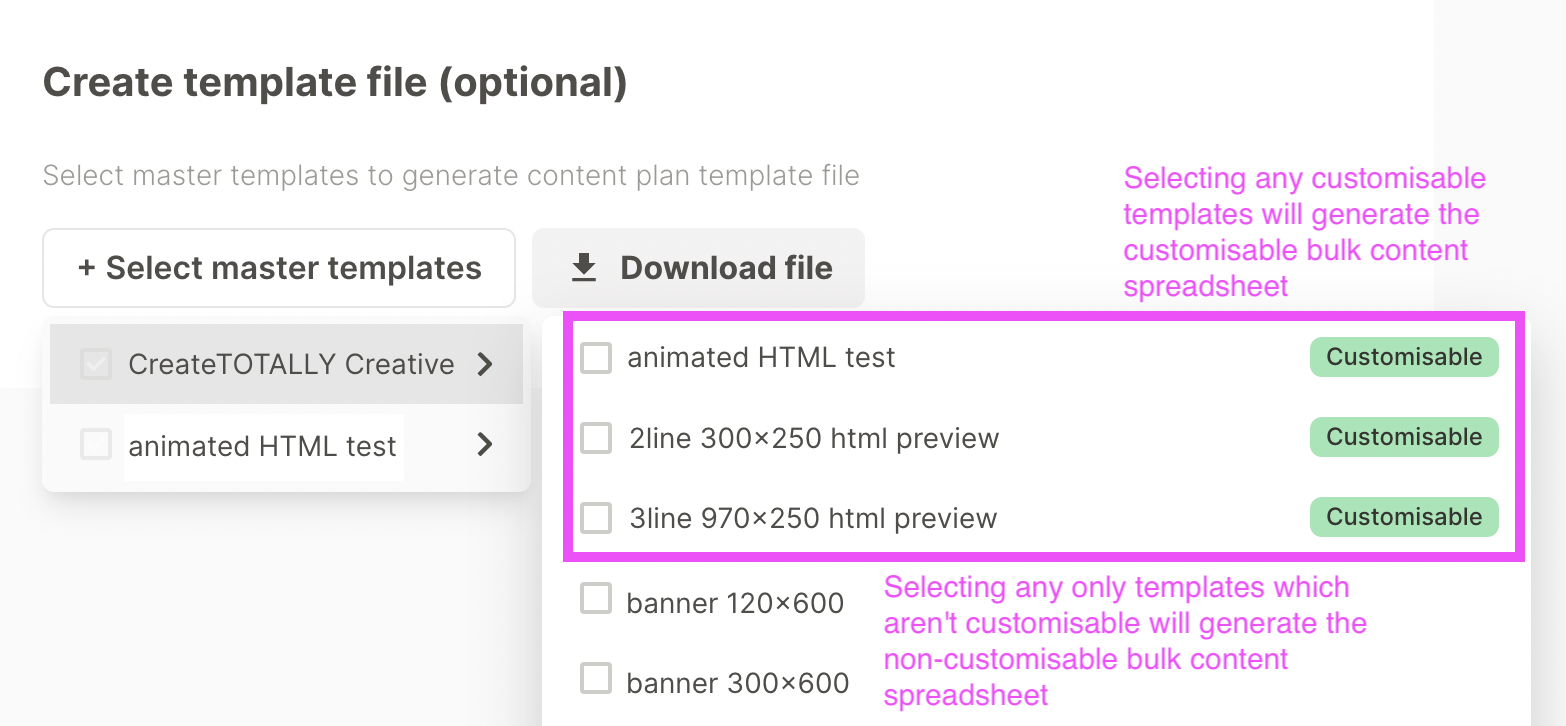
The Excel file you generate will depend on whether the selected master templates are customisable:
1. Non-customisable templates - if you select only templates that aren't customisable, you will download a spreadsheet with a single tab. Each row you complete in the spreadsheet will be a new adaptation. You will need to enter details for the following:
- Template - a drop-down of the templates you selected when generating the spreadsheet
- Placement - this is the name of the publication/ site that you are creating the adaptation for. Note - it needs to exist in the media database for the country and client you are creating the ad for.
- Format - this is the specific ad format you require. This must be available to the placement selected.
- Start date - the date your ad will run from
- Copy date - when the ad needs to be supplied. Note the copy date is used to calculate due dates for proof review tasks in the platform
- Language - each adaptation needs to have a language specified. You can select from all the languages available in the platform from a drop-down here. Note - if your templates are linked to a translation form, the language selected which copy is included.

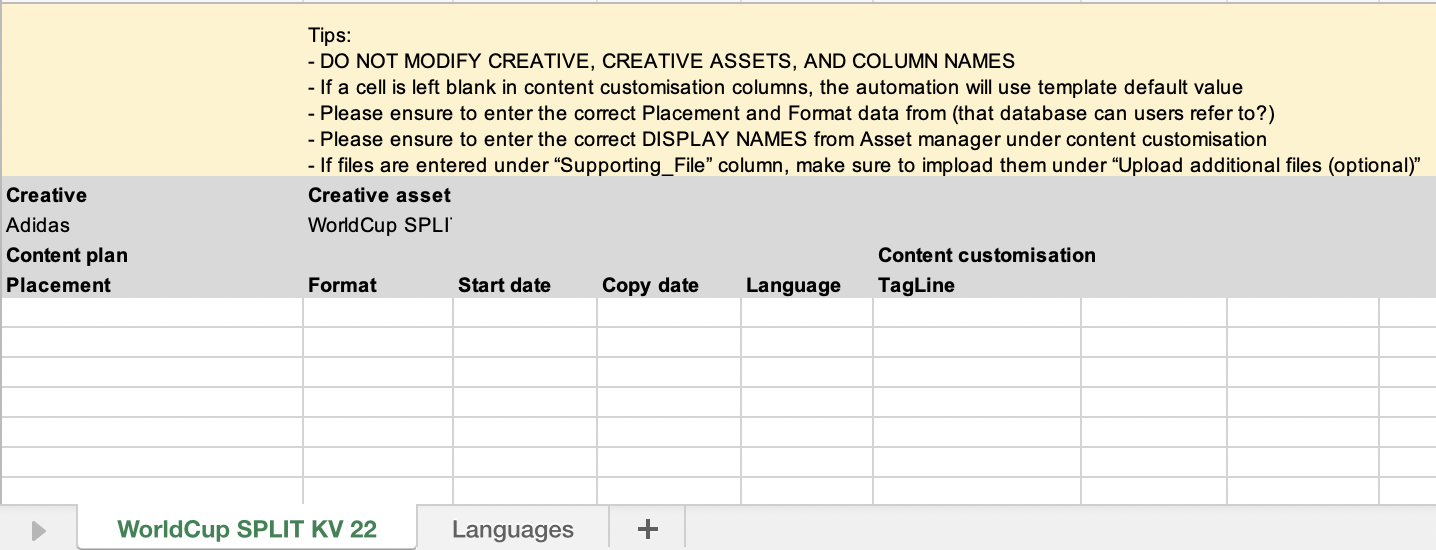
2. Customisable spreadsheet - if you select any templates that are customisable, you will download a spreadsheet that contains a tab for each of the Master Templates you selected. You will need to enter details for the following:
- Placement - this is the name of the publication/ site that you are creating the adaptation for. Note - it needs to exist in the media database for the country and client you are creating the ad for.
- Format - this is the specific ad format you require. This must be available to the placement selected.
- Start date - the date your ad will run from
- Copy date - when the ad needs to be supplied
- Language - each adaptation needs to have a language specified. You can select from all the languages available in the platform from a drop-down here.
- Content customisation - here you will find a column for each of the variable elements of the selected Master Template. Simply enter your text (pressing option + return to add a line break) and add the display name of any image/ videos in these variable elements.
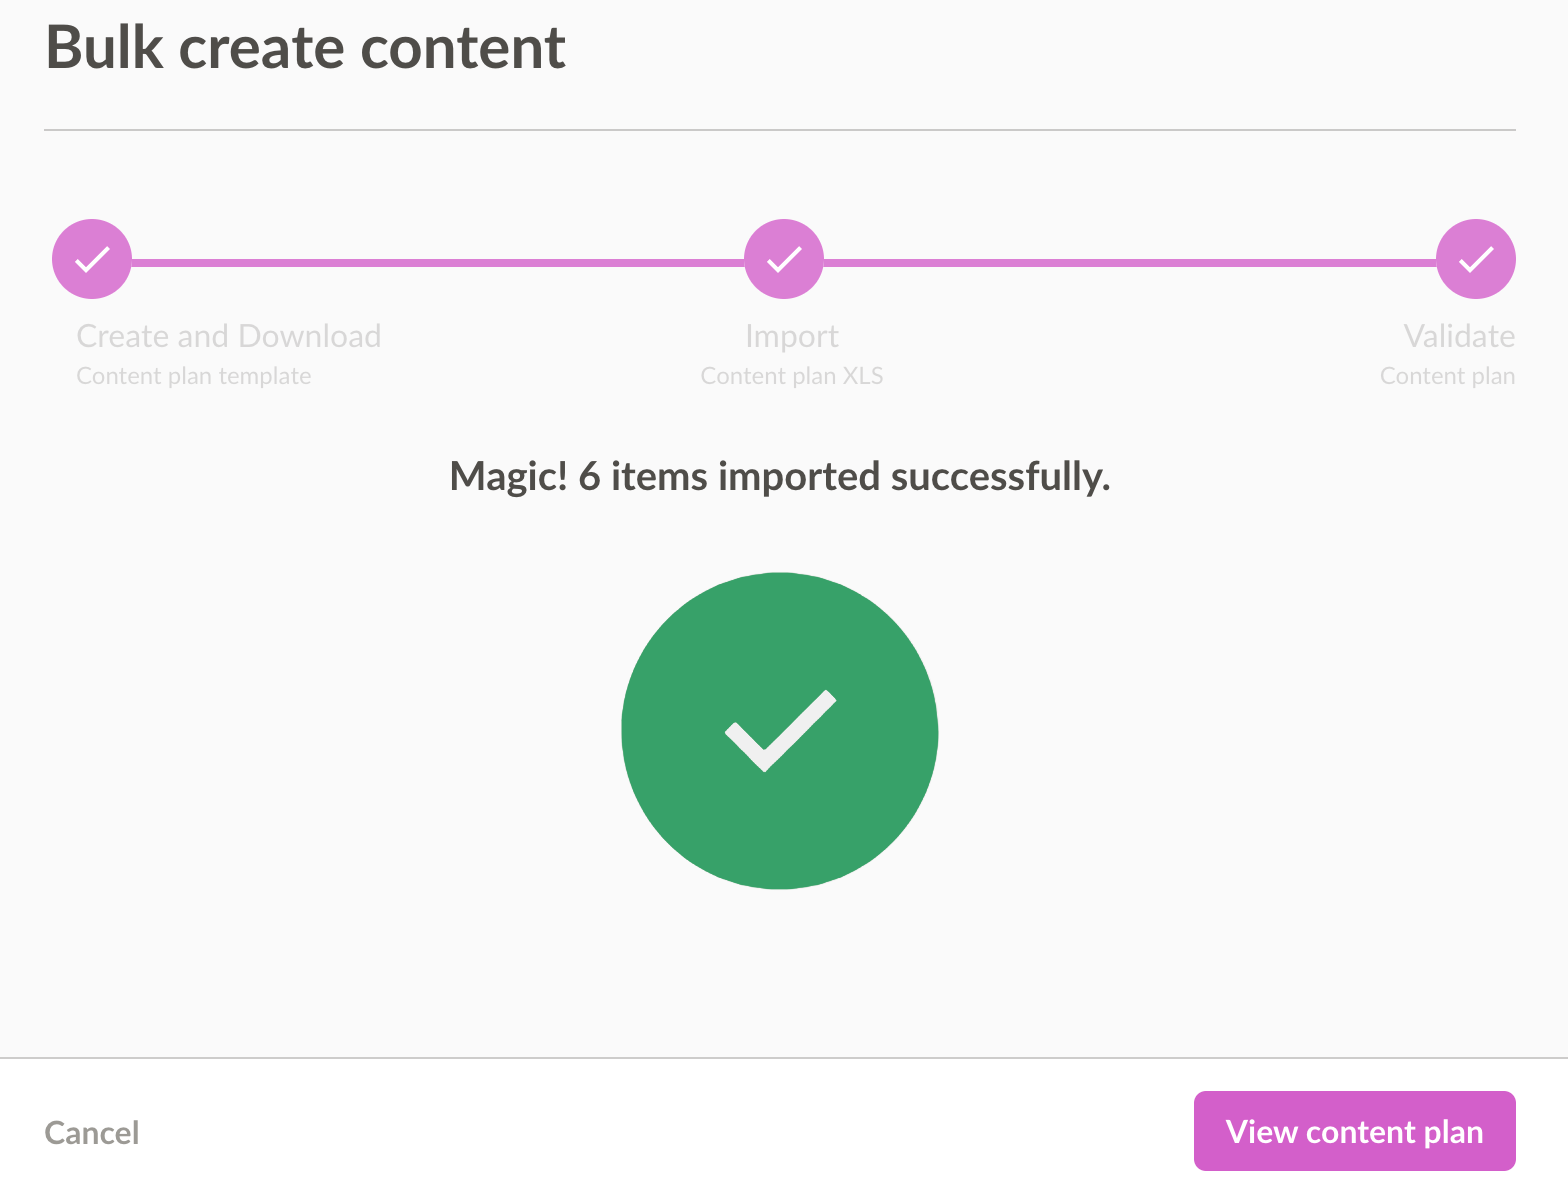
Once you've completed your spreadsheet, save as an XLSX file and upload on the next screen. Click Import & Validate to import.
If all your details are correct, you will be shown a success message. Click on View content plan to view and manage your content plan.
If there are any errors in your spreadsheet, these will be listed out for you.
Troubleshooting your spreadsheet
There are a number of reasons your content plan import can fail. These are all easy to fix and will be explained to you on the error screen.
1. Placement/ format doesn't exist
The name of the placement needs to match exactly the name of a placement in the database for the client and country you are creating the plan for. Check the spelling and remove any spaces or line breaks that may have appeared if you are copying and pasting the name. If you are still having problems, contact your CreateTOTALLY Account Manager to check the placement exists for your selected client/ country.
2. Asset doesn't exist
If your content customisation includes a asset option, make sure to enter the display name of the asset you want to appear in that placement
3. Dates incorrectly formatted
The start and copy dates need to be entered in dd/mm/yyyy format to be correctly processed.
4. Language incorrect
The languages that are available on the platform will appear in a drop-down in the languages column. Always select from this drop-down to ensure the language is formatted correctly for the platform (you can copy and paste between cells, as long as the cell you are copying from was originally selected from the drop-down)
5. Missing data
All cells in a row need to be completed to create a content plan record. Make sure there aren't any blank cells.
Once you have corrected your errors, re-import your spreadsheet.
Manage your content plan
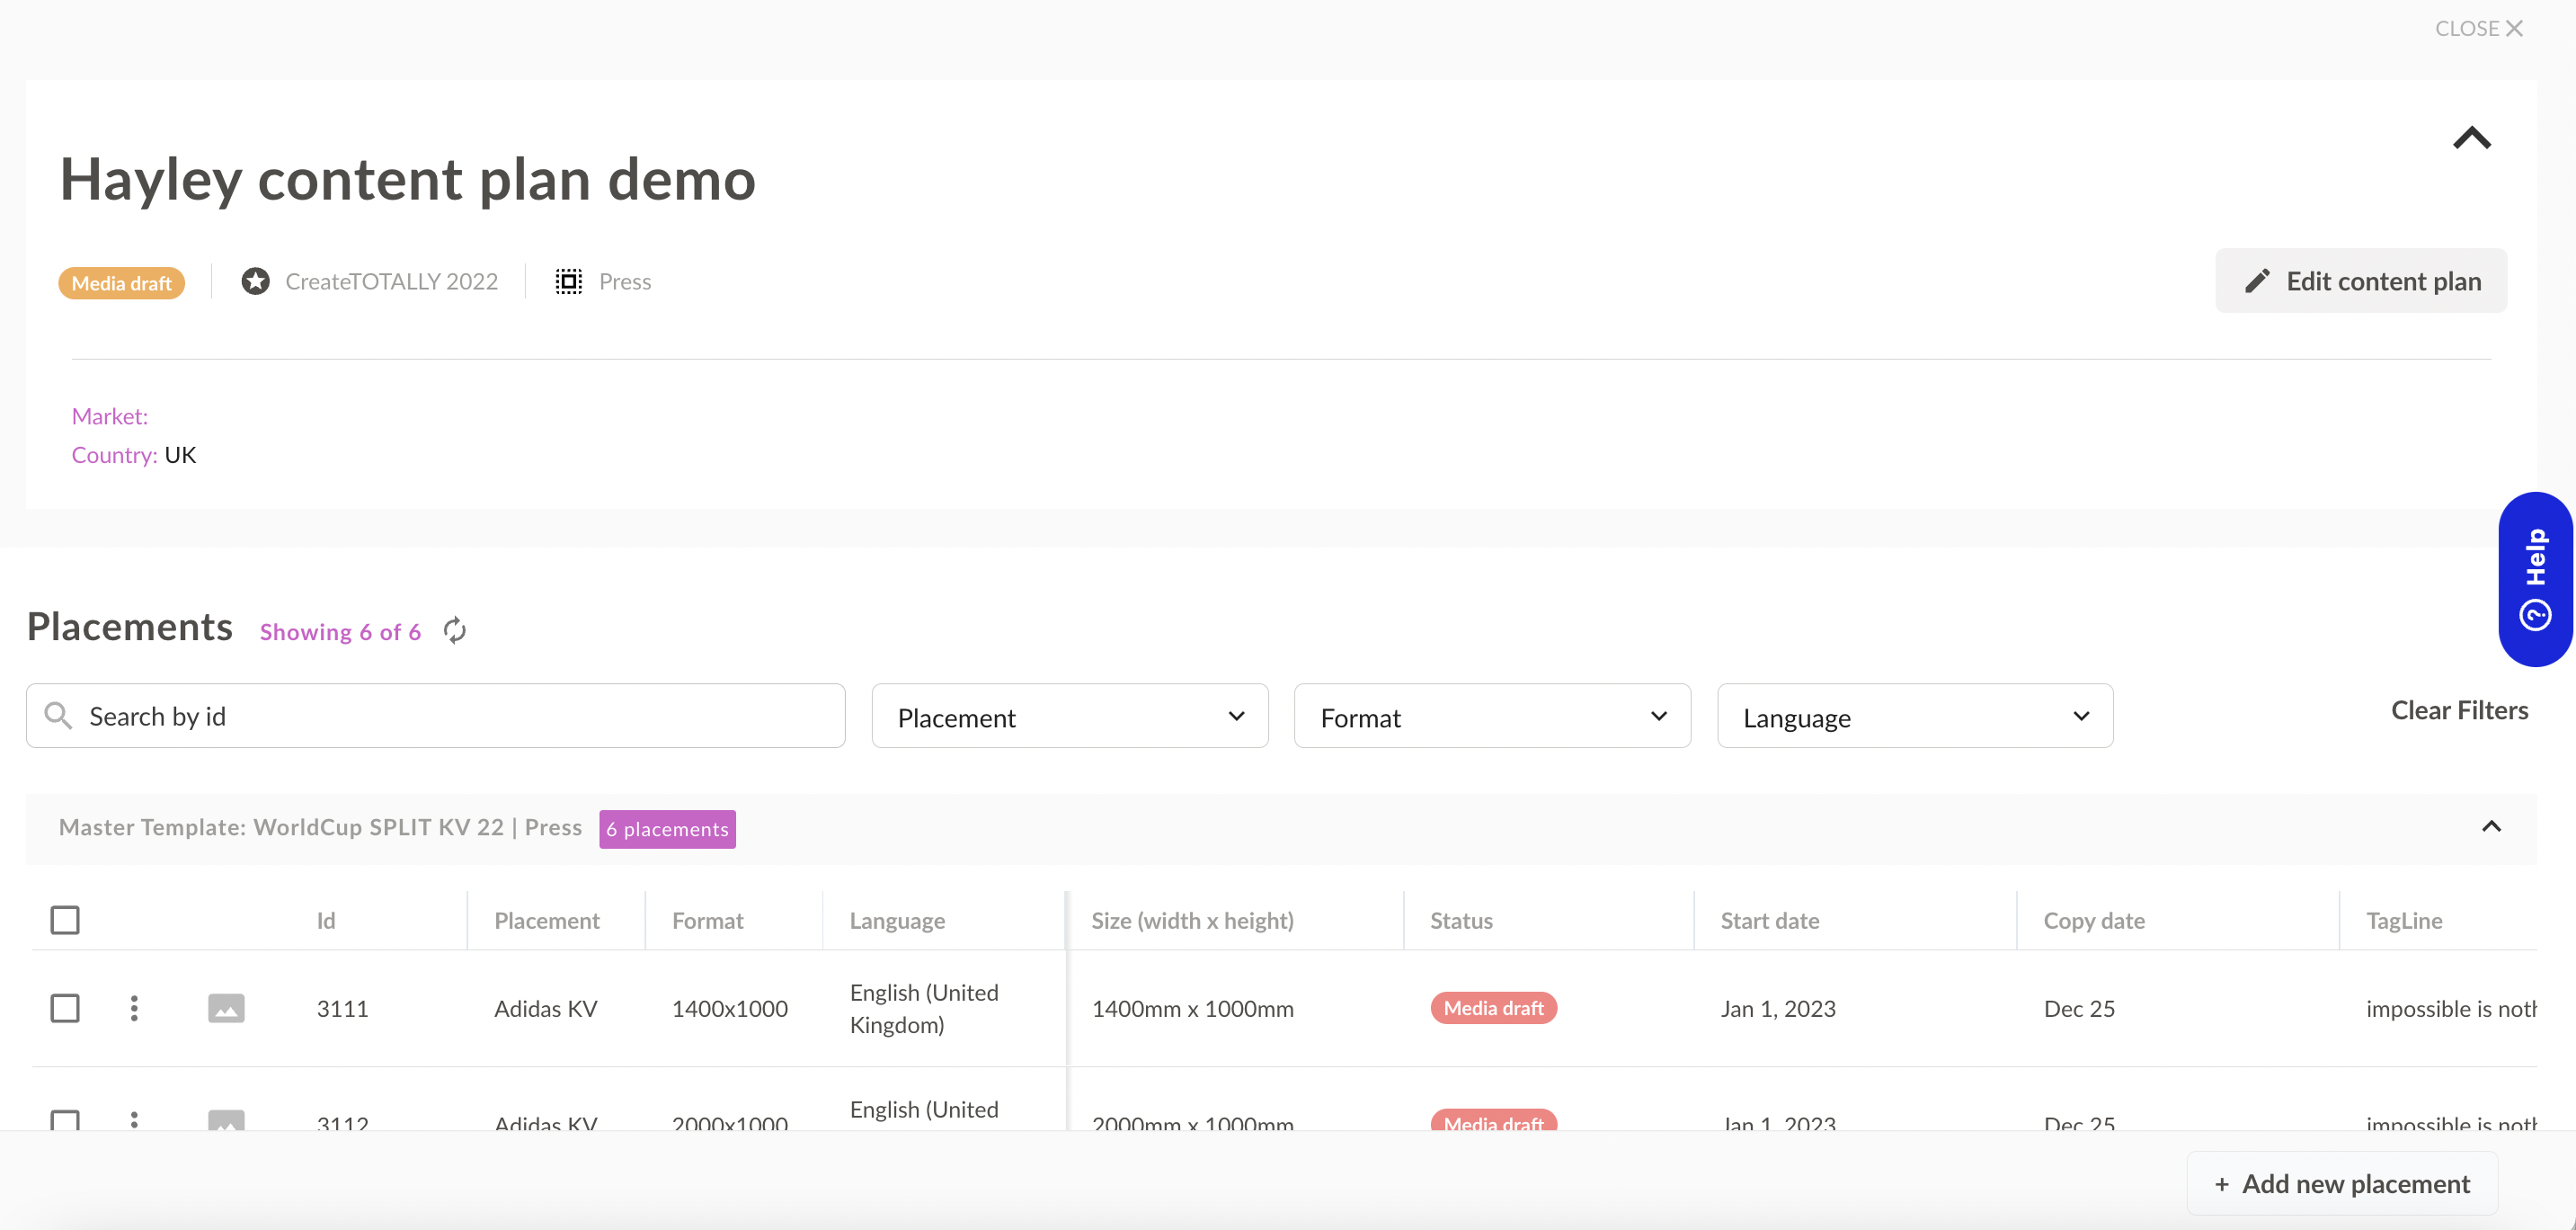
Once you've imported your plan, you will be able to review all the details of each of the adaptations, before submitting to the next stage. The Content Plan contains all the information that was in your spreadsheet, along with the ad dimensions and a job ID.
The plan is grouped by Master Template and you can use the filters to quickly find the placements you want to review.
When you are happy with the details, you can submit using one of the following methods:
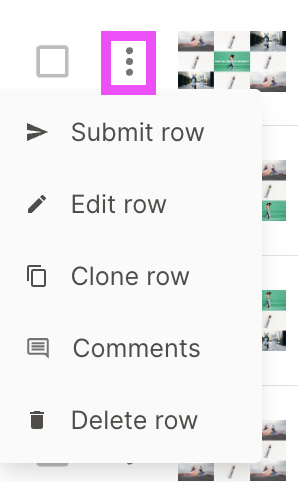
- Single record - click on the menu against the row you want to submit and select submit row
- Multiple records - click on the check-boxes next to the rows you want to submit (or select the check-box at the top of the section to select all) and then click the submit all button in the bottom right hand corner
The status next to each placement you have submitted will update to show where it is in the automation process.
When a proof of your adaptation is available, the status will change to the first review stage and a thumbnail will appear at the start of the row.
Adding new adaptations
If you need to create new adaptations, you can do this in one of two ways:
- Clone an adaptation - select the "clone row" option from the menu of the placement you wish to clone. This will open a dialog with a clone of the information of that placement for you to quickly make changes to
- Add new adaptation - if you would like to start from scratch, you can click that add new adaptation button in the bottom right hand corner. This will let you fill in the form from scratch. Note - the content customisation section will only appear after a master template has been selected. Master templates are available to specific placements and formats, so please complete these details first.
Amending Adaptations
If you have a proof that you need to edit or amend, there are a couple of ways that this can be handled, depending on the type of amend.
Through in-platform customisations
If you need to make a change to the adaptation using the customisations that are available in CreateTOTALLY, e.g. a headline or image choice, you can make the amend by:
- Clicking on the three dots to the left of the insertion.
- Clicking edit row. This will bring up the adaptation modal, where you can make your amends.
- When done, click update and re-submit. Once ready, your updated proof will be re-sent for approval. Reviewers can view all versions created for comparison.

Through working files
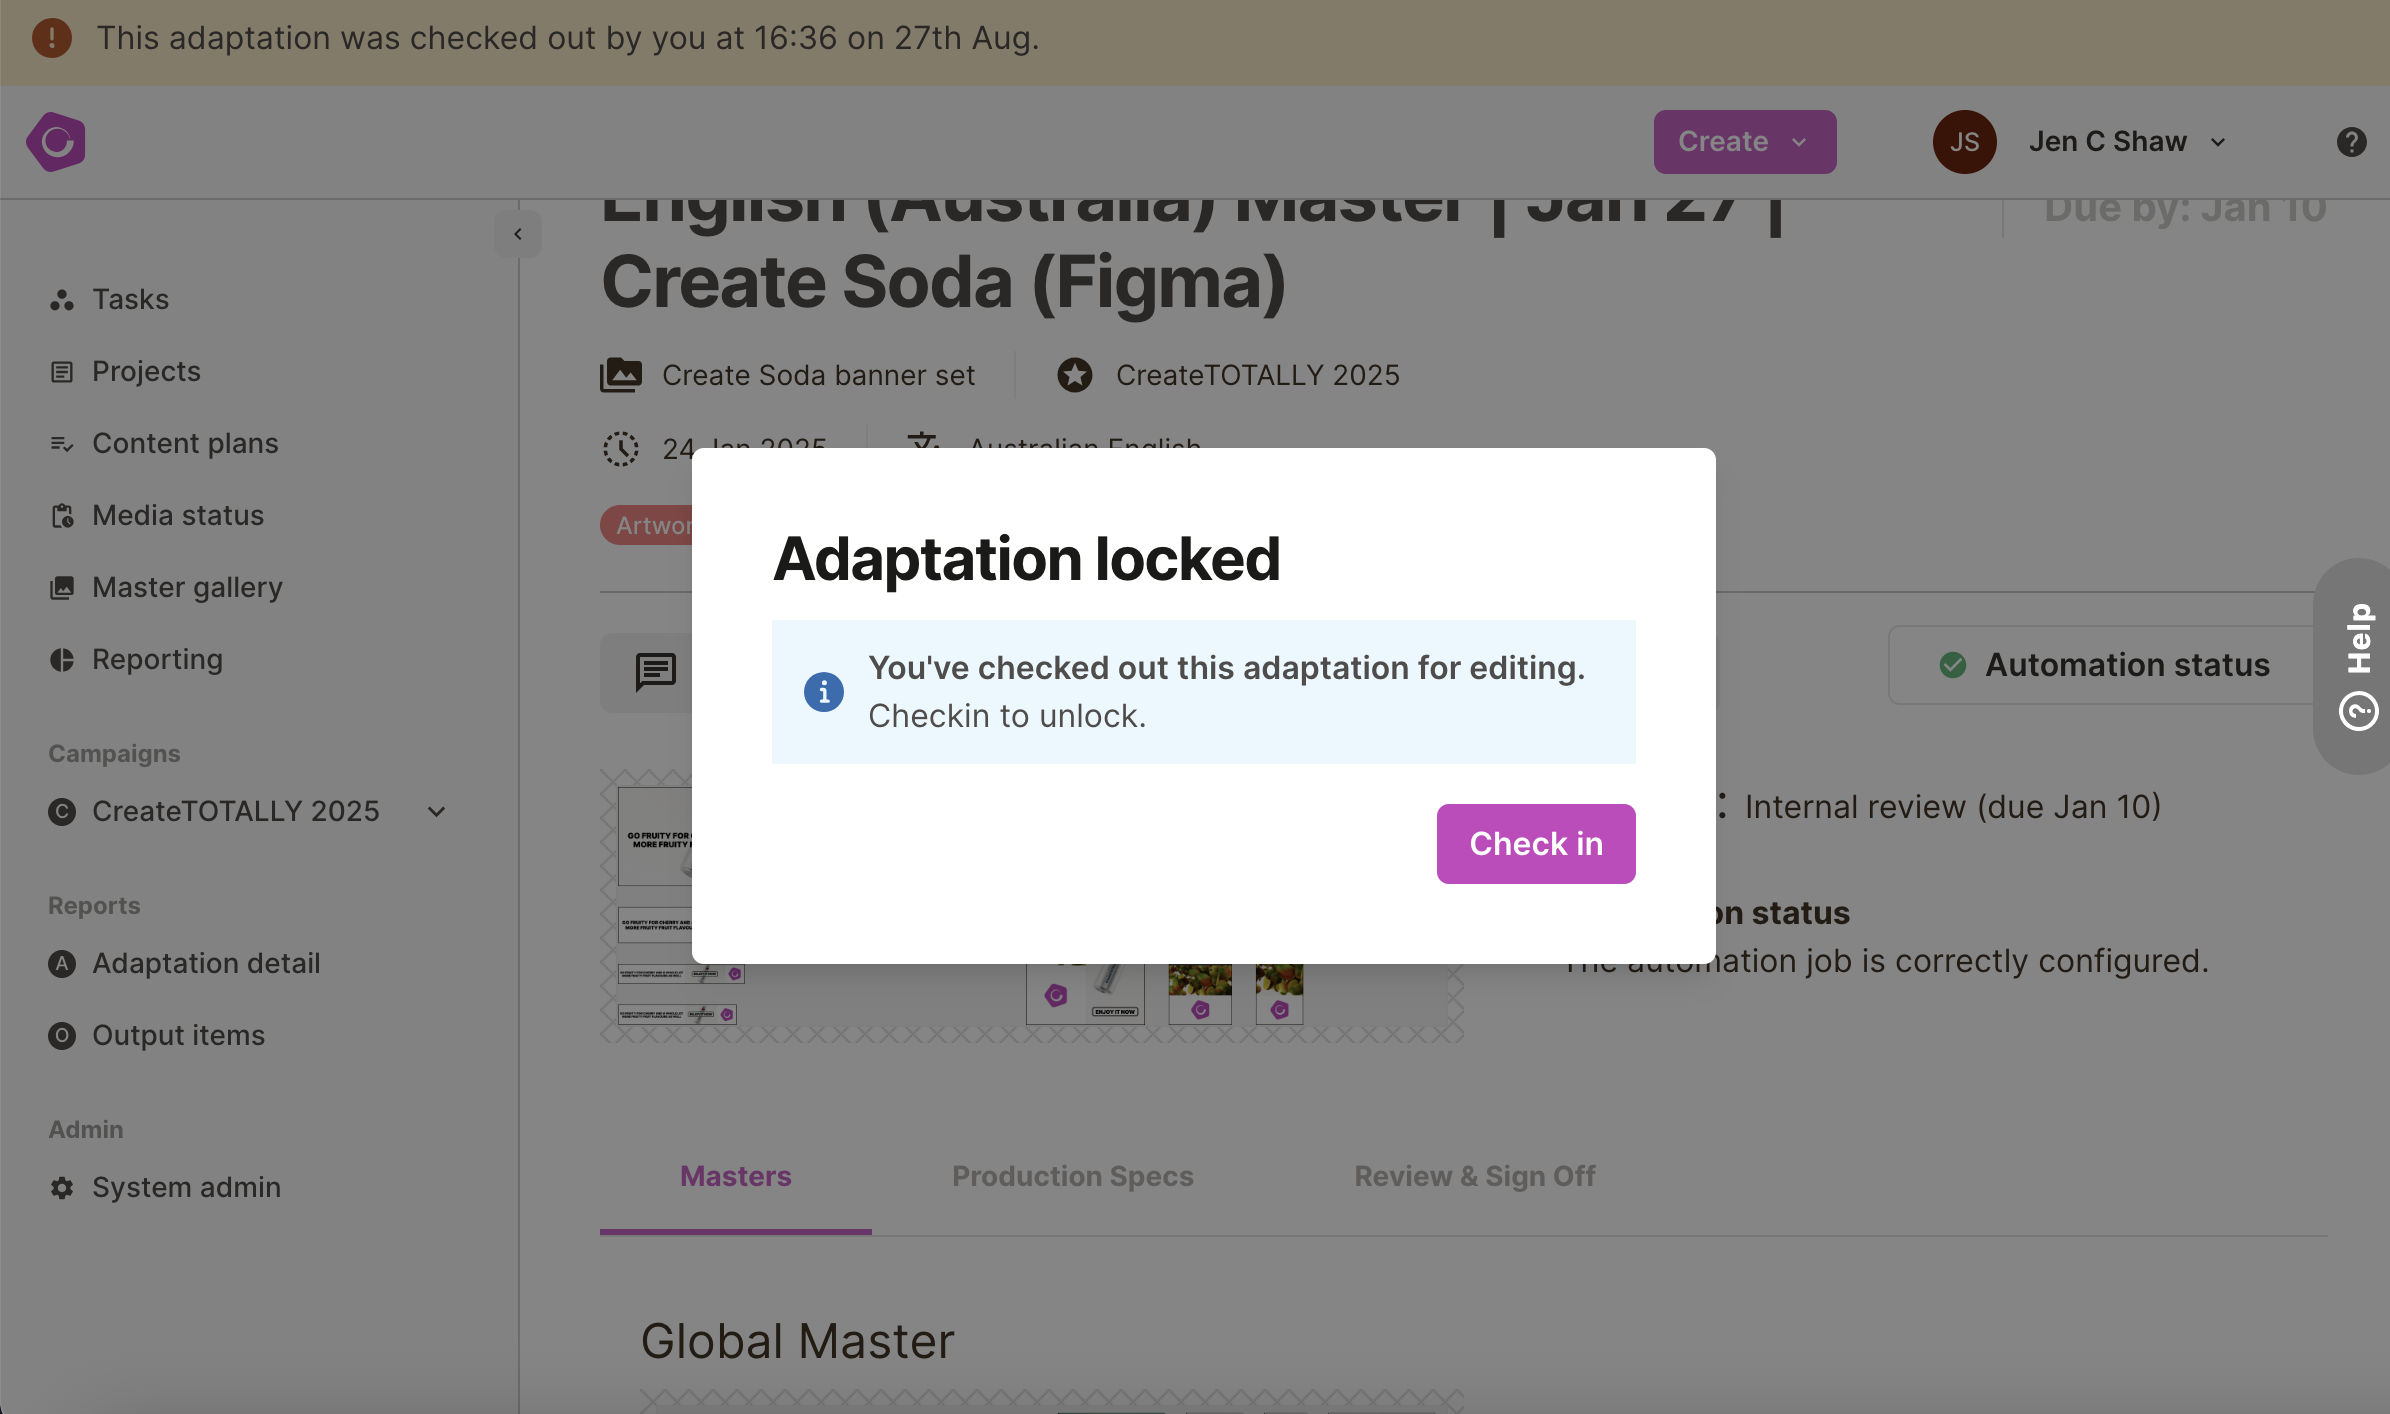
If the amend for the adaptation is not related to something that can be amended in-platform and is instead related to the constraints of a template or a more bespoke need (e.g. an image not cropping well within an extreme format or a translation that doesn't work with a particular layout) the working files for each adaptation can be accessed, to make manual tweaks through our Check Out and Check In functionality.
For Adobe-based adaptations (using CreateTOTALLY StudioLink App)
Checking out and amending Adobe-based adaptations, such as an After Effects or InDesign files, requires our StudioLink helper app (download here).
Once the app has been installed on your desktop, you can download and amend working files for any adaptation needed, using the following steps:
- Navigate to the Insertion Page for the adaptations tation that you would like to amend.
- Click Checkout and choose Full Package (Lite Package is available for After Effects projects).
- CreateTOTALLY StudioLink will open and display the download status of the project files. Once fully downloaded, you can open up the master file and make your necessary changes.
- Once amends are done, save and close your file.
- From the StudioLink app, click Check In to submit the files back to automation. The proof will now be made based off of this working file, rather than the original template.
*Note: when a file is checked out, it will be "locked" within the platform, so that no one else will be able to take any actions while it is being amended. If you have checked an adaptation out but no longer need to make an amend, you can choose Cancel Checkout.
For Figma-based adaptations.
With Figma templates, the StudioLink app is not needed and the working Figma file will open directly in your browser when clicking Checkout.
*Note: you will only be able to edit within the working file if you are somebody that already has edit access in the Figma project.