
The CreateTOTALLY Asset Library is a centralised location to store Assets that will be used during the customisation of a Master Template. It can be accessed by navigating to Sys Admin > Asset Library.
Here you will see a table of all the assets that have been uploaded, along with a range a filters to let you to easily locate specific assets.

Uploading assets
To upload new assets, click on the Upload Asset button at the top of the screen. This will allow you to drag and drop or use the file browser to locate the files for upload.
Click Upload asset

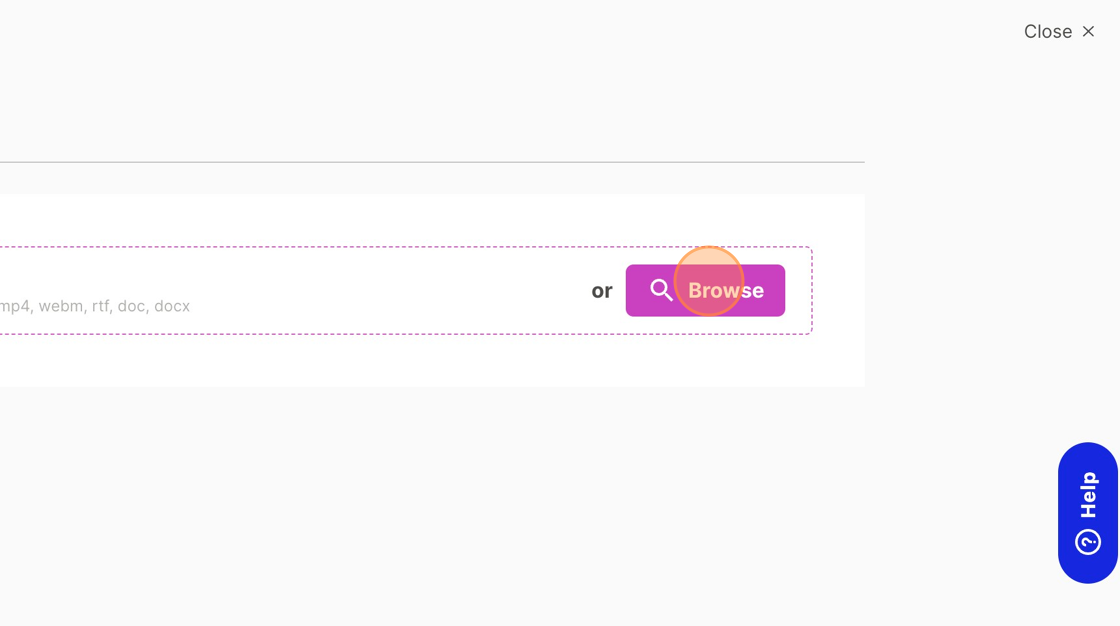
Click Browse
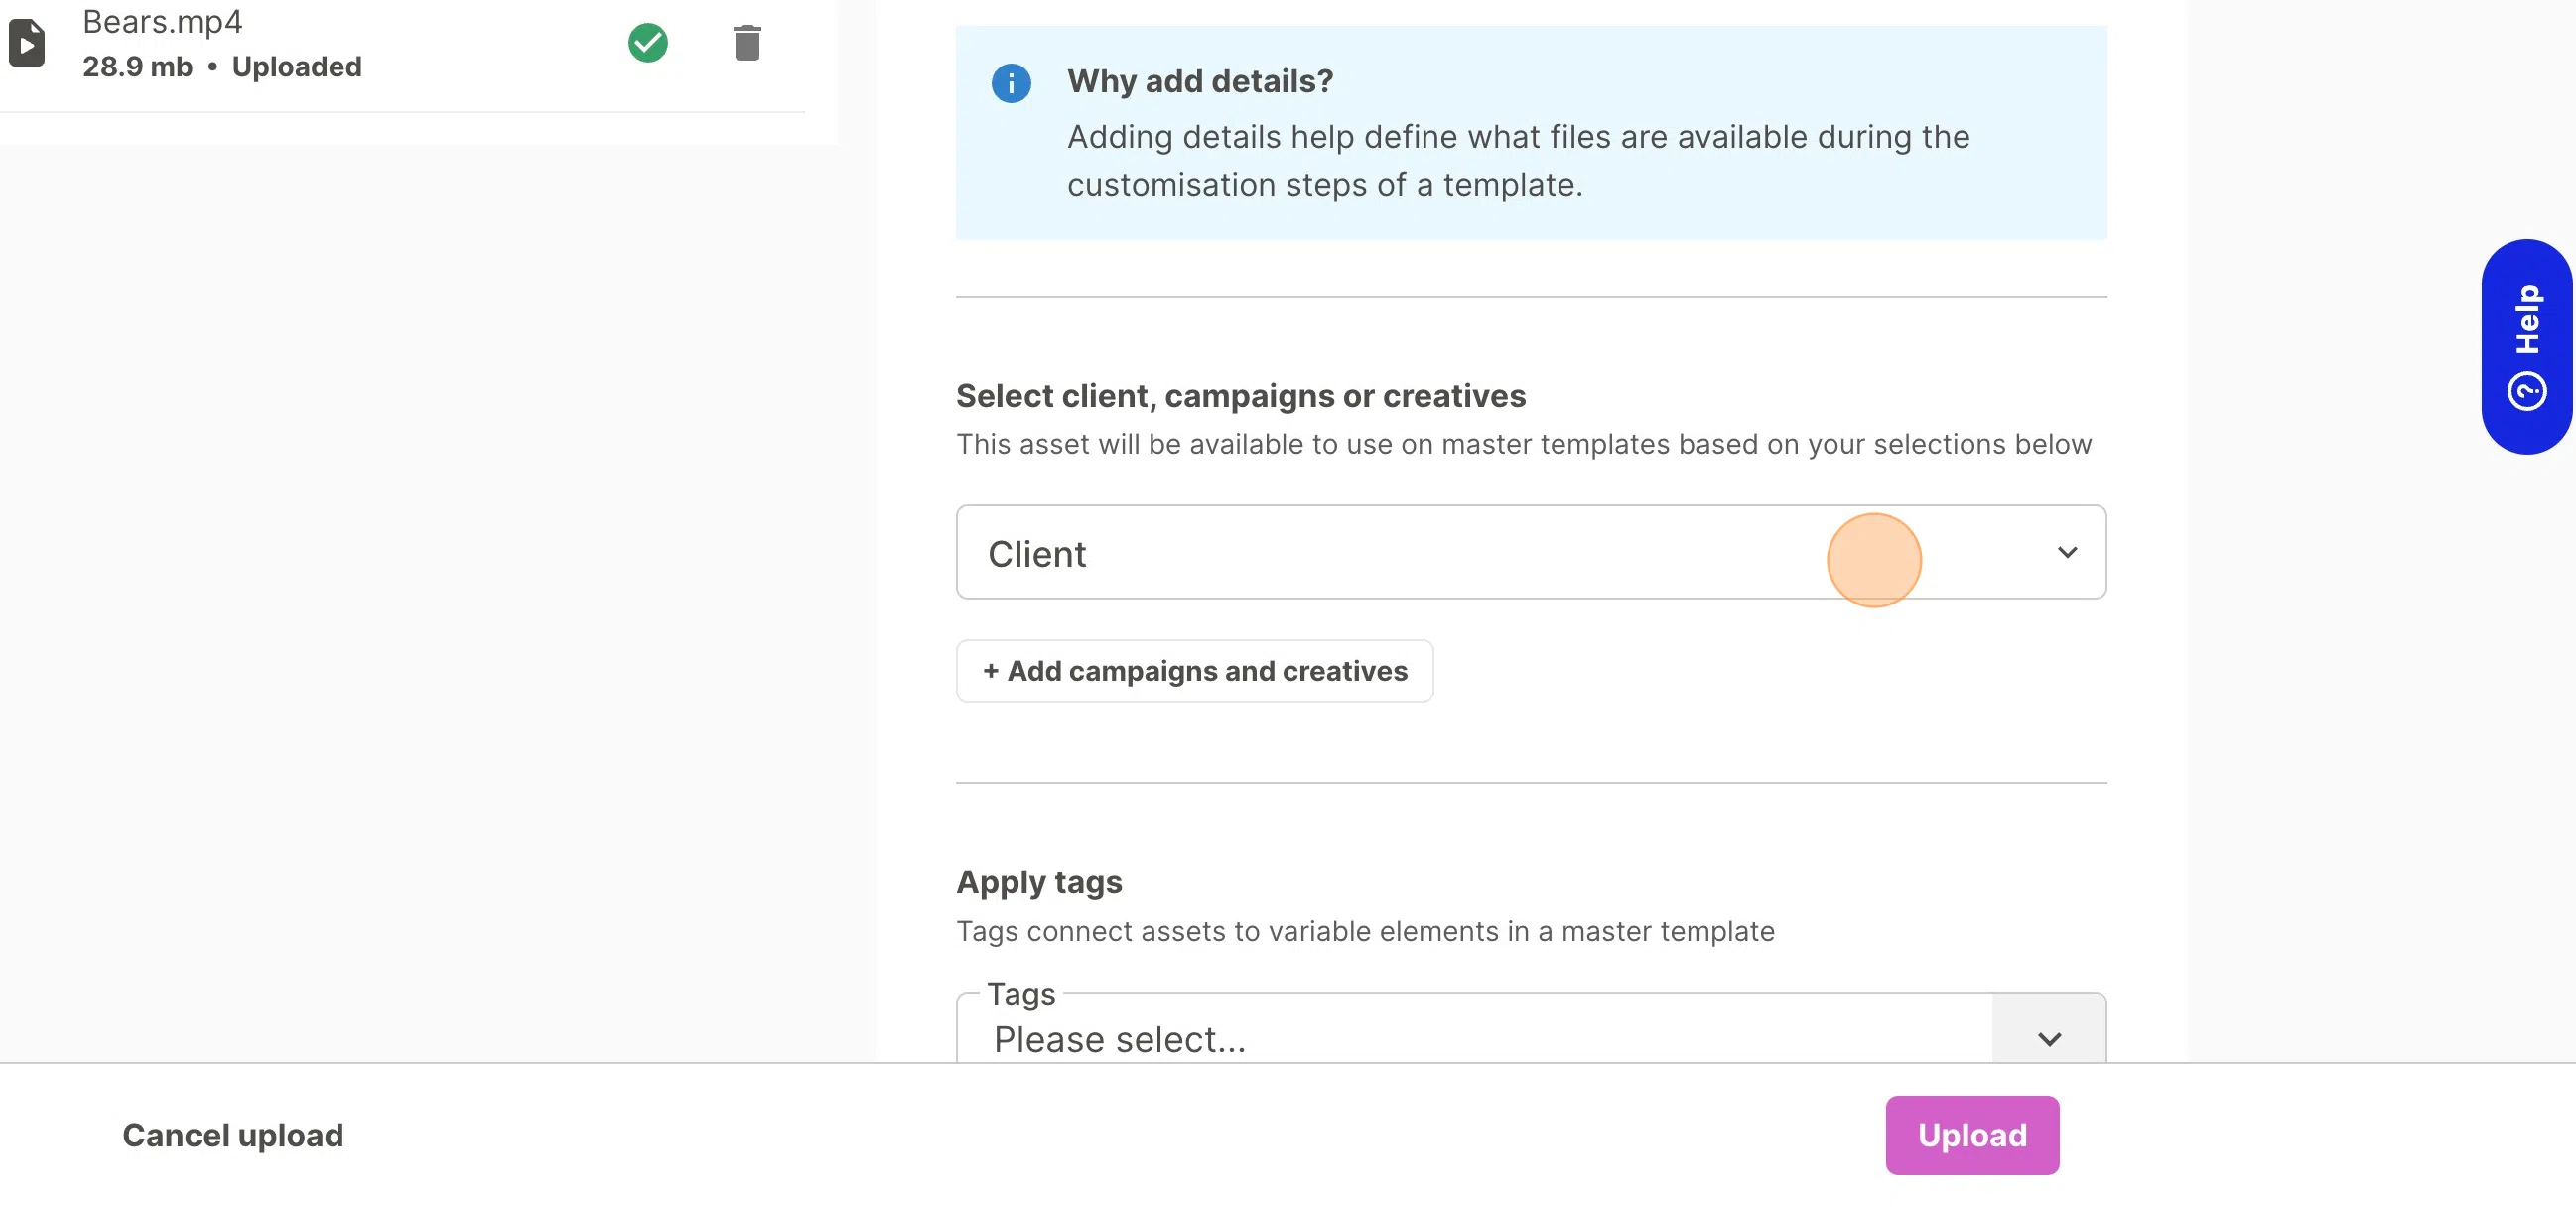
While the assets upload, you can start to add the metadata that will define where the assets will be available.
Click Client dropdown.
Click + Add campaigns and creatives
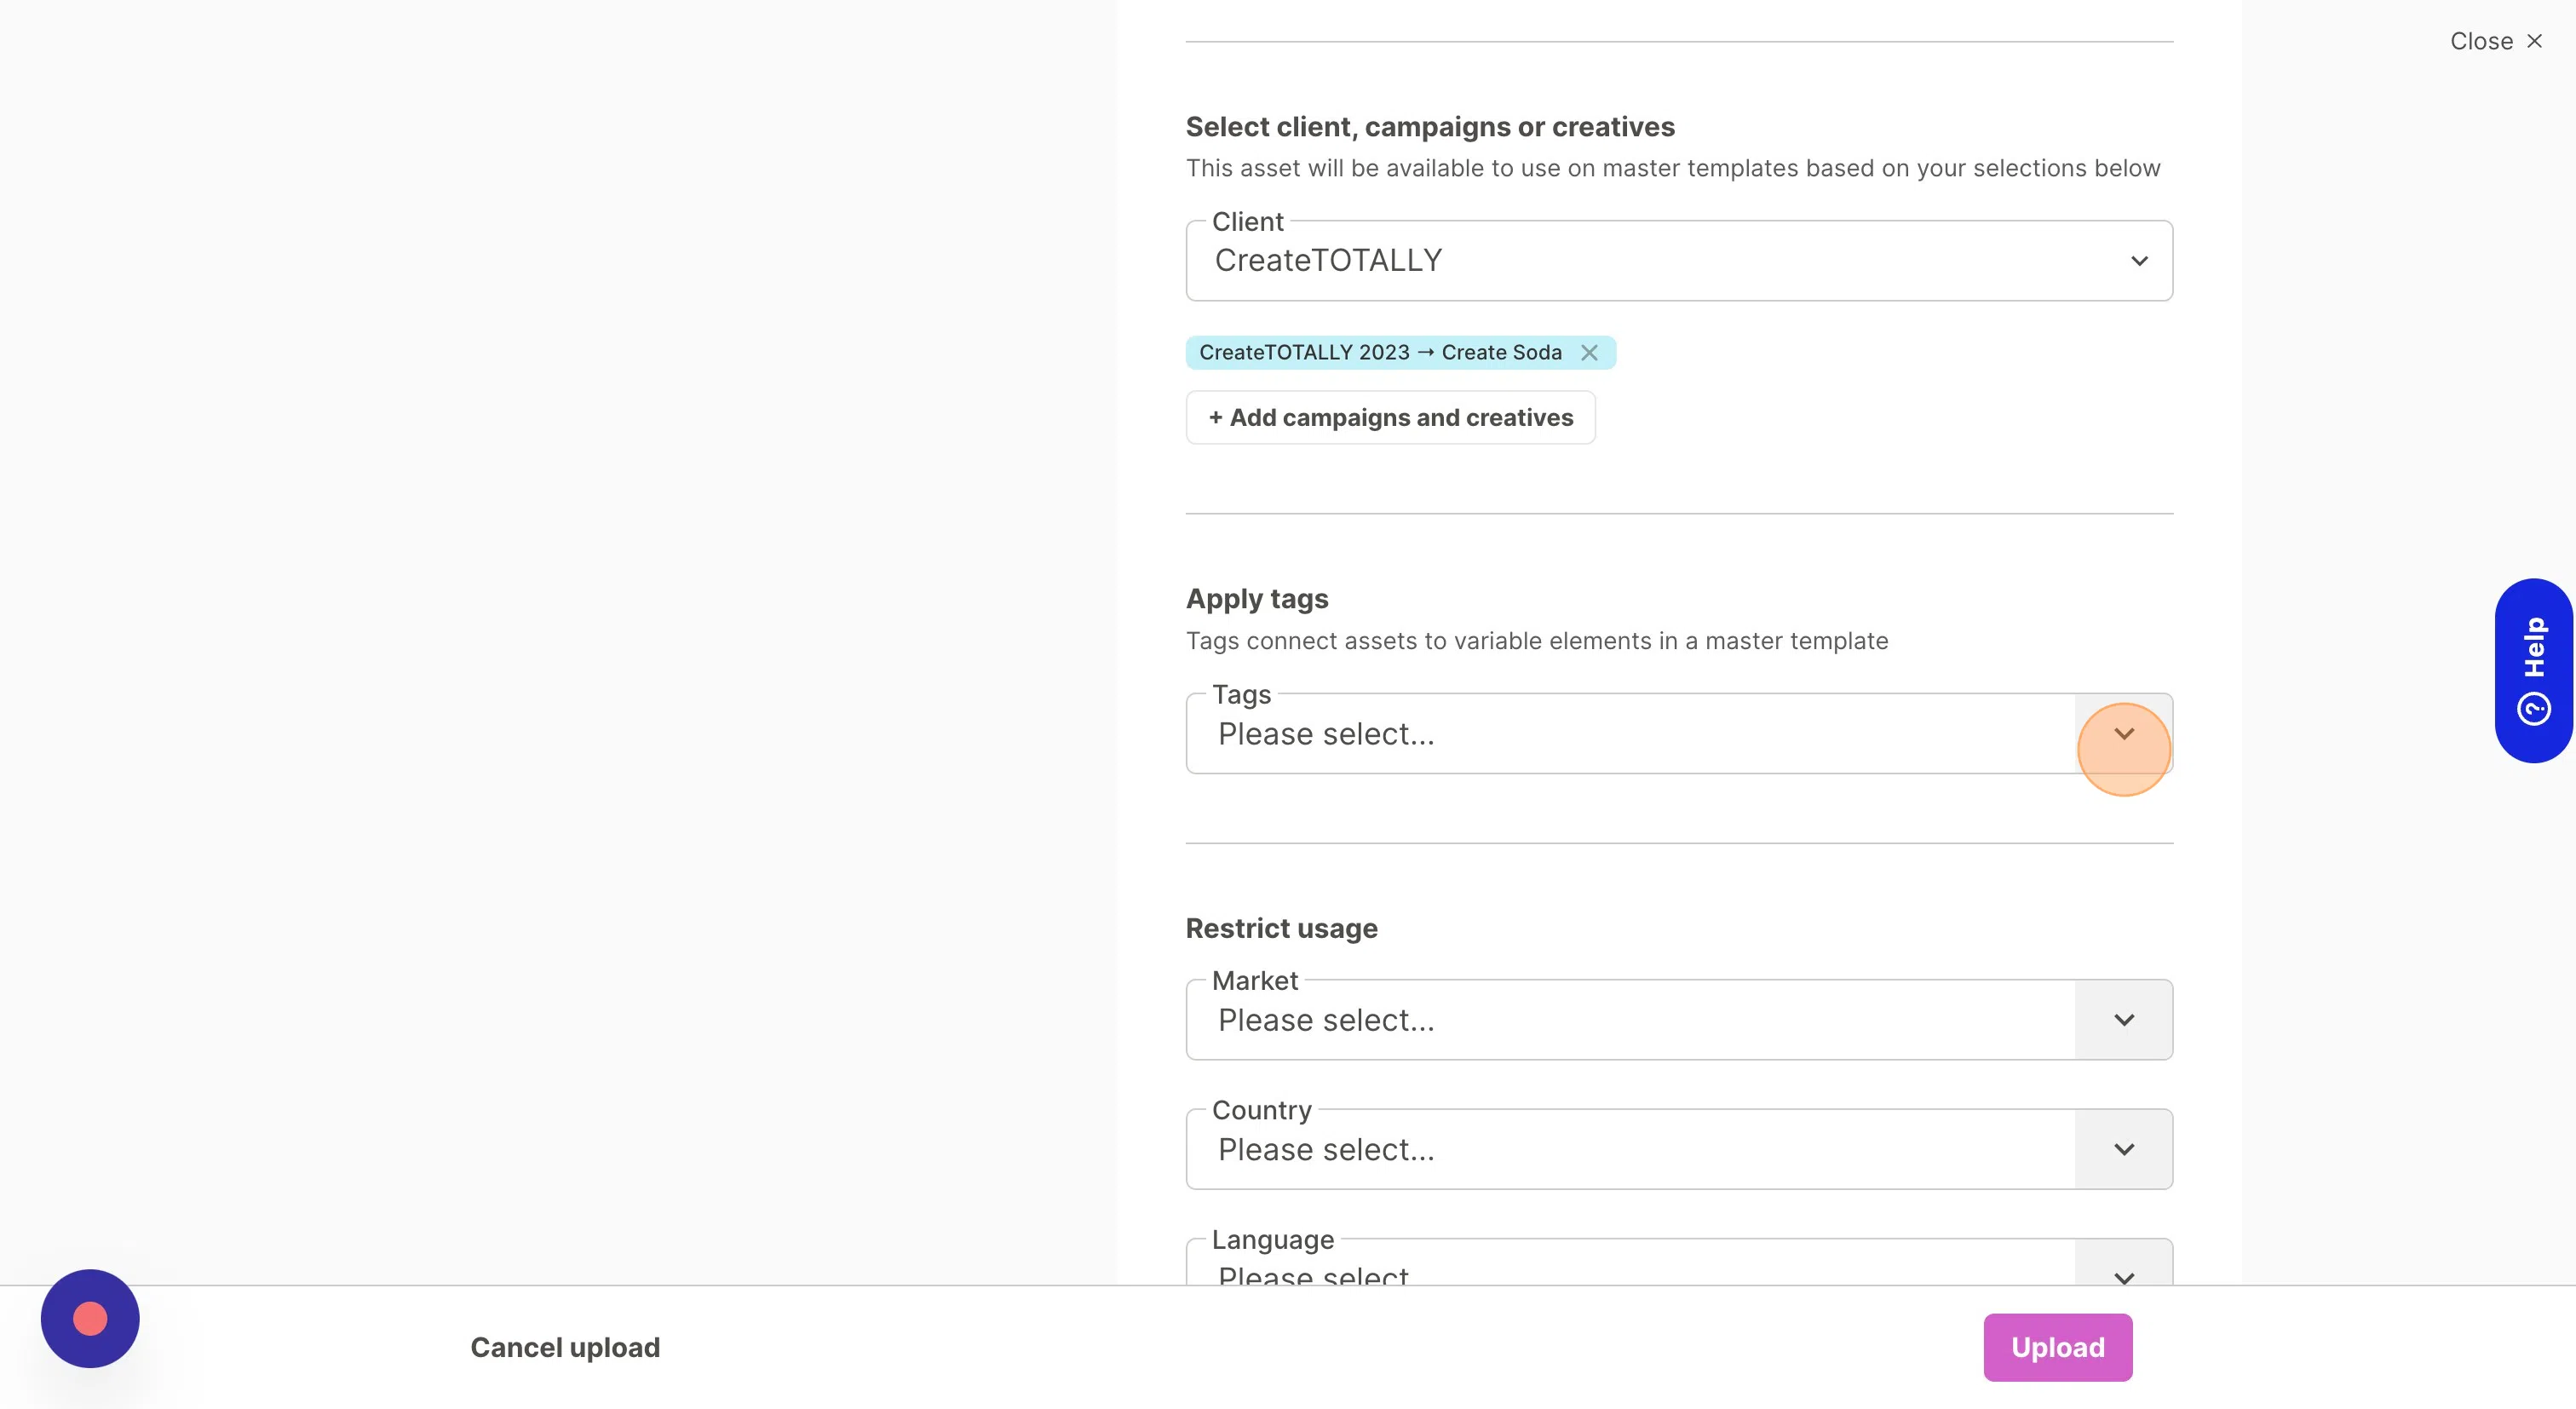
Apply Tags and Usage details and then click Upload
Defining Metadata for Asset availability
Against the customisable element of the Master Template (image or video), you can configure tags to define what assets should be available to users customising the element. The specific Assets that will be available depend on:
- Matching these tags (if your customisable element has 2 tags, both these tags need to appear on the asset for it to be available)
- Match the asset type (image/ video)
- Be available to the Master Template based on the client, campaign and creative the Master Template belongs to. Client is a compulsory field. If you make the asset available to just the client, it will be available to ALL templates for the client that match on the other metadata (ideal for brand assets like logos). If you need the Asset to be available in a specific campaign, you can restrict this here. To further restrict the asset availability, you can also select specific Creatives.
- Match the usage data assigned to the asset with the placement details e.g. available dates, market, country and media type.
All assets need to have a minimum of the client selected. Tags will then indicate what the asset is for. The usage restrictions can be used to further define when an asset should be available.
Example
This example indicates how the the placement details and master template combine to influence the available assets.
- Placement is a Digital display ad for Germany, in German, with a start date of 01/08/22 and an end date of 01/09/22
- The Master Template belongs to Client A, in their Campaign A, Creative A. It has a Customisation step that is looking for an asset with tag of “packshot”.
- The platform will look for an Asset with the tag “packshot” and:
- Media Type - Digital Display
- Material - Digital (or no material)
- Market - EMEA (or no market)
- Country - German (or all)
- Language - Germany (or all)
- Start date - after the start date of the placement (01/08/22) or no start date specified
- End date - before the end date of the placement (01/09/22) or no end date specified
Editing Assets
After uploading your assets, you might need to edit them. A common reason to edit the asset is if you want to have a display name (displayed during customisation, or the name the asset will be referred to in bulk content spreadsheets) that is different to the file name.
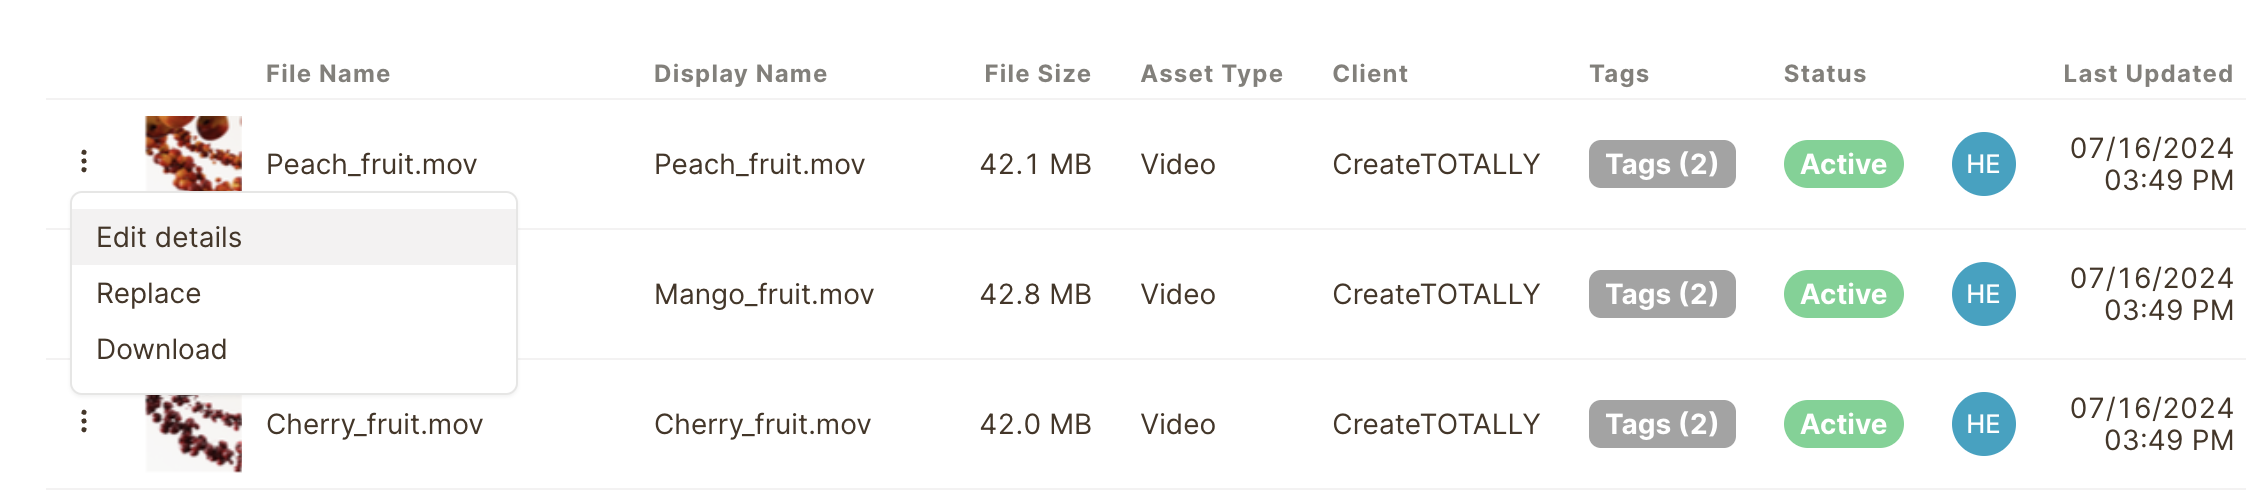
Click the context menu next to the asset to access the Edit details form. You can also replace the file if it needs to be updated or download.
You will then see a larger preview of the asset and be able to update all of the details.

Supported file types
The following file types are supported in Asset Manager.
Images
- JPG/JPEG
- PNG
- GIF
- WEBP
- TiF/TIFF
- PSD
- SVG
- AI
- EPS*
* These file formats will not be previewable during customisation.
Videos
- MP4
- WebM
- MOV*
- FLV
- AVI
* These file formats will not be previewable during customisation.