
Media plans allow you to create adaptations, whilst recording information about the media placement. They are designed for collaborative working, with customised workflows allowing different steps to require approval or not. The main steps in the Media Planning process are:
1. Create a plan - complete the basic details
2. Add a placement for each adaptation you require
3. Submit the placements - they may require review, if not this moves you onto the next stage
4. Creative allocation - select the assets and customise them to your requirements
Creating a New Media Plan
To create a new media plan click Media plans from the Left Hand Navigation, or use the Create button from your dashboard view
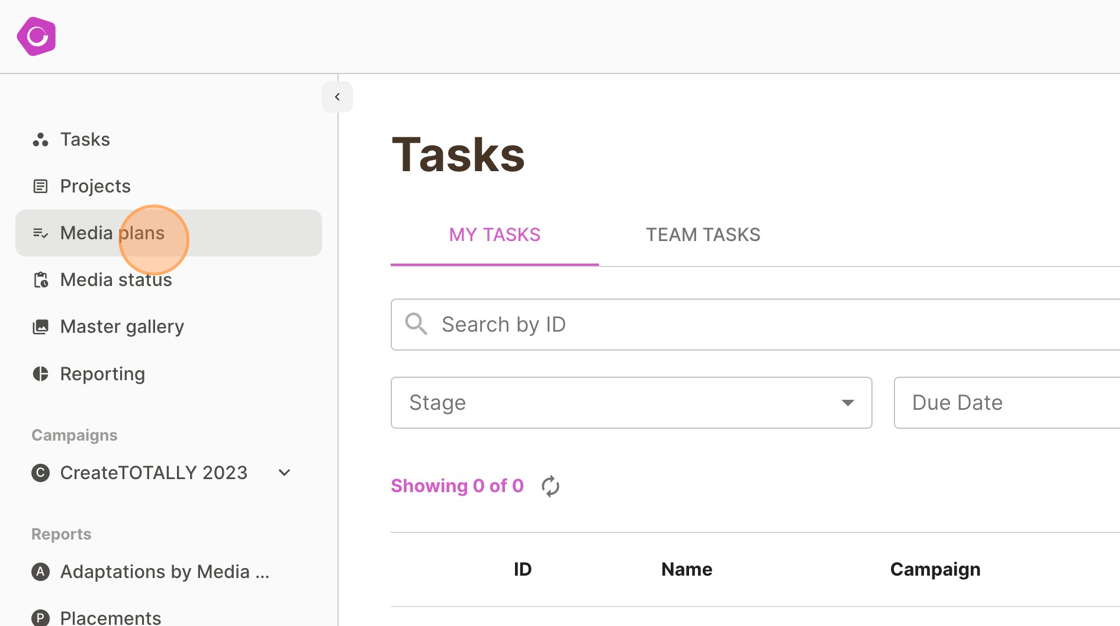
Complete the form fields as required
![Screenshot of: Click the "Name*" field.Type " [[CapsLock]] Create [[CapsLock]] Soda [[CapsLock]] Campaign"Click this dropdown.Click the "Start date*" field.Click "18"](https://cdn.prod.website-files.com/648c13eb6bf8dd3844341221/64df76f59c3038be59fdd91a_stack_animation.webp)
Adding a Placement to a Media Plan
Click ADD YOUR FIRST PLACEMENT
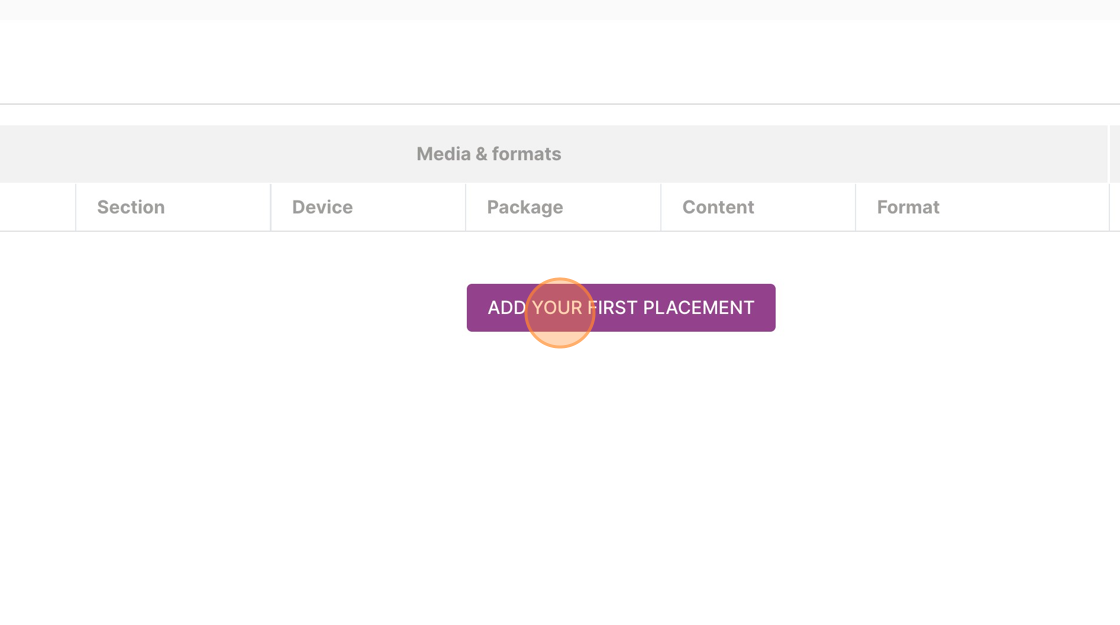
Complete the media placement details as required then Click SAVE
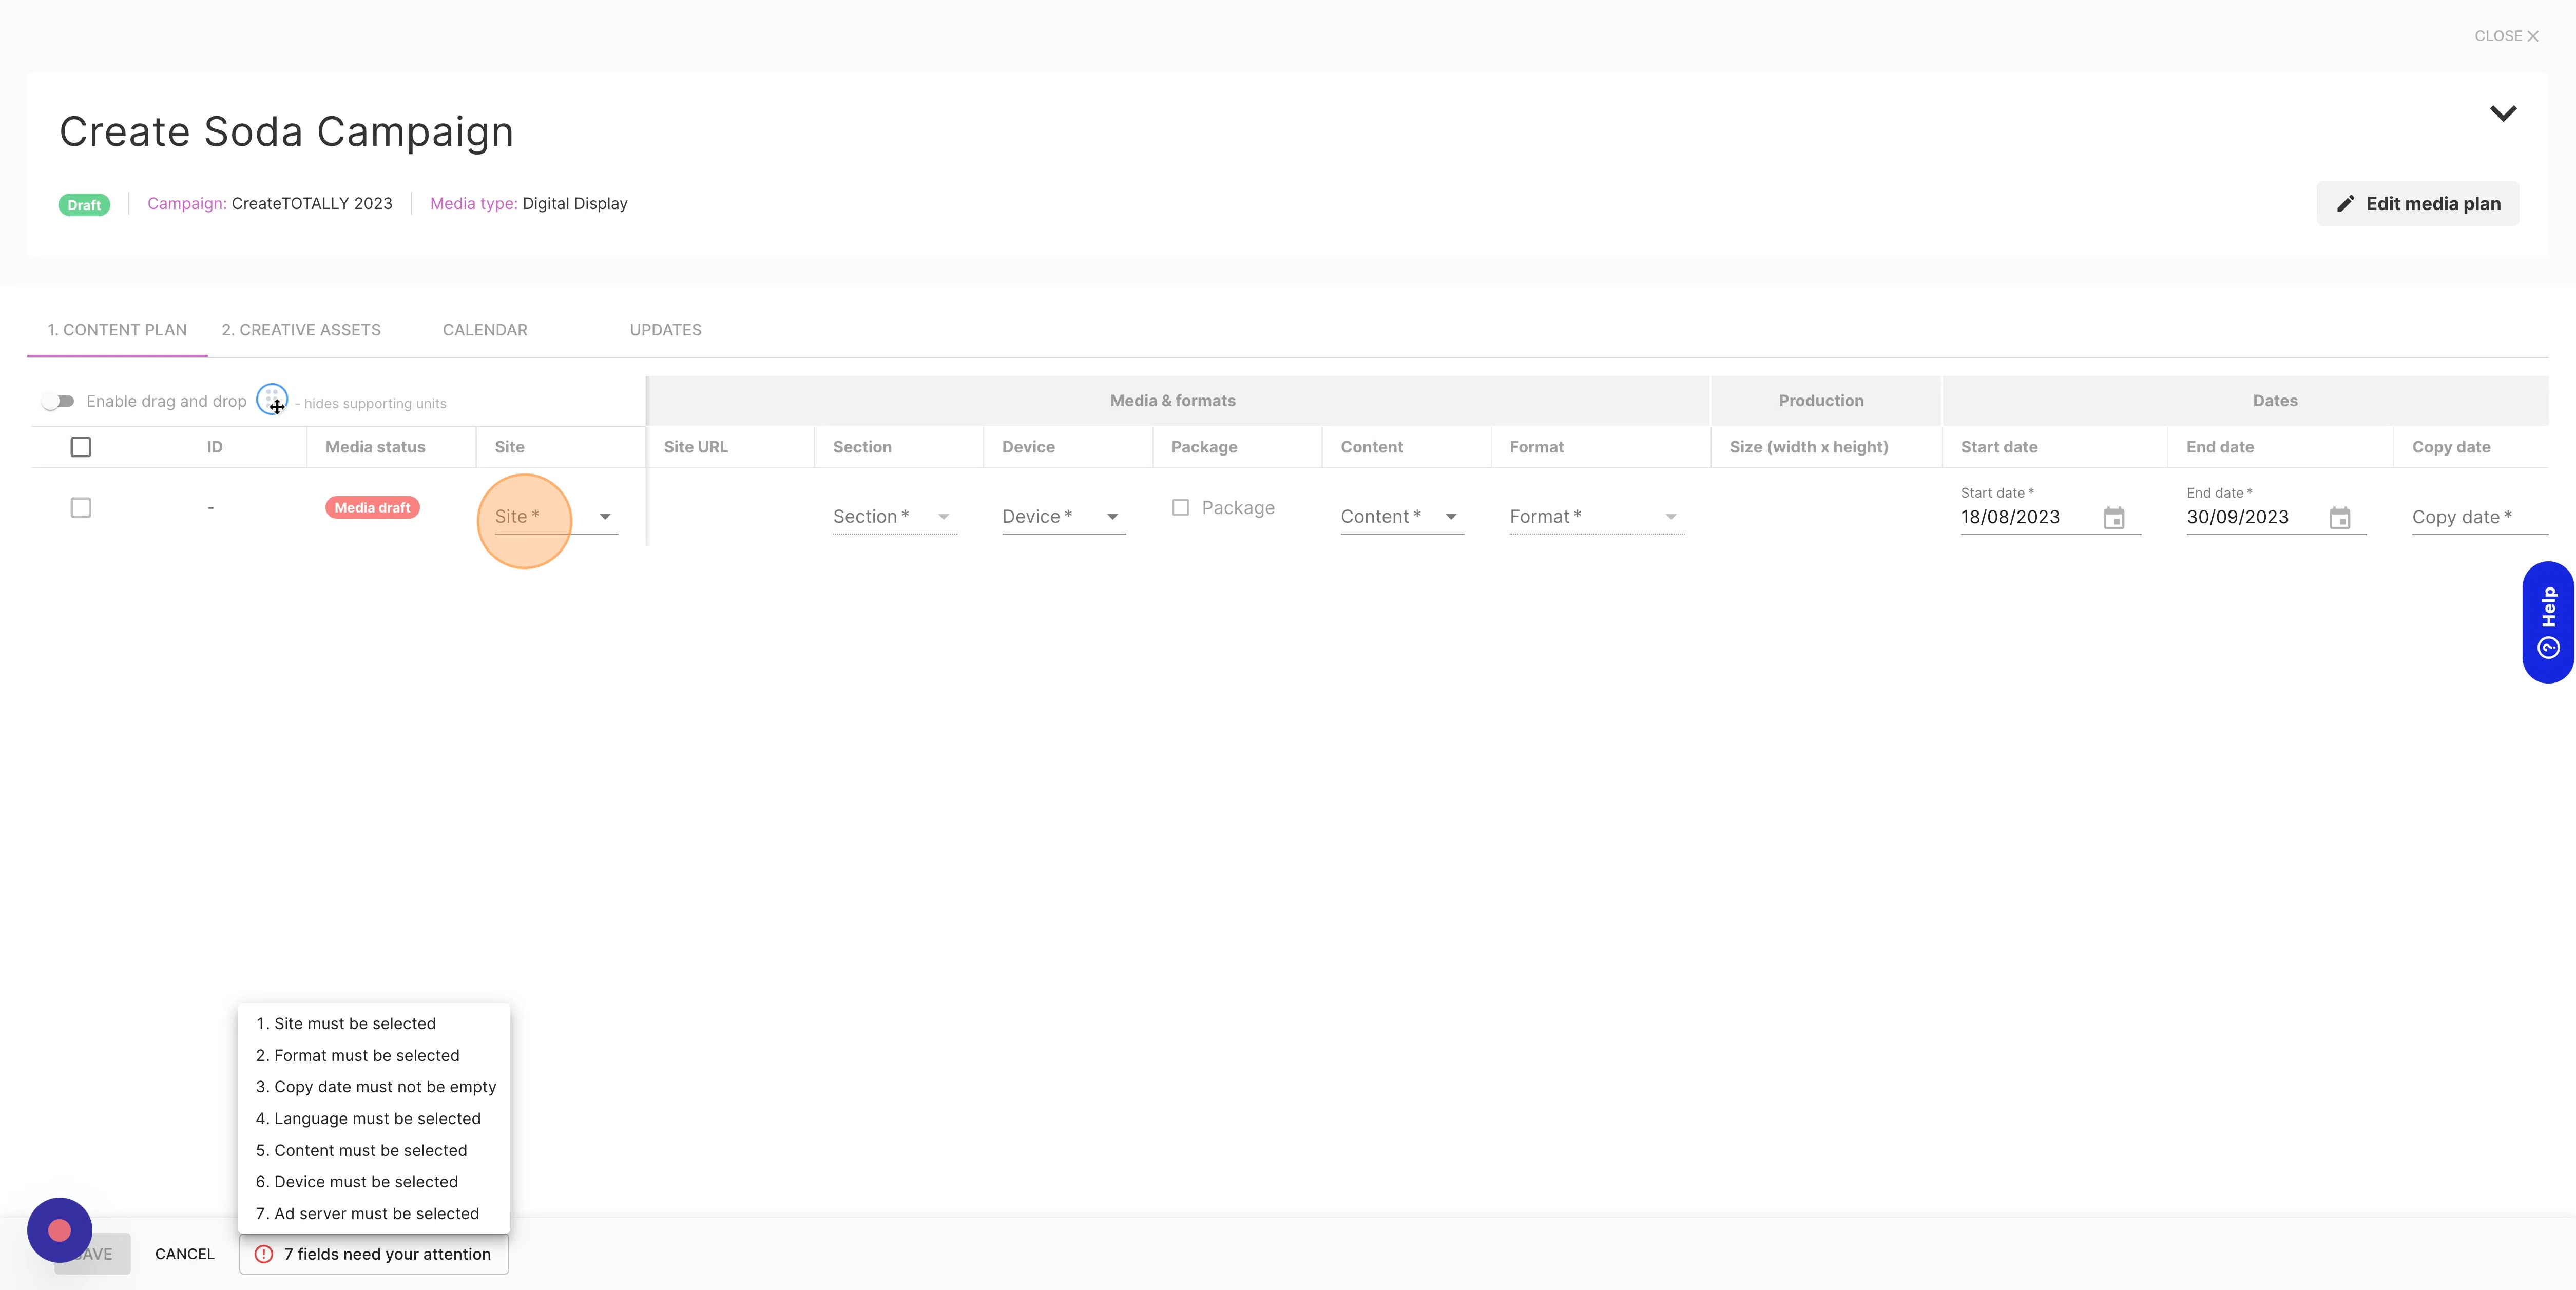
Mandatory fields
For each type of media plan deliverable there are a number of mandatory fields that must be completed for each item that you add.
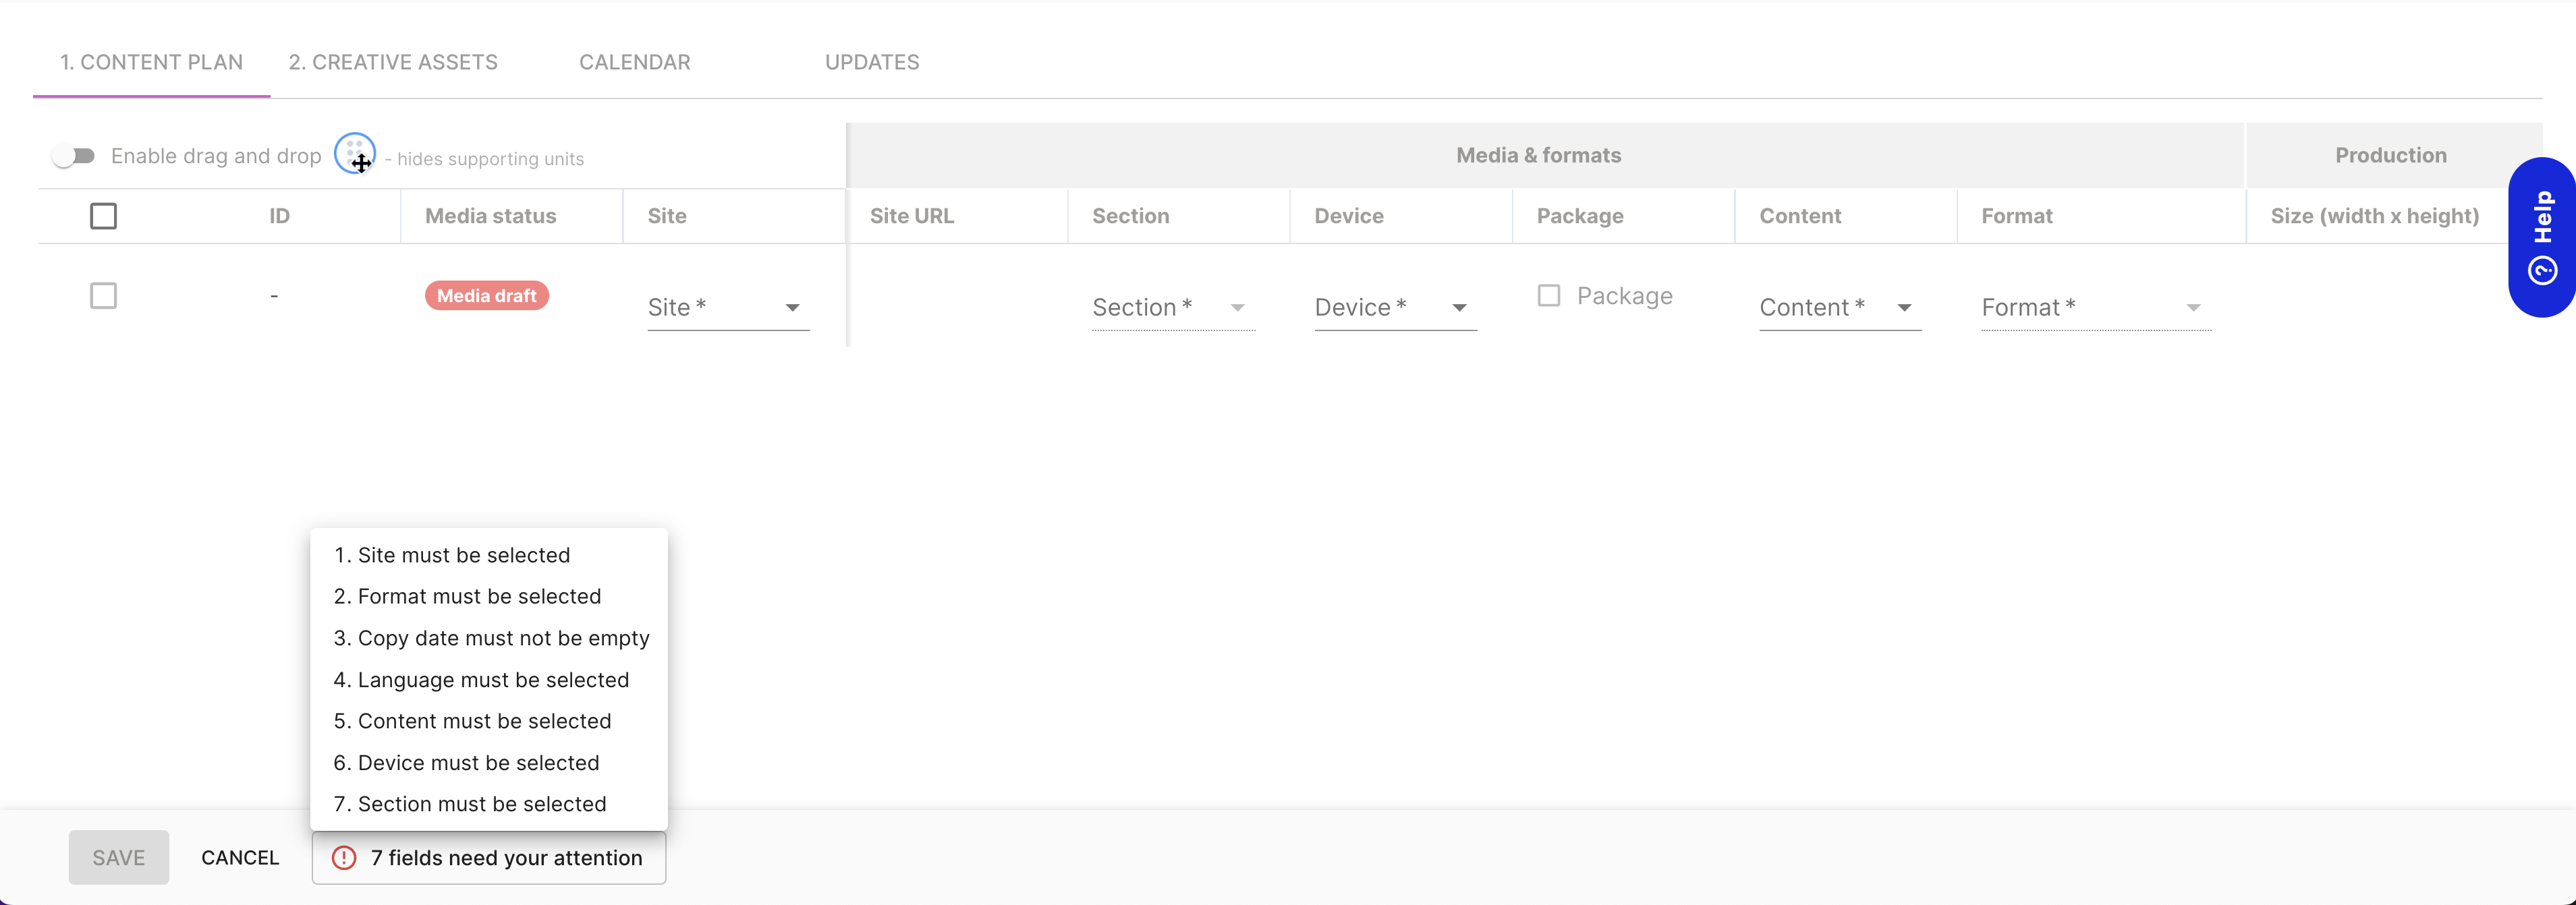
If you click on the message showing the number of fields that need to be completed, you will see a list of the fields. They are marked on the Media Plan with an *
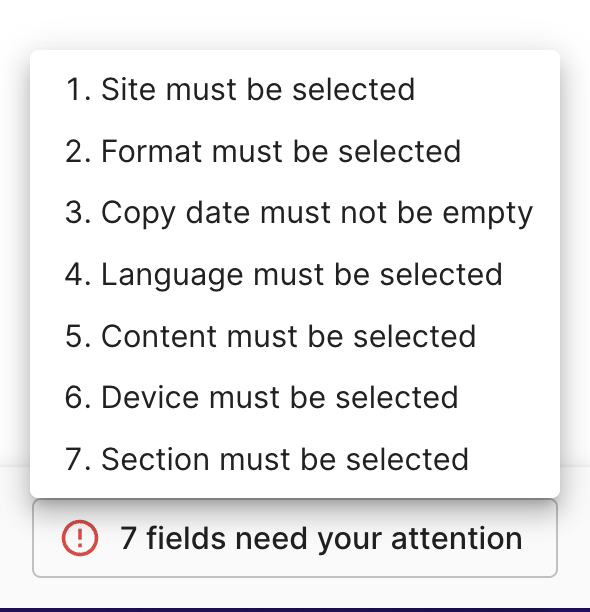
As you fill in the fields, you number of fields needing your attention will be reduced and the list will update to show just the remaining mandatory fields.
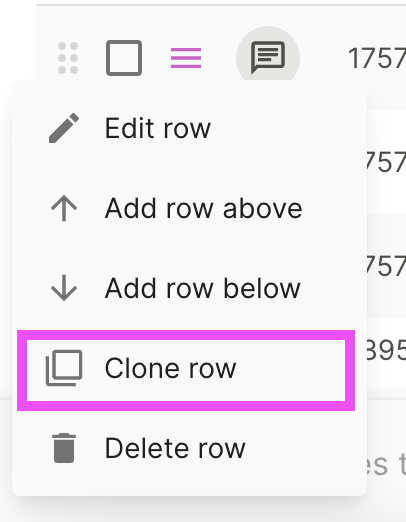
Clone a placement
To quickly create similar placements, click “Clone row”. This copies all the values over, allowing you to quickly make updates.
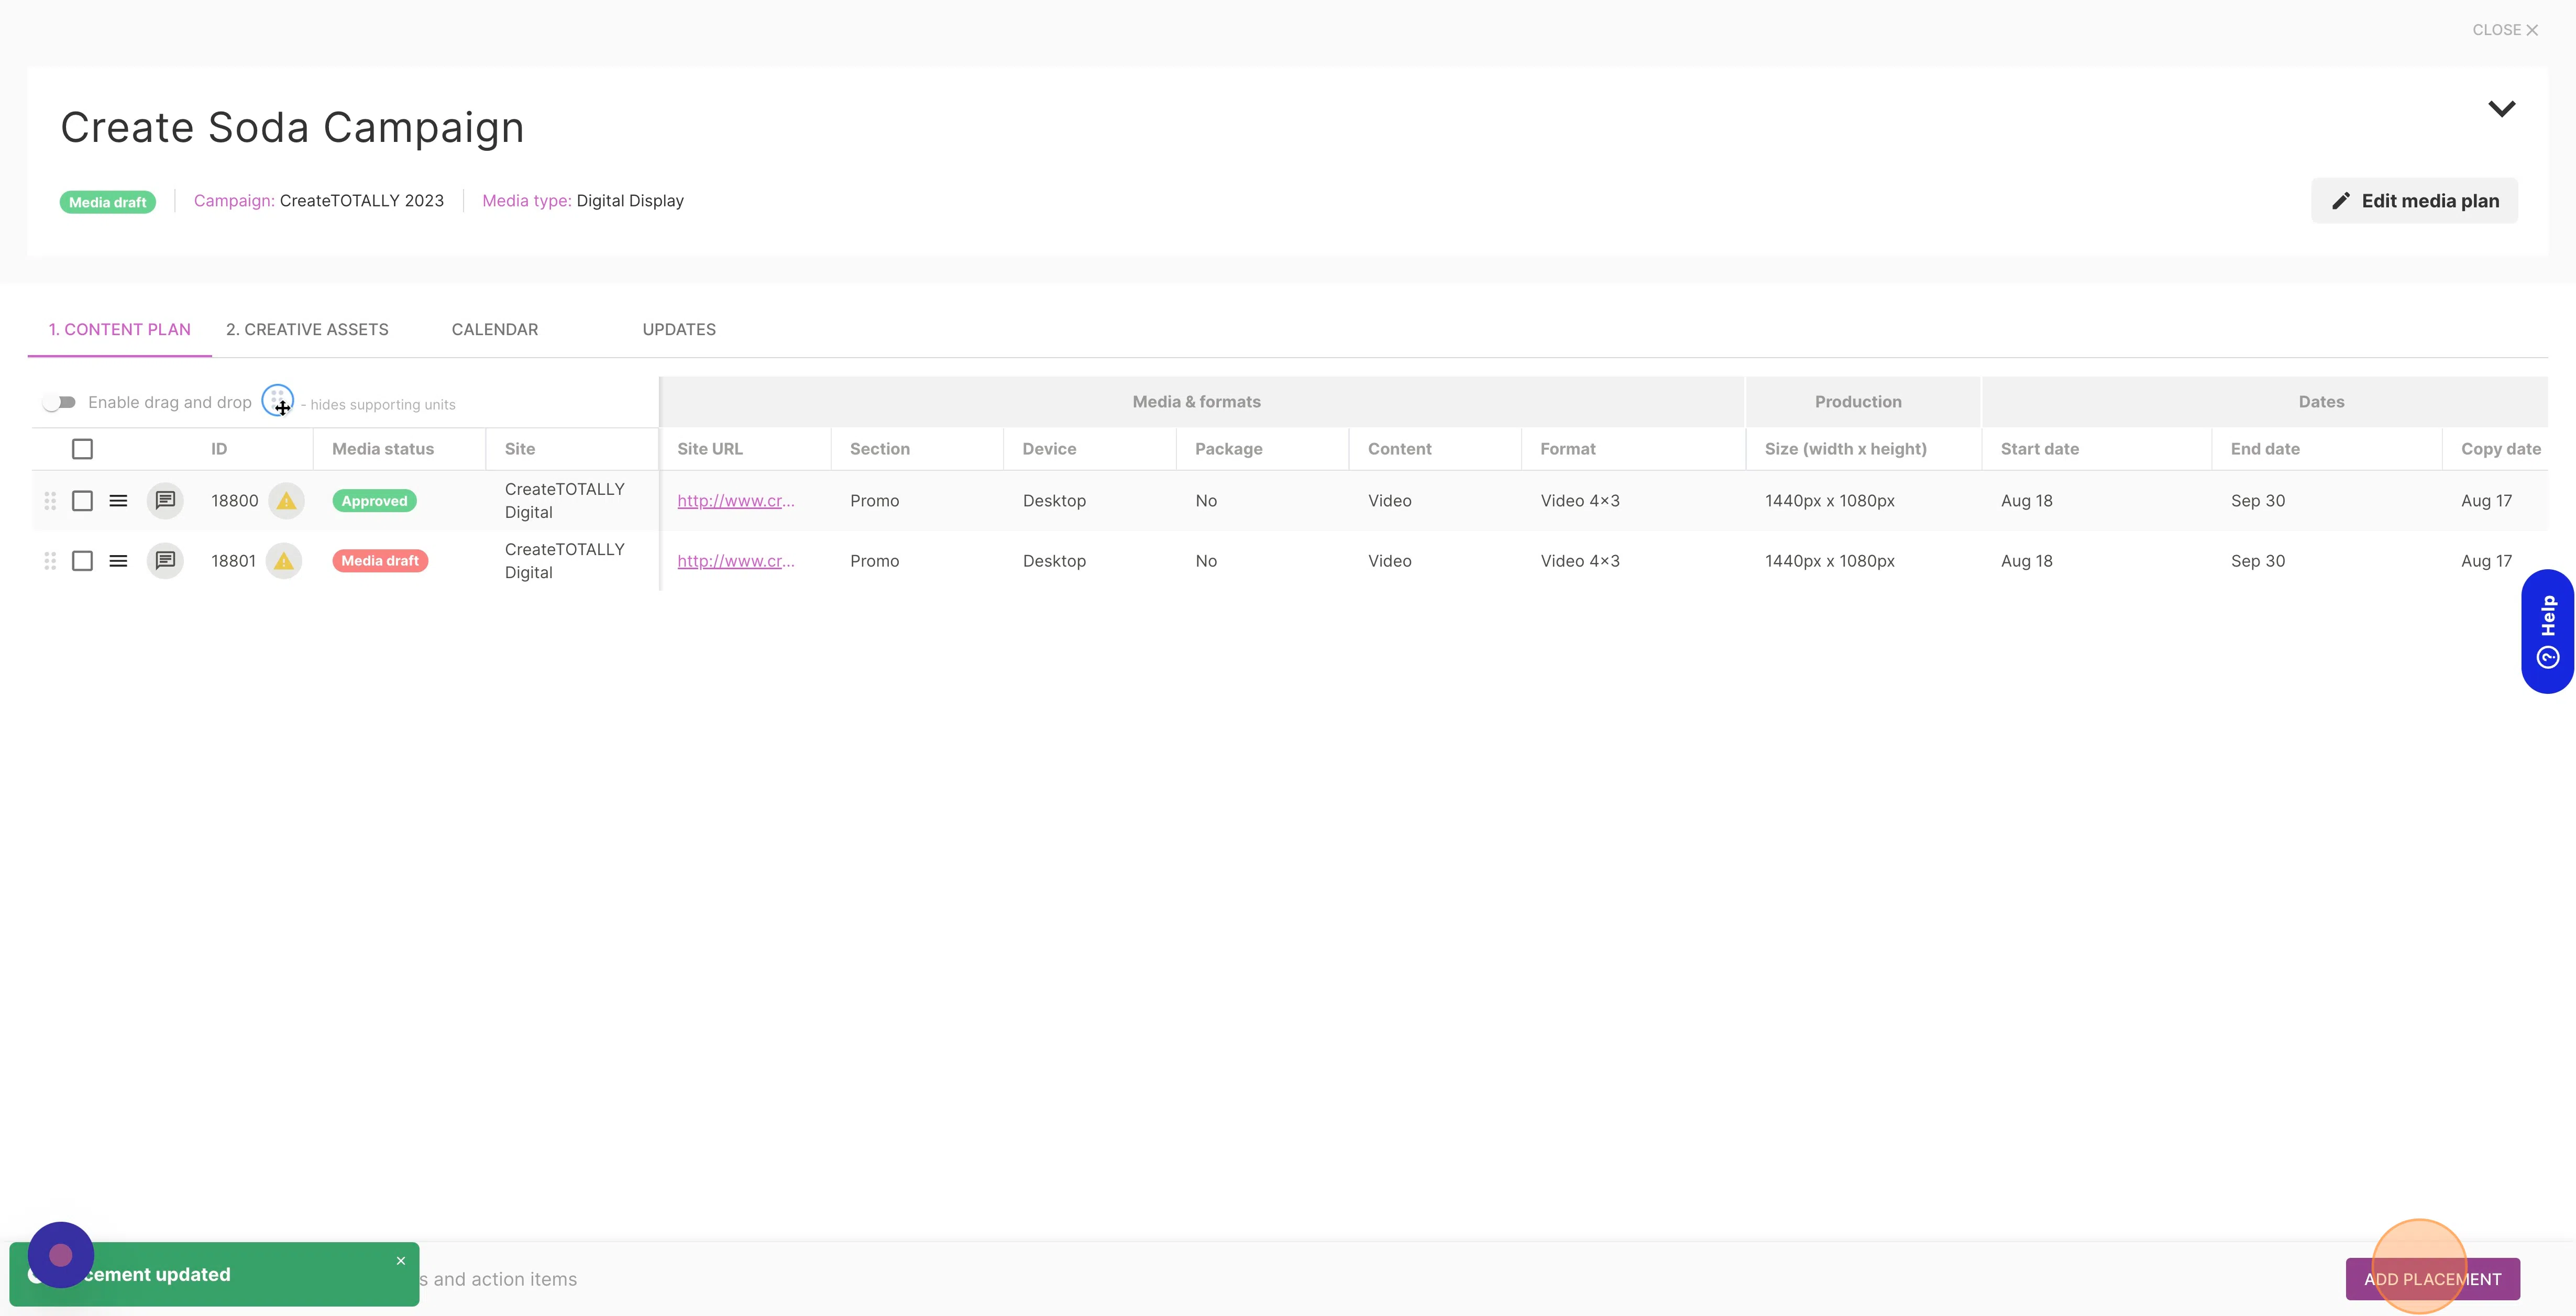
Add a new placement
If your Media Plan changes, you can add more Placements by clicking ADD PLACEMENT
Complete the media placement details as required then Click SAVE
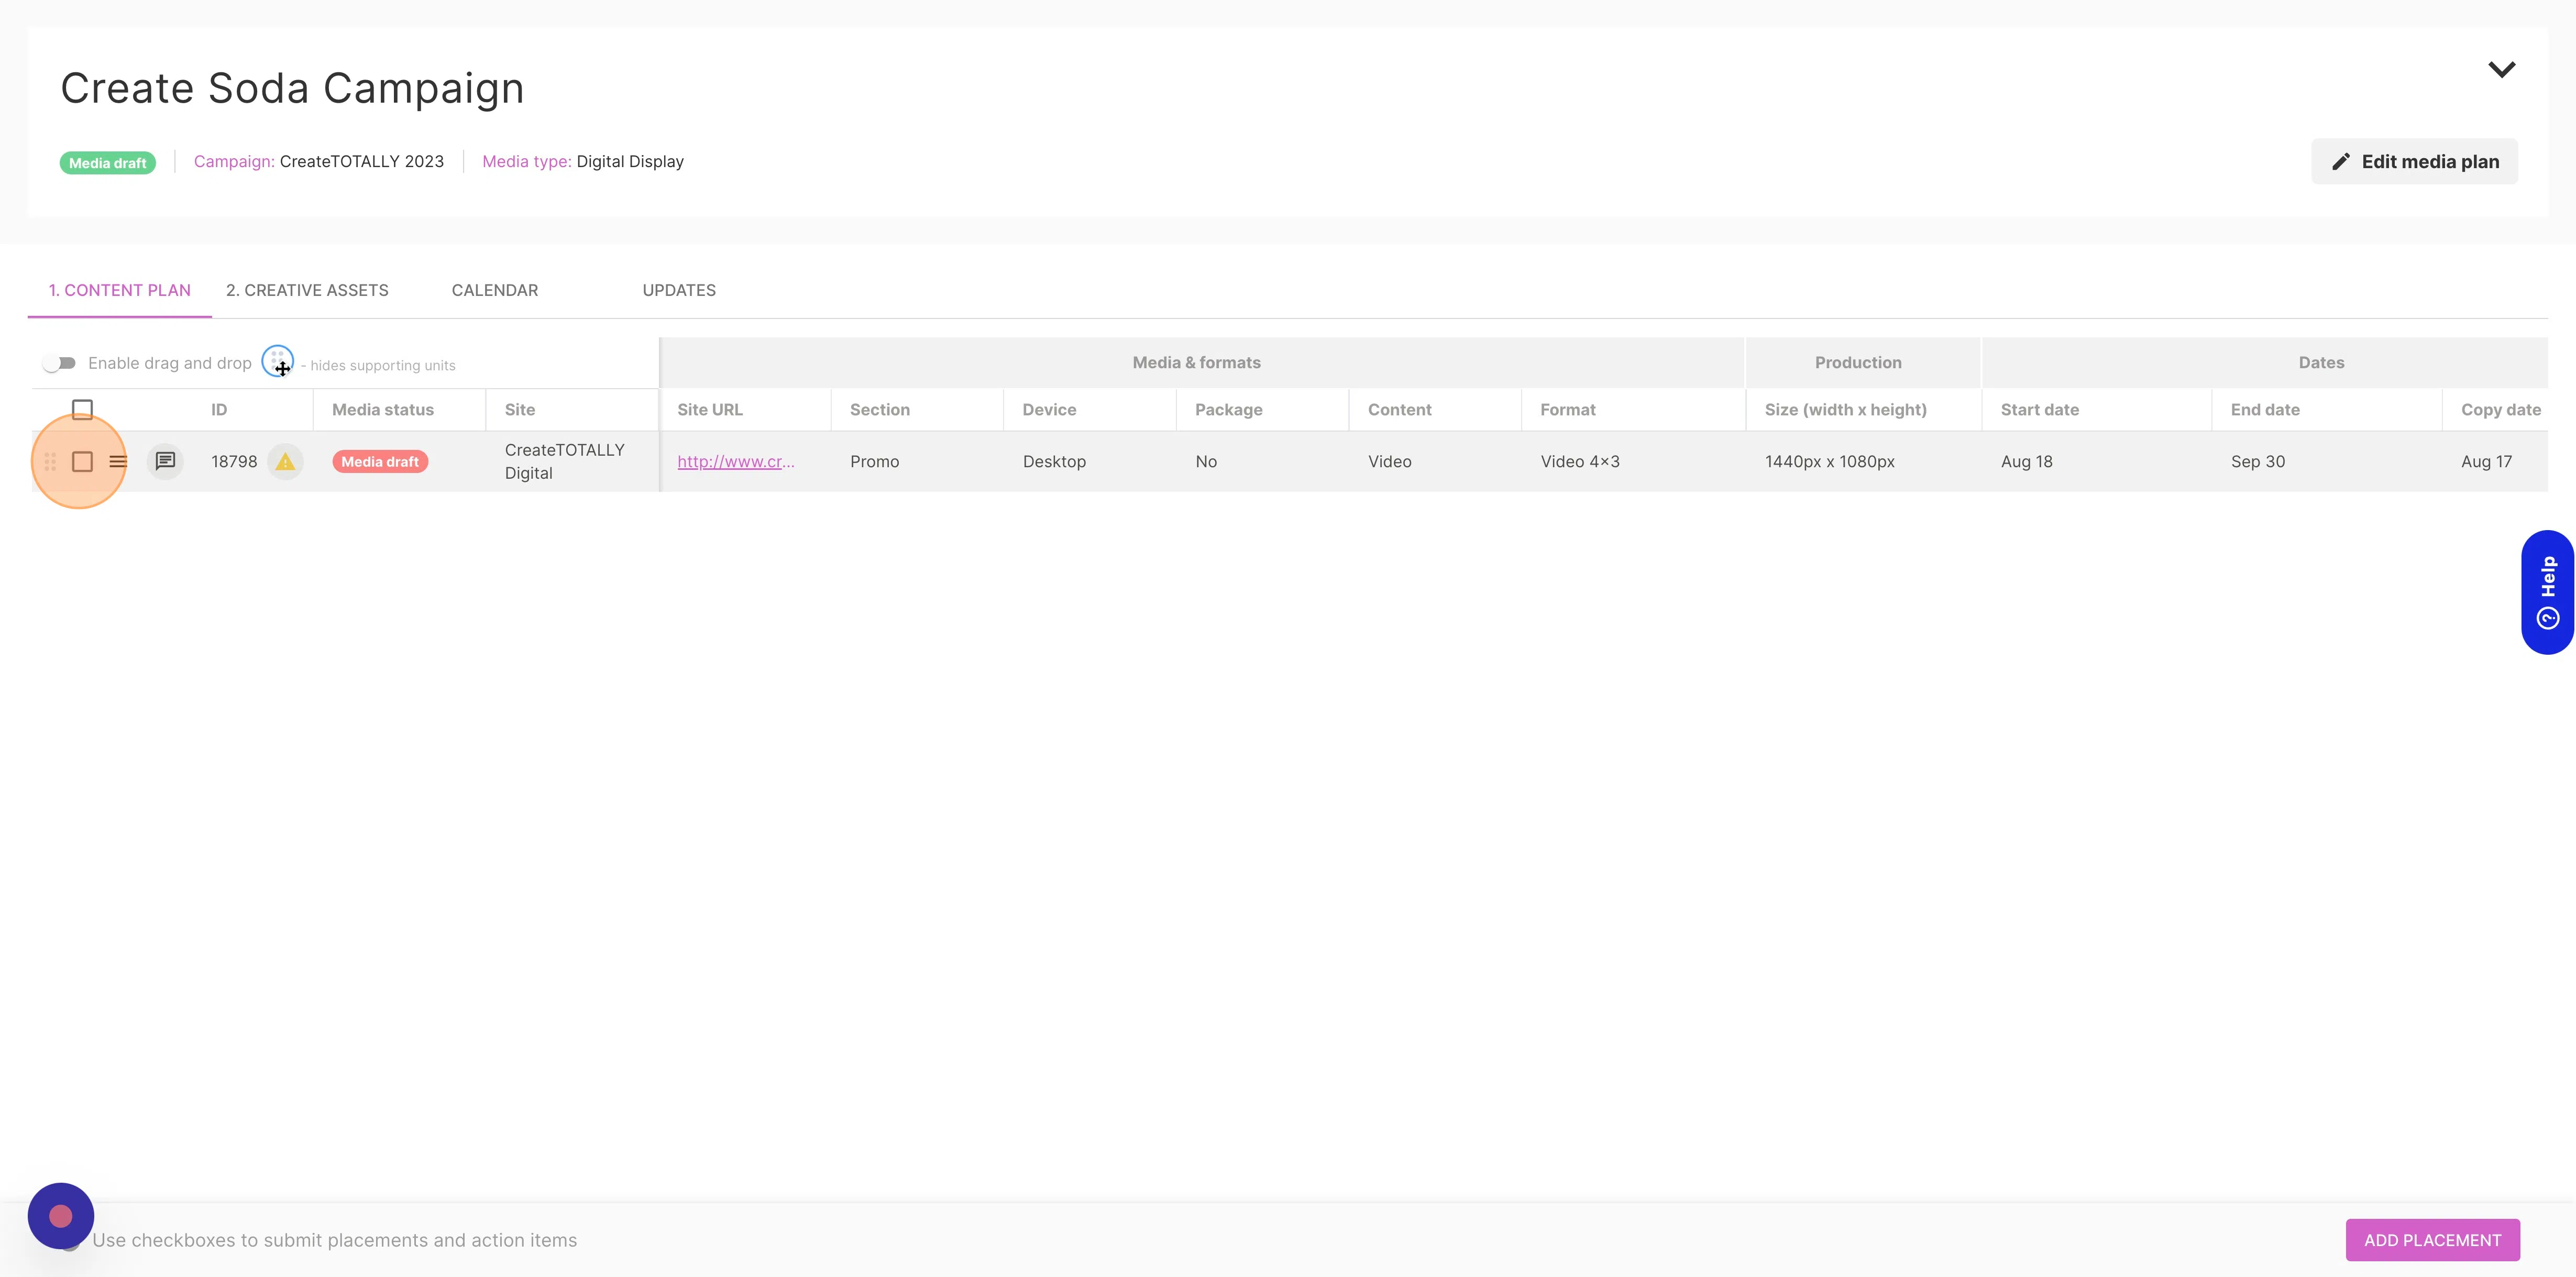
Submitting media plans for approval
Once all of the placements have been added to the plan, you will then need to submit them. This confirms the details and sends the placements for review (if required). Select all of the placements using the check box against the row and SUBMIT SELECTED FOR REVIEW.
Depending on the whether your media information requires approval, the status will either update to:
- Media review - if the media information requires approval, a task will be sent to the reviewer and the status will show as Media Review. Once they have reviewed the information, the status will change to approved
- Approved - if the media information doesn't require approval, the status will change to approved and you can do Creative Allocation
Creative Allocation
Creative allocation is where you can select the Master Template you want to base your artwork on. Different Templates allow you to customise different parts of the artwork, allowing you to create an adaptation to meet your requirements, whilst maintaining brand guidelines.
You can do Creative Allocation before or after your placements are approved. Click on the Creative Assets tab on the Media Plan page.

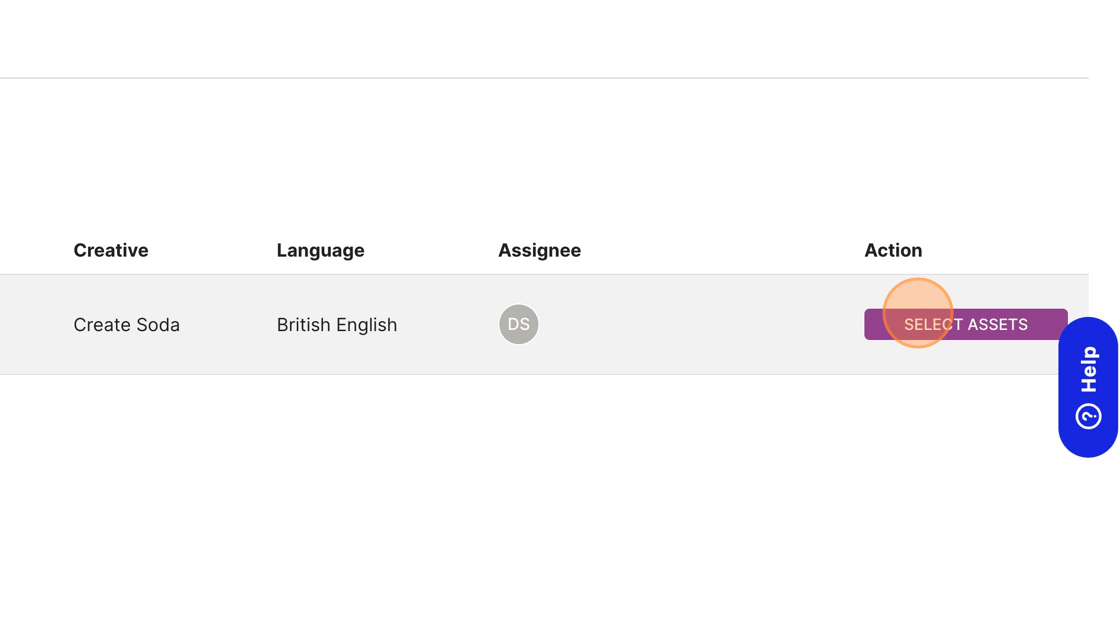
Click SELECT ASSETS on any placement to start Creative Allocation.
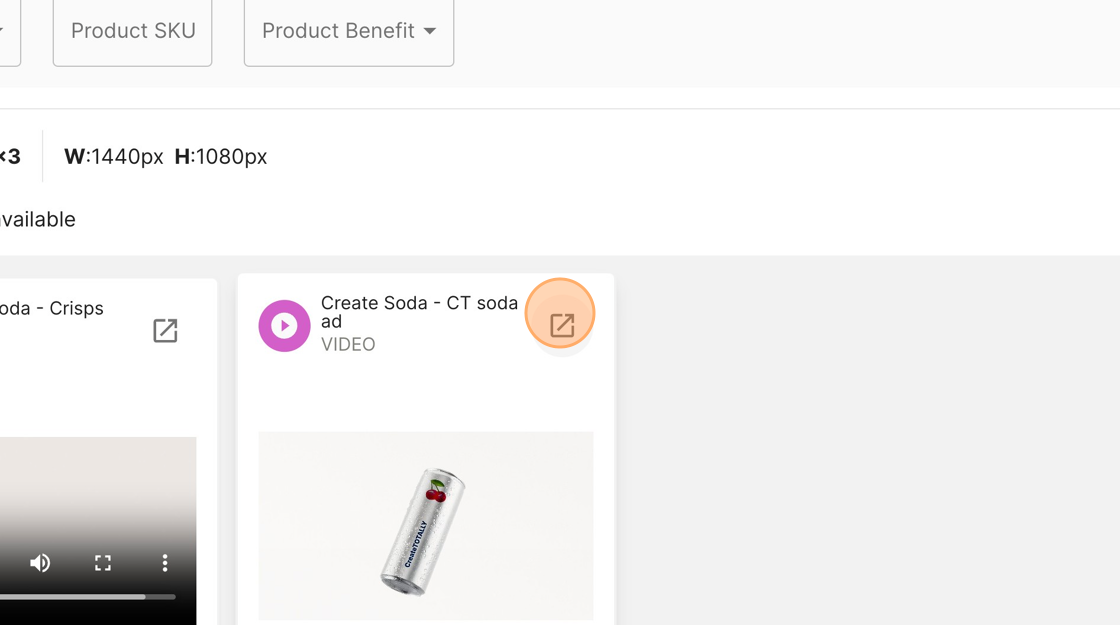
You will be shown a selection of Master Templates that can be used to make an adaption for your ad format. In the case below, there are 2 video master Templates to selct from. Click the Full Screen expand icon to view Master Template

Customisation
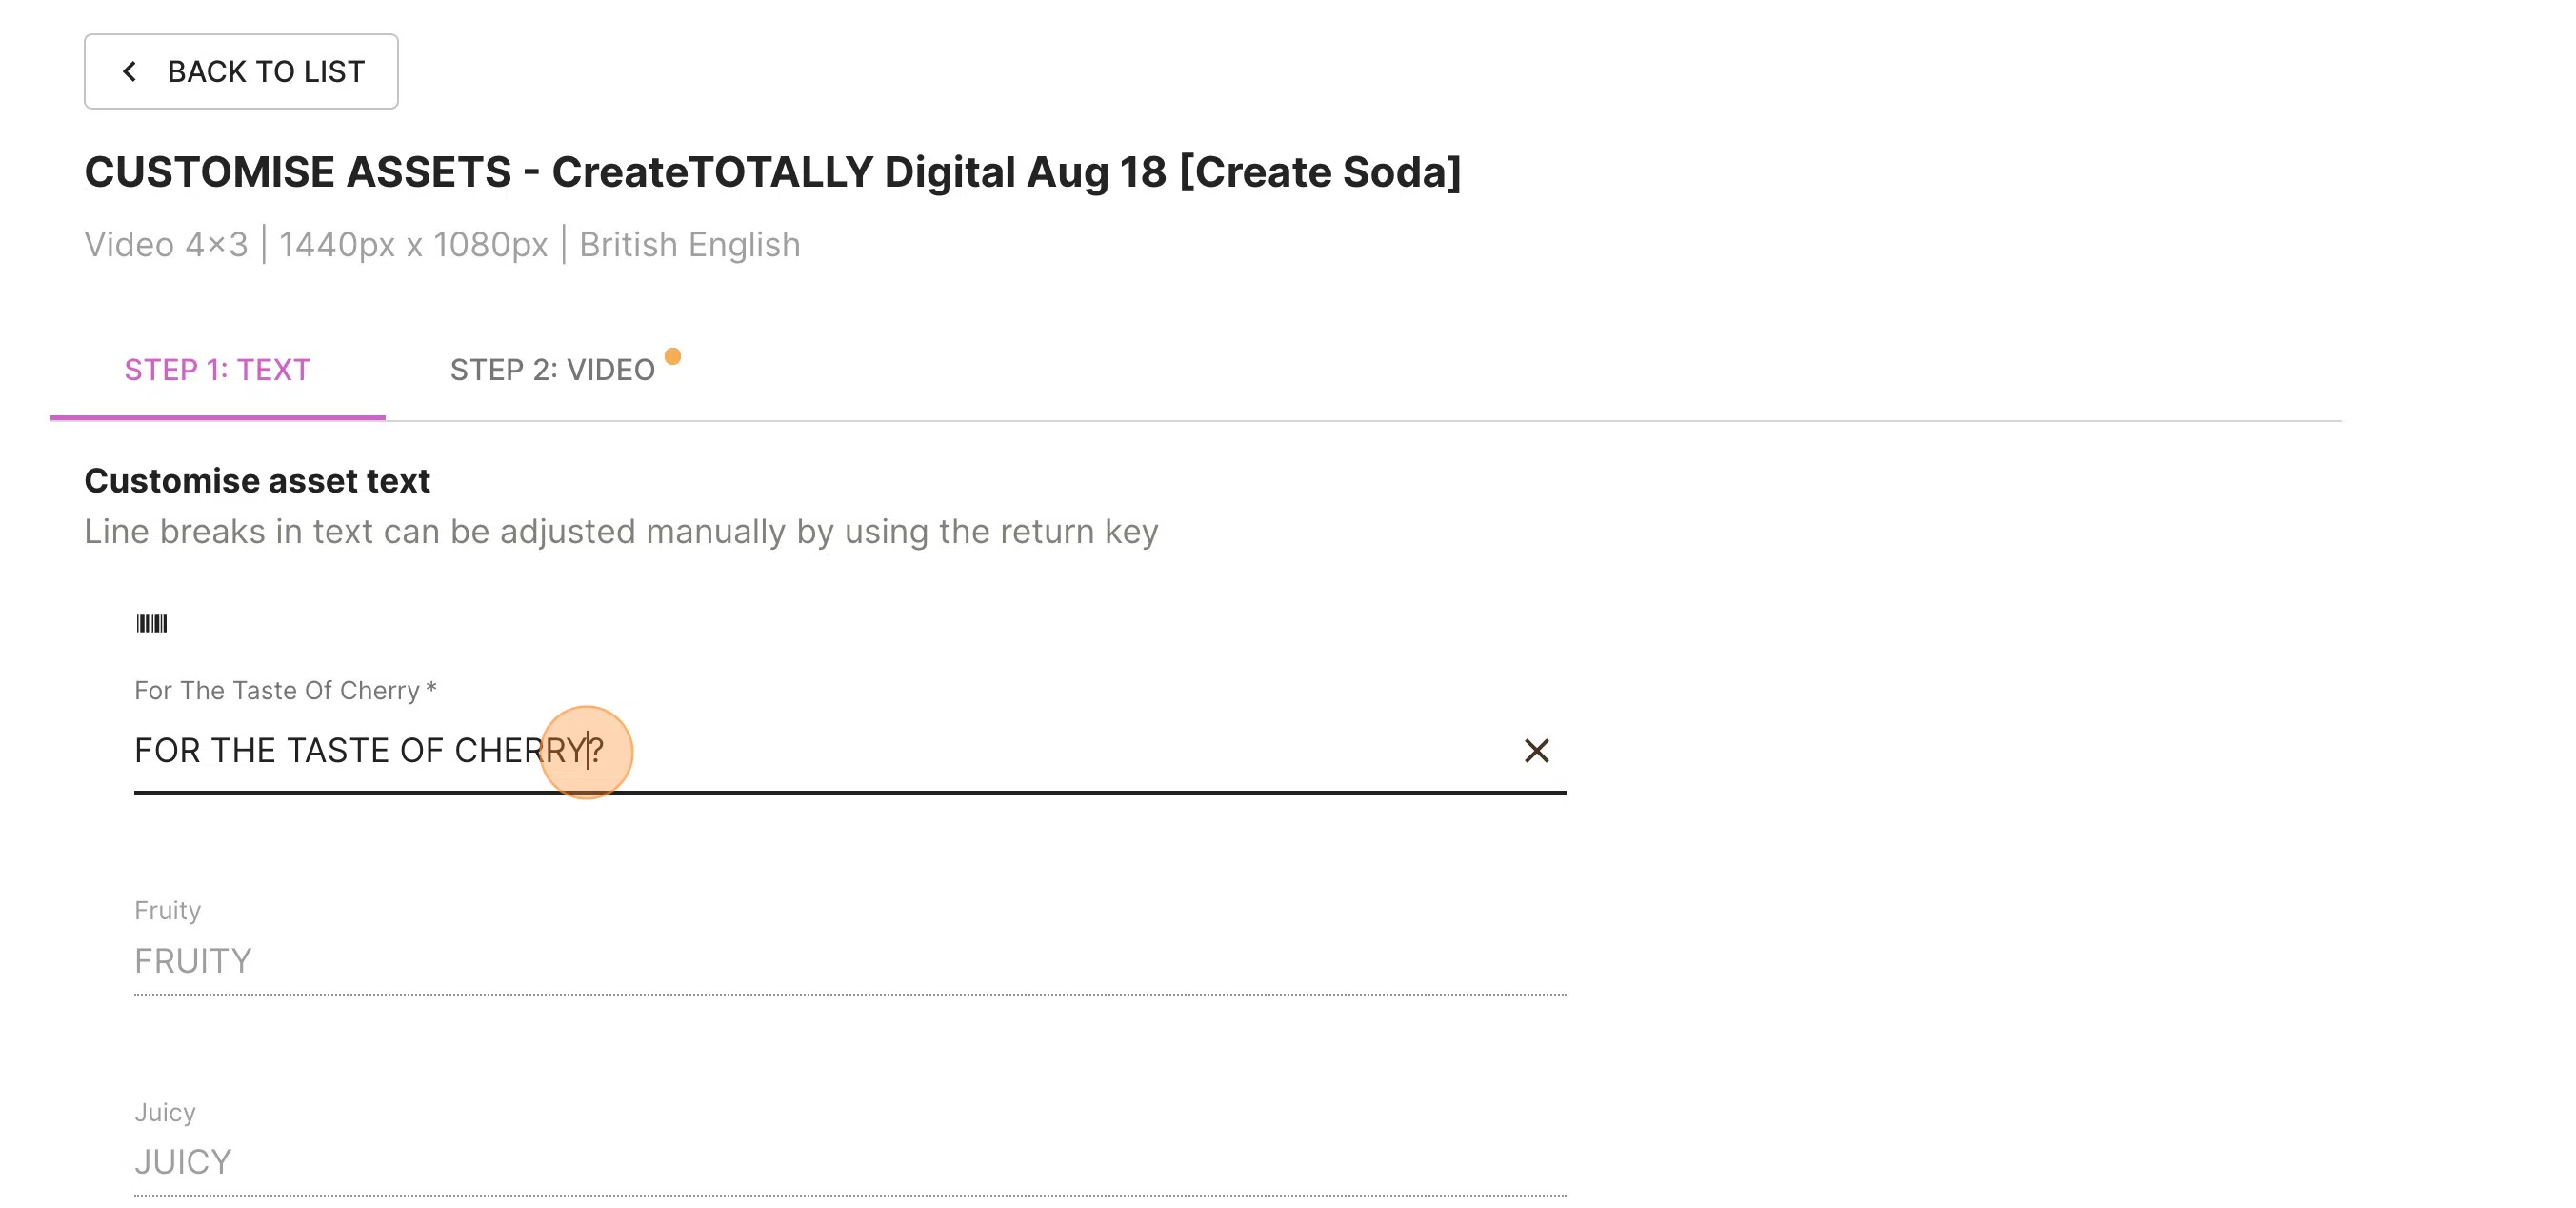
Each Master Template can contain different customisation options. These will be split up into different tabs at the top of the customisation process, depending on what type of customisation is available. In the example below, there is image, text and video customisations available for the selected master.
Text customisation
Click the FOR THE TASTE OF CHERRY text field to edit the copy.
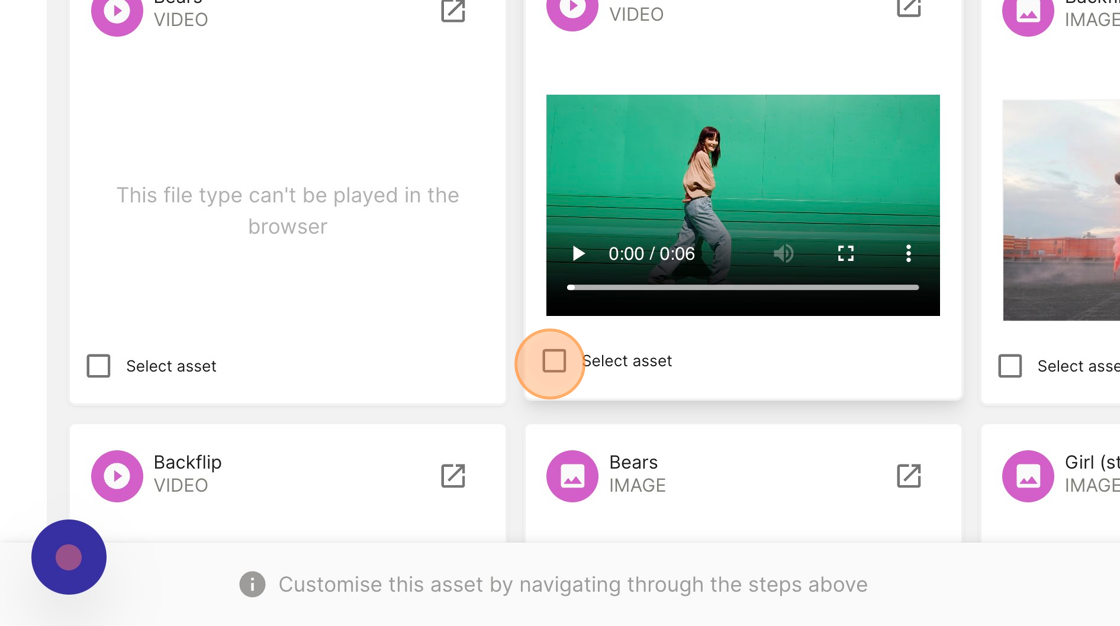
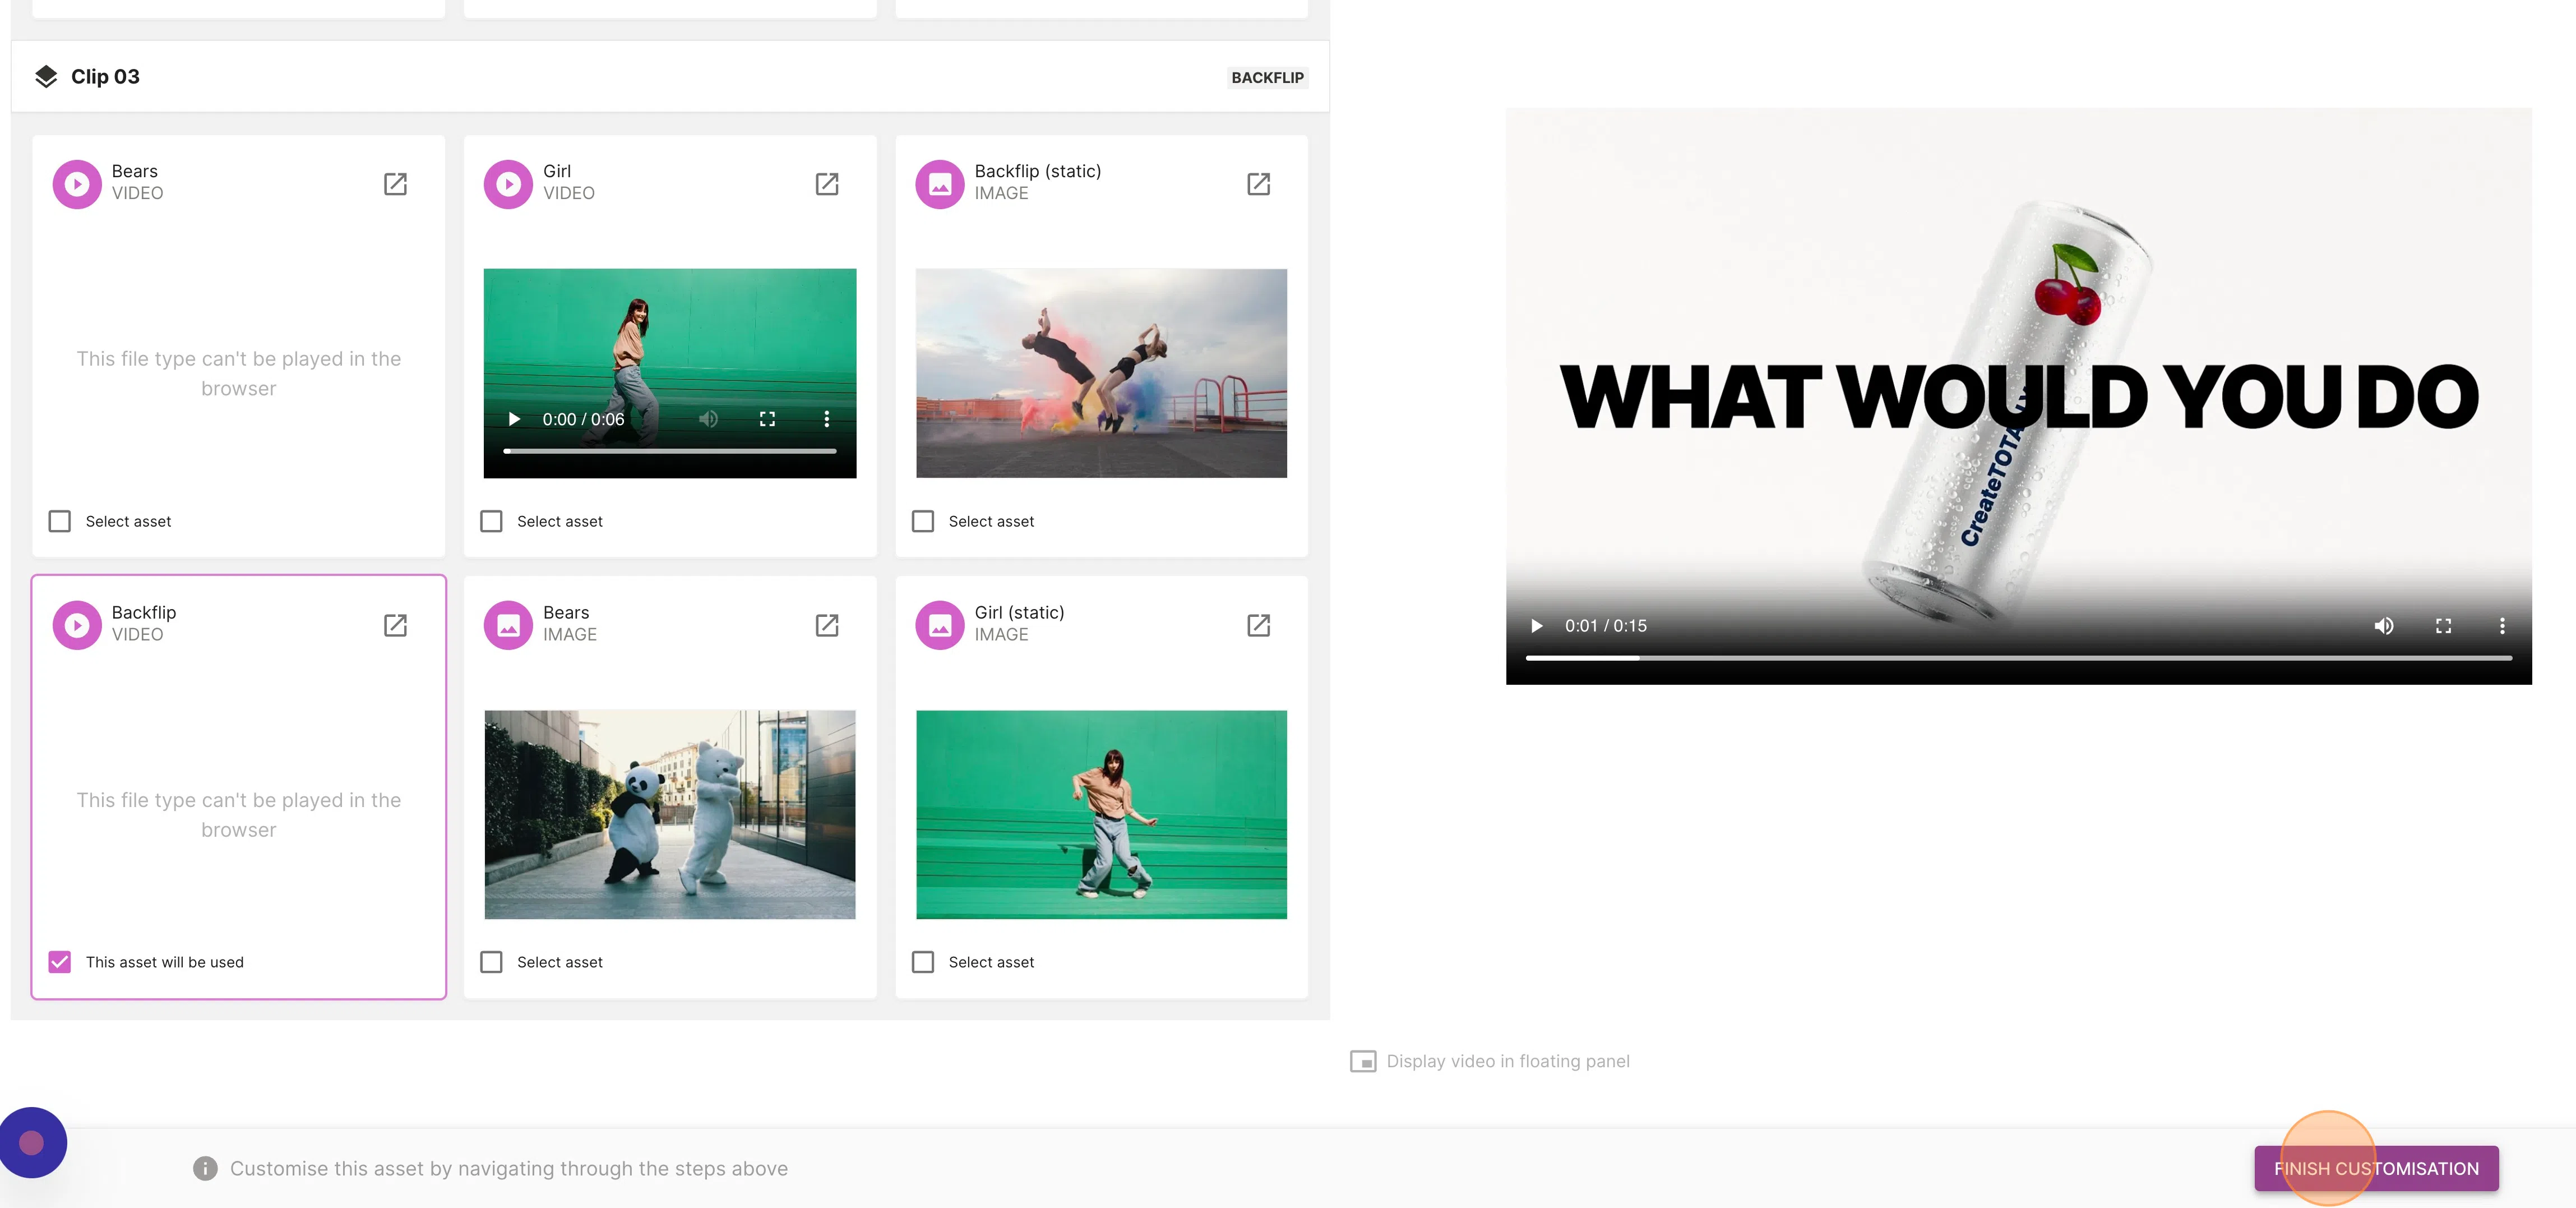
Video customisation
If the master template contains video or image customisation, each variable element will show a gallery of available assets to select from. Click “Select asset” to make your selection. Videos can be played to help identify which one you require.
Once all the selections have been made, the finish customisation button will become active.
Click FINISH CUSTOMISATION then click SAVE
After clicking Finish customisation, you will see a summary of your selections to confirm. If anything needs to change, you can edit the selections to be taken back to the Customisation screen.
If your Creative Allocation doesn't require approval and your Media Plan placement has been submitted/ reviewed, selecting your assets will automatically start the rendering process for your adaptation.
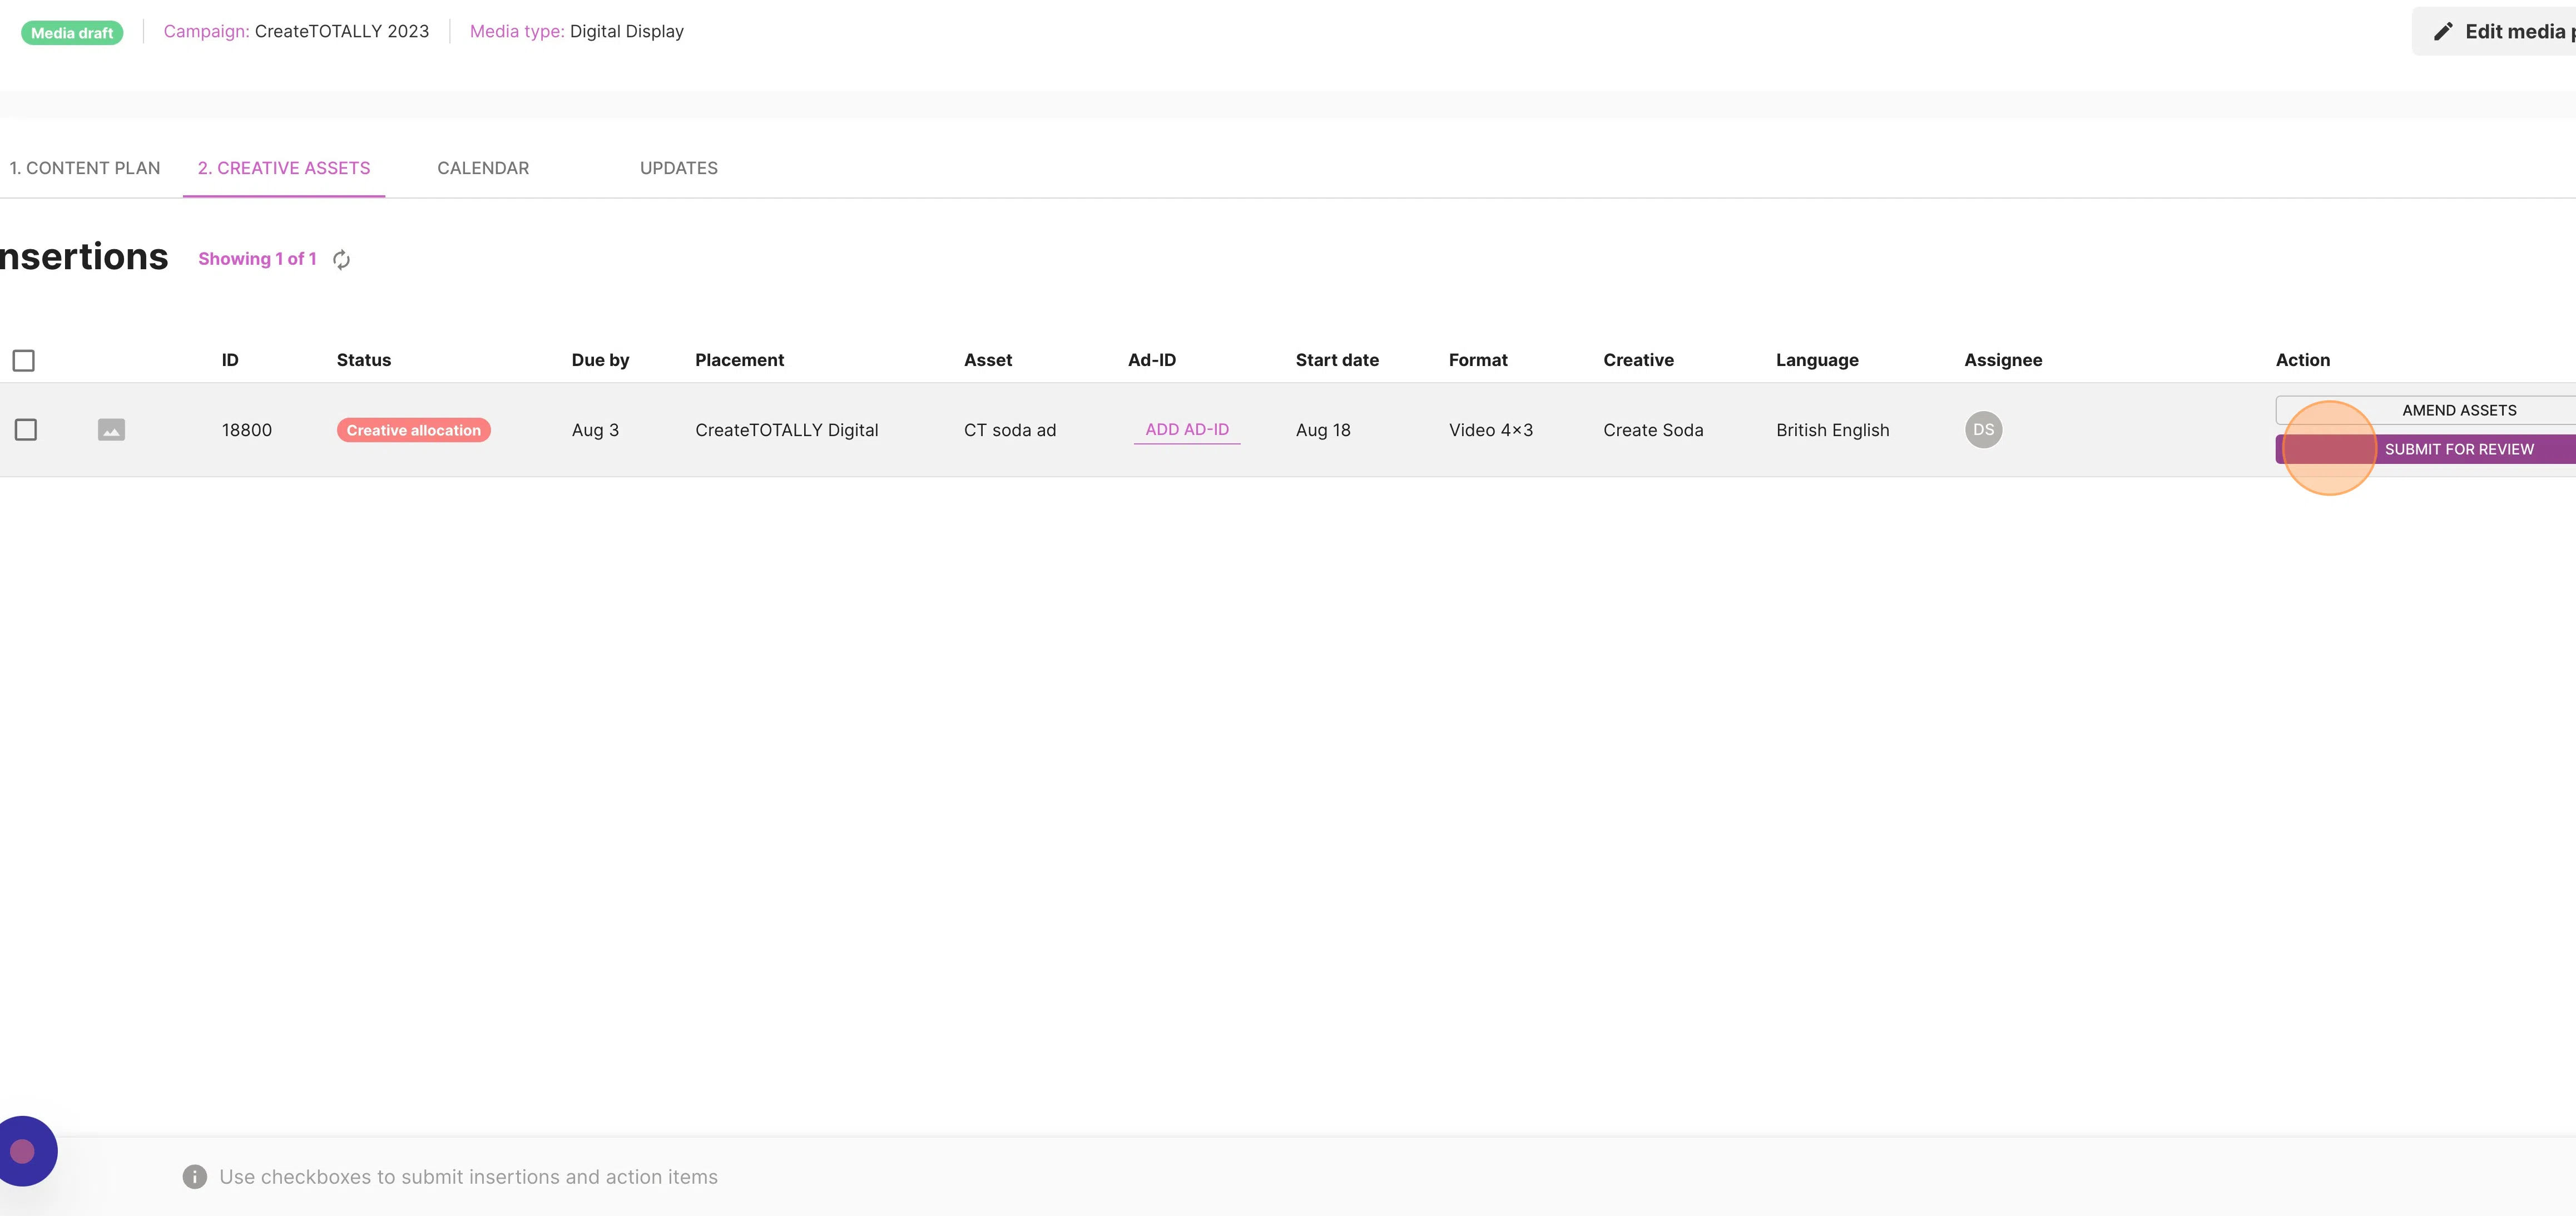
If your Creative Allocation requires approval please follow the steps below
Click SUBMIT FOR REVIEW then Click SUBMIT
Editing an existing Media Plan
You can edit or amend an the Placements on an exiting Media Plan within the Media Plan page.
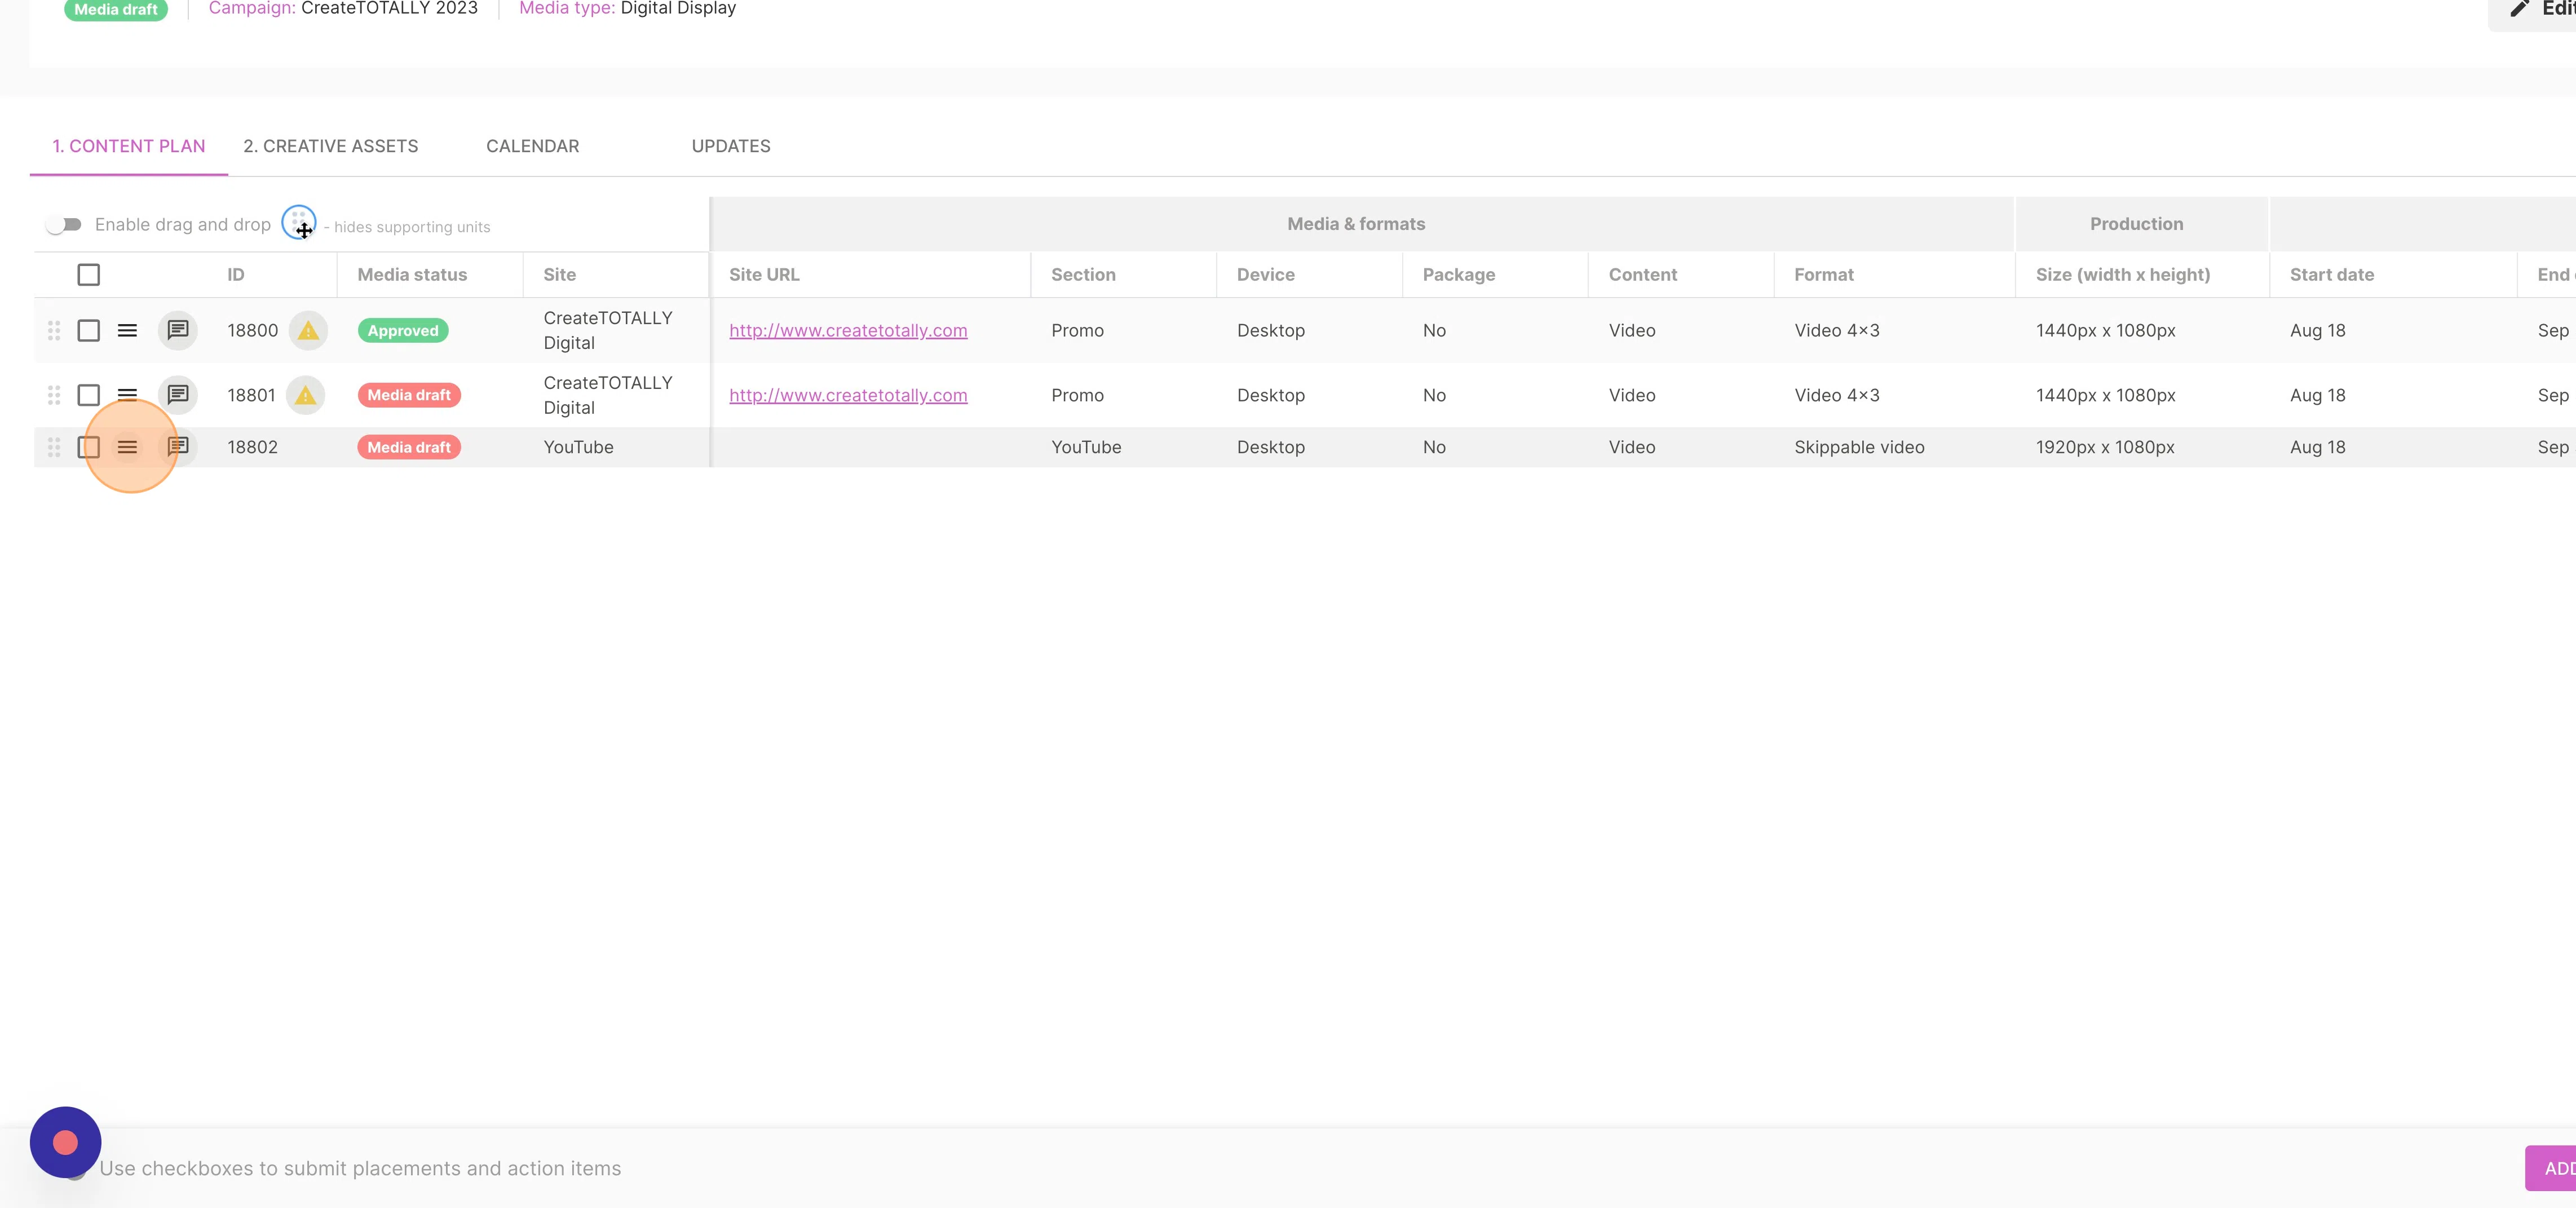

In order to make changes, simply click hamburger icon on the row you want to edit.
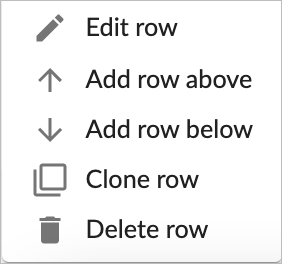
Edit row
The edit row function provides several different ways in which you can make changes to the Media Plan.