
Setting up a Photoshop file for automation is easy. To ensure consistent results, follow these file preparation guidelines.
File preparation
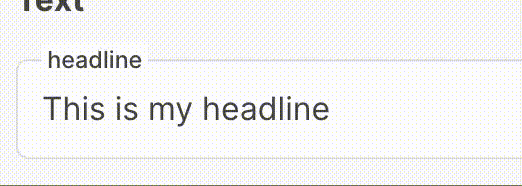
- Organise your artwork - simple, clearly named layers work best for automation. Order your text and image layers in the order you want users to customise them. Make sure any image layers are renamed to describe what they are, not the name of the original image
- Link images, don't embed - if you want to customise the images in your file, make sure to link them, don't embed them
- Single artboard per file - we can only work with 1 artboard per file. If your artwork contains multiple artboards, please save these as separate template files
- Switch off auto-test layers - auto-nesting layers can interfere with automation, so always switch this off
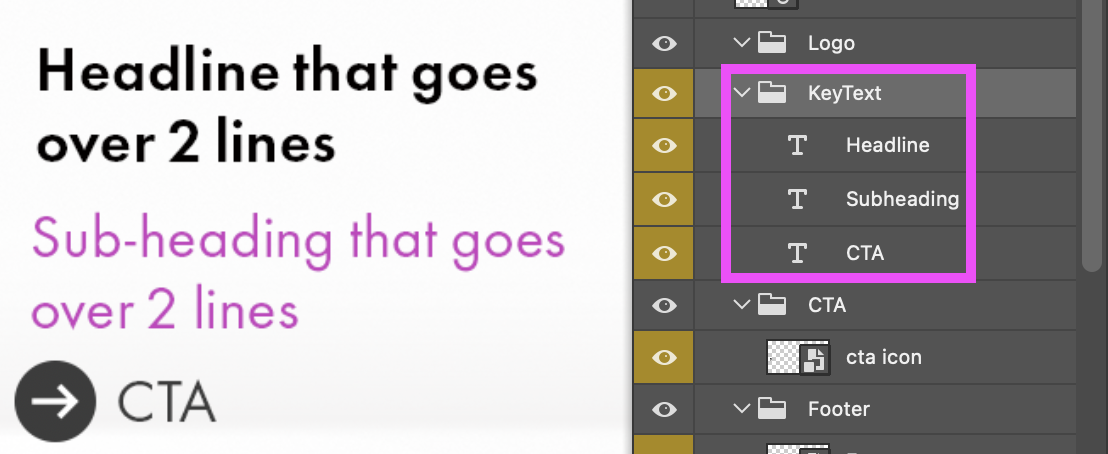
- Do not nest customisable text deeper than 2 folders - we can only automate text in the top 2 folders, so don't nest too deeply
Variable images
Use images of the same dimensions and DPI
Variable images in Photoshop need to be the same dimensions and colour profile as the original linked image. This is especially important with DPI. For example:
- Photoshop linked file - 2500 x 2500px, 72dpi image
- Variable image - 2500 x 2500px, 300dpi image
The DPI will make the variable image not be brought in at the same size as the original linked file. It will be much smaller. For consistent output, ensure your image dimensions and dpi match.
Controlling image re-sizing
If your variable images are different sizes, you can set-up a bounding box to restrict the area they will fit in. This will scale the variable image to fit into this area. To set up a bounding box:
- Create a new layer and position it beneath the image layer.
- Re-name the layer to be the same name as the image you want to customise, with -bounding at the end of the name e.g in the example below, Product1 has a bounding box of Product1-bounding
- Draw a vector rectangle for the area that the image can re-size into on the bounding layer
- Place your image on a layer above the bounding box, positioning it where you want it to sit in the bounding box

Note - to set the alignment of the image within the bounding box, you will need to contact your CreateTOTALLY Account Manager who will be able to assist you.
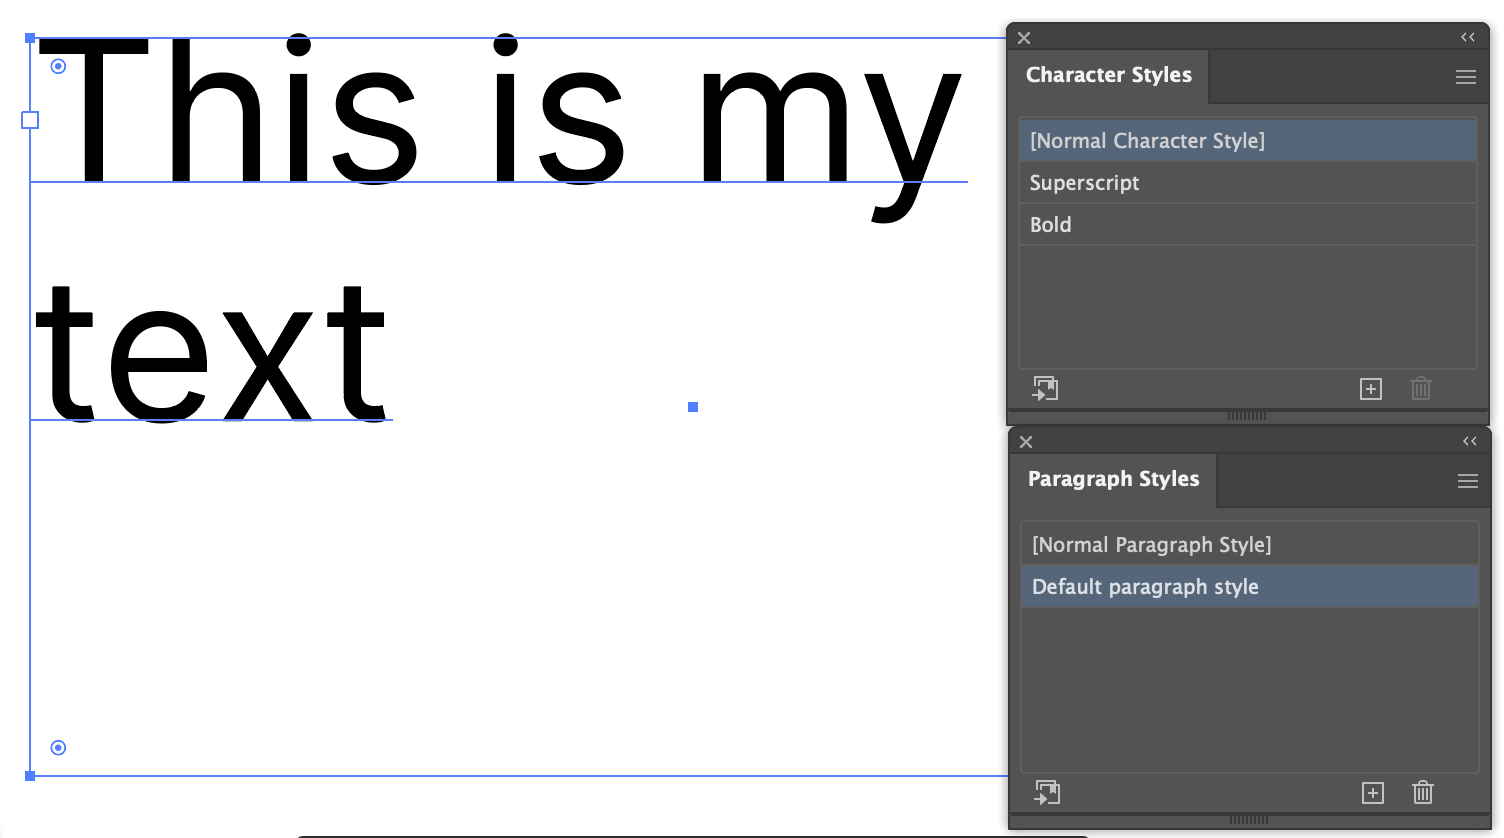
Applying character styles
If you want to allow your users to apply character styles to the text in your project, this can be done by setting up the text in Illustrator and linking it as an embedded smart object.
Setting up text in Illustrator
- Create an Illustrator file that is at least the size of the text area
- Create a text box that is the size of your text area in Photoshop
- Copy the text from Illustrator and paste it into Photoshop as a smart object (you can delete the original Illustrator file). Give the layer a name.
- Open the Illustrator smart object containing the copy from Photoshop. Name the text layer the SAME as it is named in Photoshop
- Type in your default text and apply a paragraph style as a default
- Set up the character styles you will want to be available, naming them in a way users will understand. Do NOT apply any of these styles to the text.
Automatic padding
If you would like to maintain the padding between text elements of your design, even if they grow/ shrink e.g text that is 1 line in the template grows to 2 lines when customised, add the elements to the same folder, ensuring no other elements exist in this folder.
The text needs to be editable Photoshop text. it cannot be an embedded smart object.
Note - if you require automatic padding to be applied to your Master Template, you will need to contact your CreateTOTALLY Account Manager who will be able to assist you.